Model G0894 (Mfd. Since 05/19)
-29-
Uploading and
Running G-Code
To load G-code onto controller:
1. Turn machine ON.
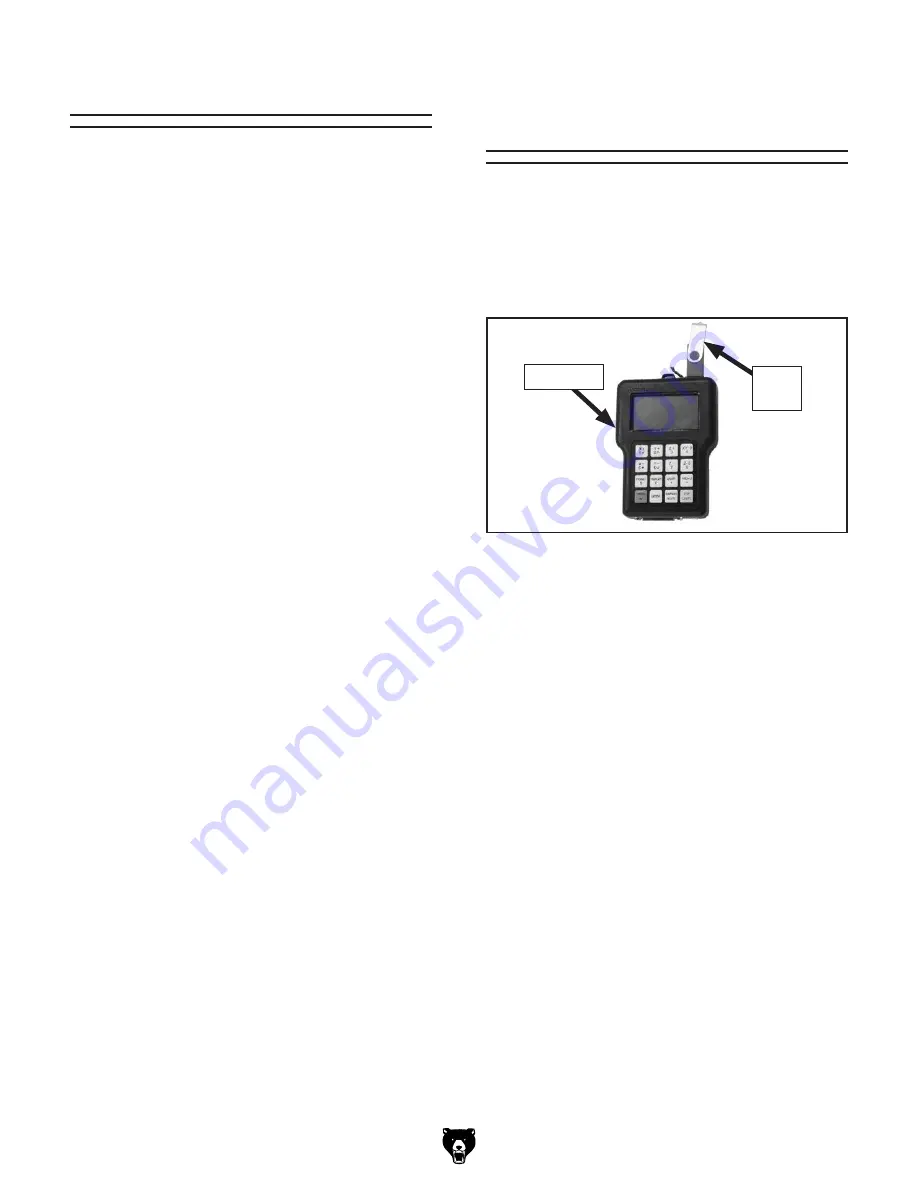
2. Insert USB drive loaded with G-code into
controller (see
Figure 23).
2. Run post-processing application to export
G-code.
Note:
Use
post-processing options specific
to the Model G0894 or the RichAuto A11
controller when available. If a post-processor
for this machine isn't available, use a post-
processor with minimal formatting.
3. Do a practice run within software to identify
any areas of concern (double-check feed/
speed rates, depth of cut, and the direction
the cutter will be traveling).
4. Review G-code and simplify code if needed.
5. Export G-code to USB drive in .NC, .TAP, or
.TXT format.
Before operations can be run on the Model
G0894, a toolpath must be designed and con-
verted to G-code.
CAM software converts a CAD model into G-code,
which defines a toolpath for the project, and then
formats the G-code into a machine specific dialect
via a post-processor.
This machine does not read advanced formatting
By default, it only runs letter addresses for simple
axis movement. Review
Changing Advanced
Settings on Page 30 for information about turning
on additional G-code functions.
An operator could also write G-code manually.
Often, this is more efficient than designing and
processing through CAD/CAM. In addition, knowl-
edge of G-code is integral to refining toolpaths
produced by CAM software.
Creating G-Code File
Items Needed
Qty
CAD/CAM Software or text editor ...................... 1
USB Drive .......................................................... 1
To create G-Code:
1. Load CAD file into CAM software. Take into
consideration what type of material will be cut
and what type of cutter will be used. Make
note of where you will place clamps.
To run G-code:
1. Press RUN/PAUSE.
2. Scroll to "Internal File" and press OK, then
scroll to G-code file and press OK. The
screen will display "Set Work Param".
— To change a work parameter, scroll to the
parameter and press "RUN/PAUSE", then
input the new value and press OK to save.
3. Press OK to begin operation.
— Press RUN/PAUSE to pause axis move-
ment. Spindle will continue to spin. Axes
can be manually moved while paused.
Press RUN/PAUSE again to resume, then
OK to resume from new axis position, or
STOP to return to original position.
Figure 23. USB drive connected to controller.
USB
Drive
Controller
3. Press MENU, then scroll to "Operate File" on
the controller and press OK.
4. Scroll to "Copy File" and press OK.
5. Scroll to "Udisk File" and press OK, then
navigate to G-code file and press OK.
Summary of Contents for G0894
Page 48: ......


