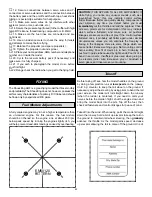
❏
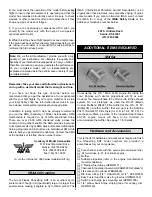
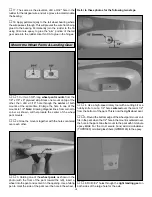
6. Use a hobby knife with a sharp #11 blade to cut the
covering from the wing where the wing bolt plate will fit. Be
certain to cut only through the covering, not into the wood.
❏
7. Remove the covering and use epoxy to glue the wing
bolt plate to the wing. Hint: Use the wing bolts themselves
as clamps to hold the wing bolt plate into position until the
epoxy hardens. Be certain you do not epoxy the wing to the
fuse or the bolts to the wing!
❏
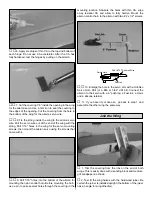
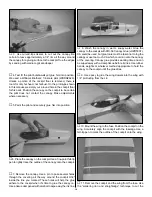
1. Cut the covering from the slots in the fuse for the stab
and fin and from the guide tubes for the pushrods. Hint: Cut
the covering from the slots for the stab and fin 3/32" from the
edge, thus leaving a
flap that can be ironed to the stab and
fin after gluing them into position.
❏
2. Cut a round groove or a notch in the fuse at the TE of
the stab to accommodate the elevator joiner wire.
❏
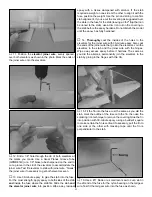
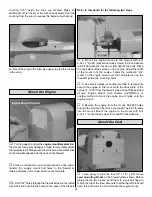
3. Fit the stab into the fuse. Center the trailing edge by taking
accurate measurements as shown in “X” = “X” in the sketch.
❏
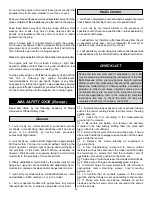
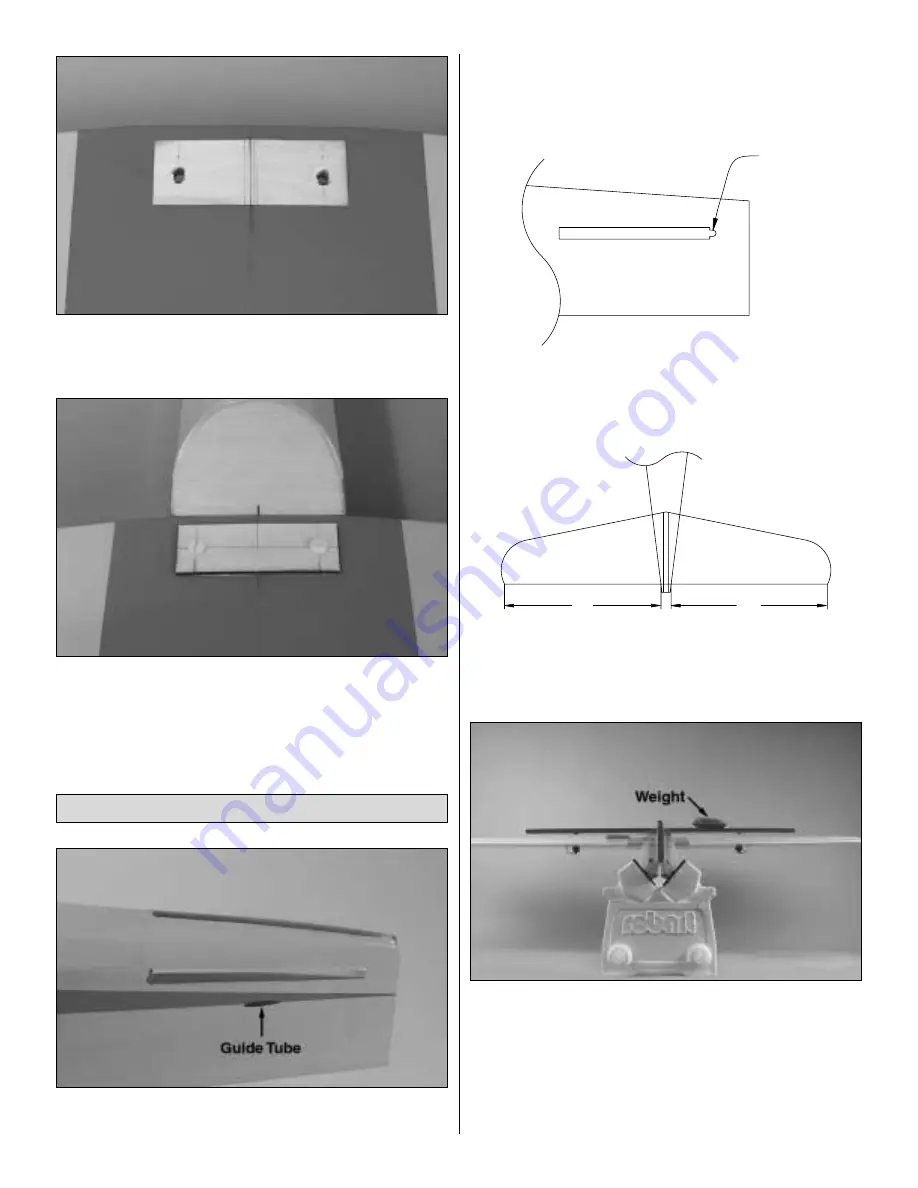
4. Bolt the wing to the fuse. Place the model in a building
stand (such as a Robart Super Stand II, ROBP1402). Stand
five to ten feet behind the model and view the stab and wing. If
the stab and wing align with each other, proceed to the next
step. If the stab and wing do not align, place a weight on the
“high” side of the stab to bring it into alignment. If much weight
is required, remove the stab and sand the “high side” of the slot
in the fuse where the stab fits until the stab aligns with the wing.
X
X
X = X
ROUND
Mount the Stab and Fin
9


