For the best performance, the Li’l Poke must be built light.
One of the best ways to insure light weight is to build neatly
and make good-fitting glue joints. Here are some tips to help
you build neatly and light.
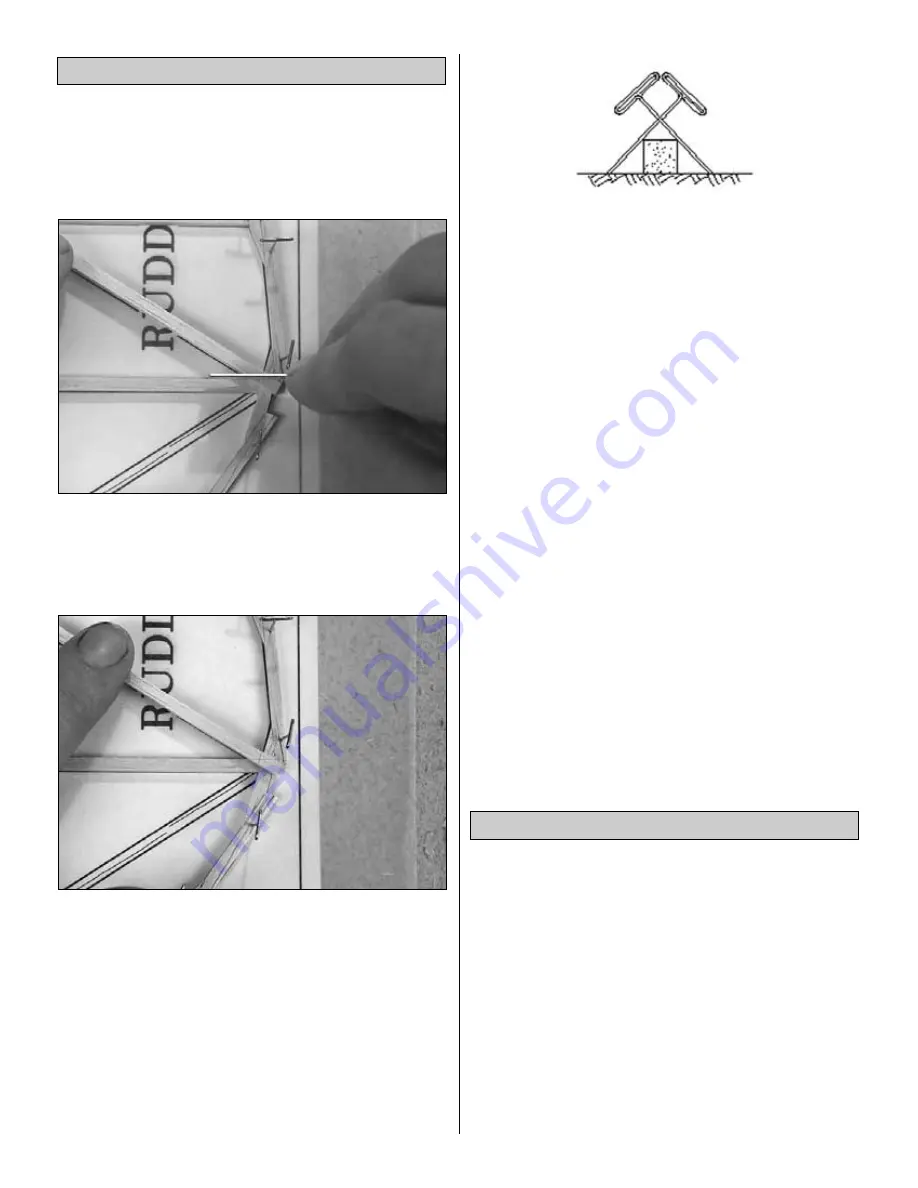
1. An accurate, easy way to cut balsa sticks is with a single-
edge razor blade. To do so, position the stick over the plan
or glue joint, then align the razor blade on the stick where it
is to be cut.
2. Press down lightly on the razor blade to make a mark.
Take the stick off the plan and cut it over a cutting mat or a
scrap piece of wood. (
With care, the stick could be cut on
the plan, but cutting through any protective covering on the
plan may cause the assembly to stick to the building board).
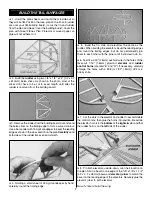
3. To avoid splitting the 1/8" x 1/8" [3.2 x 3.2mm] balsa
sticks used in the Li’l Poke, only small T-pins (HCAR5100)
or small pins found in craft stores should be used for
building this model. Do not stick pins into the sticks near the
ends, or the wood may split.
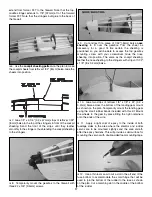
4.
An alternate method to sticking pins directly through
balsa sticks is to use the “crossed-pin” technique by
inserting pins into the building board over the sticks in a
criss-cross fashion.
5. Only a small amount of CA should be used to glue the
parts together. In addition to unnecessary weight, excess
hardened CA is difficult to sand. Use the included CA
applicator tips to control and pinpoint the amount of CA that
comes from the bottle. When the tip becomes clogged, cut
the tip off and continue. If additional CA tips are required,
order number GPMR6033 (5).
6. When applying CA, be careful to not glue your fingers to the
structure. In the process of
unsticking fingers you can
inadvertently damage the structure, thus requiring repairs and
adding additional weight
(not to mention the aggravation!).
7. Sanding requires a light touch to avoid damage. The best
method for sanding is to use light strokes in the direction of
the longest sticks. Be certain the sandpaper is
thoroughly
bonded to the bar sander. Lifted edges may catch the
structure. Use medium-grit sandpaper such as 120 or 150.
8. One of the best ways to insure a lightweight model is to
proceed slowly and
build neatly
. Good glue joints are
stronger, lighter and have a better appearance than poor-
fitting joints with too much CA. Of course, this approach
should be taken with
all
of your projects!
9. Work over a flat surface. Cover the plans with Great
Planes Plan Protector (GPMR6167) or wax paper so the
parts will not adhere to the plan.
1/64" = .4mm
1/32" = .8mm
1/16" = 1.6mm
3/32" = 2.4mm
1/8" = 3.2mm
5/32" = 4mm
3/16" = 4.8mm
1/4" = 6.4mm
3/8" = 9.5mm
1/2" = 12.7mm
5/8" = 15.9mm
3/4" = 19mm
1" = 25.4mm
2" = 50.8mm
3" = 76.2mm
6" = 152.4mm
12" = 304.8mm
15" = 381mm
18" = 457.2mm
21" = 533.4mm
24" = 609.6mm
30" = 762mm
36" = 914.4mm
1" = 25.4mm (conversion factor)
Metric Conversions
IMPORTANT BUILDING NOTES
5


