14
INSTALL THE TAIL PUSHRODS & SERVOS
❏
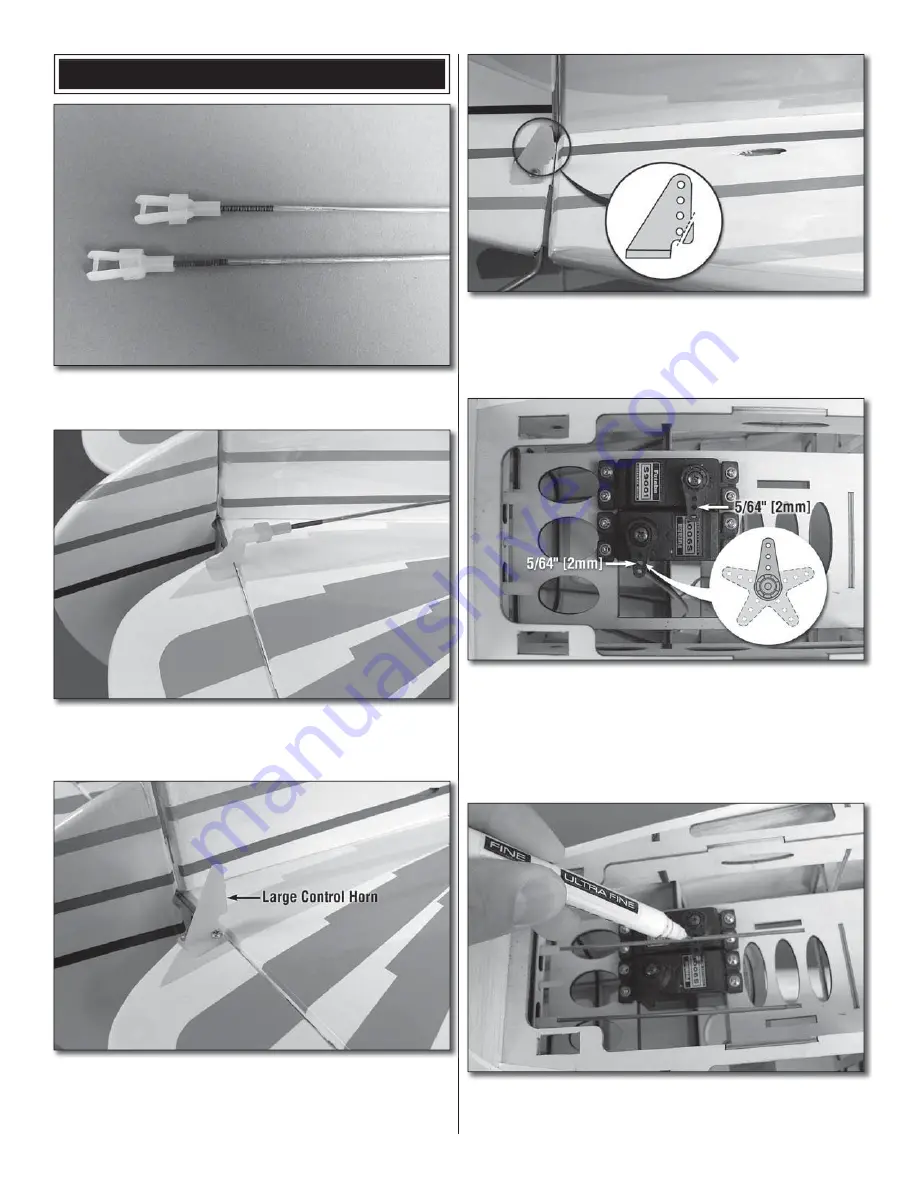
1. Thread a nylon clevis 20 turns onto two 17-1/2" [445mm]
pushrods. Slide a silicone clevis retainer onto each clevis.
❏
2. Temporarily insert one of the pushrods into the elevator
outer pushrod tube on the left side of the fuse. Connect the
clevis to the outer hole of a
LARGE
control horn.
❏
3. Install the control horn onto the underside of the left
elevator half using two 2-56 x 1/2" [13mm] machine screws
and a backplate. Be sure to align the holes over the hinge line.
❏
4. Trim the bottom corner from the rudder control horn.
Install the control horn onto the right side of the rudder in the
same manner of the elevator using two 2-56 x 1/2" [13mm]
machine screws and a backplate. Be sure that the control
horn is inline with the rudder pushrod exit slot.
❏
5. Install the elevator and rudder servos onto the servo tray
in the orientation shown. Be sure to harden the servo mount
screw holes with CA. Center the servos with the radio system
and position the servo horns so they are perpendicular to the
servo cases. Trim the remaining four arms from a fi ve arm
servo arm and install them onto the servo. Enlarge the
middle
holes of each remaining arm with a 5/64" [2mm] drill bit.
❏
6. Use tape or small clamps to hold the elevators and rudder
in the neutral position. As you did with the ailerons, mark where
the pushrods cross the middle holes in the servo arms.
Summary of Contents for Christen Eagle .46
Page 36: ......


