19
6
Power-up and Configure
With the Mav Remote connected to the touch screen GUI, the network cable and the power
supplies connected, at power-up the Mav Remote will go through a boot-up sequence.
+
Note
+ ☞
Note
The example that will be worked through in the following pages is for a Kahuna system. The
menus for Kula and Masterpiece will look very similar and have the same functions to setup.
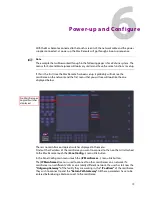
If this is the first time the Mav Remote has been setup, it probably will not see the
mainframe on the network and the first menu that you will see will look like the one
displayed below.
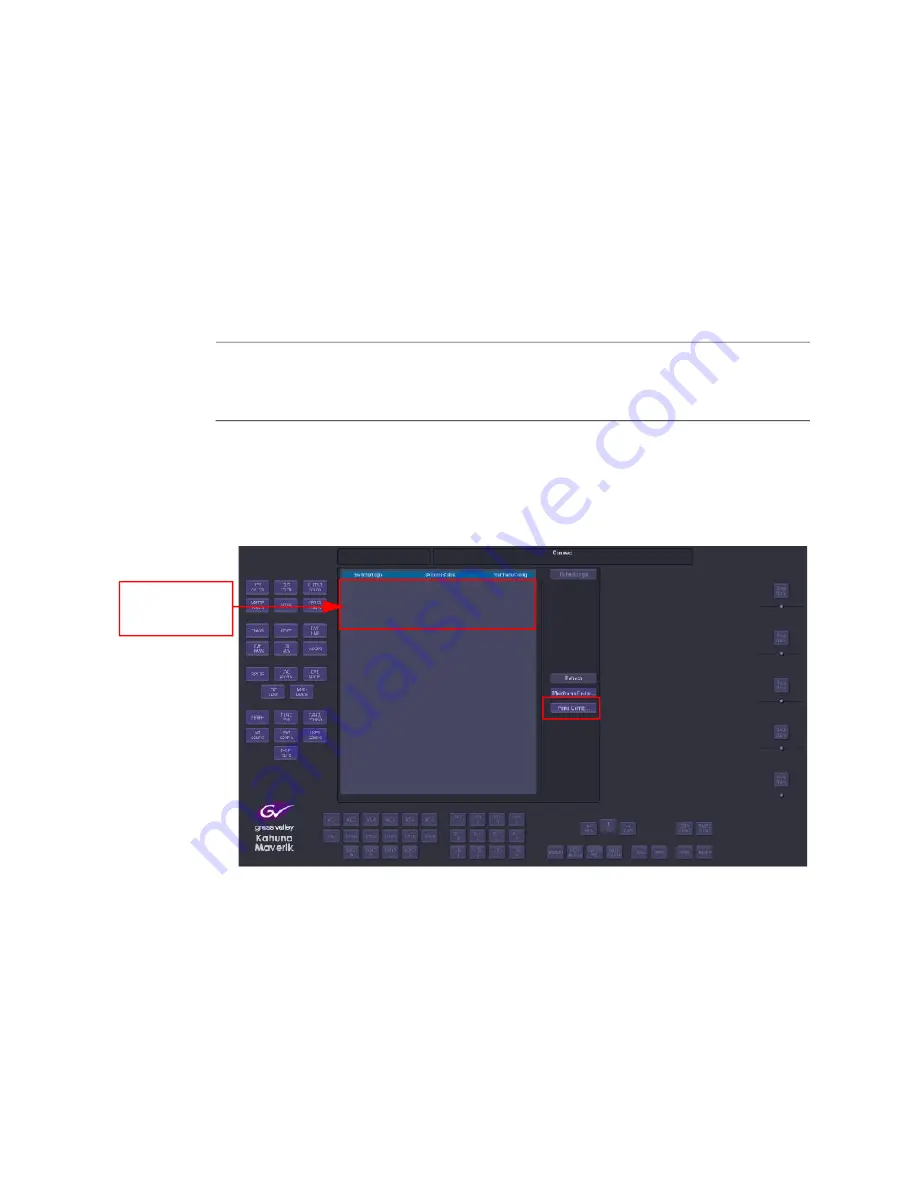
There is no mainframe or logical switcher displayed in the menu.
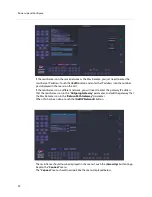
Find out the IP address of the mainframe you want to connect to then on the GUI attached
to the Mav Remote touch the
{Panel Config...}
menu link button.
In the Panel Config main menu touch the
{IP Mainframes...}
menu link button.
The
{IP Mainframes}
menu is used to connect to other mainframes on a network. If a
mainframe is on a different VLAN or on a totally different network, the user has to know the
“Outgoing Gateway”
of the facility they are working in, the
“IP address”
of the mainframe
they wish to connect to and the
“Return Path Gateway”.
All these parameters have to be
entered before being able to connect to the mainframe.
No Mainframe or
Logical Switcher
displayed
Summary of Contents for MAV REMOTE
Page 4: ...iv Table of Contents 8 Specifications 25 Mav Remote Specifications 25 Contact Us 27 ...
Page 10: ...6 About this Manual What is supplied with Kahuna Maverik ...
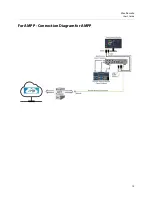
Page 19: ...15 Mav Remote User s Guide For AMPP Connection Diagram for AMPP ...
Page 20: ...16 Cabling and Connections For AMPP Connection Diagram for AMPP ...
Page 22: ...18 Power Supplies Mav Remote External Power Supplies ...
Page 28: ...24 Dimensions Mav Remote Dimensions ...

