TM
Now that you’ve connected all the components, you are ready to power up the system and begin configuring and using the
software.
Page 17
© 1999 ParkerVision, Inc. • Install Your SCRIPT Viewer™
Powering Up
Powering Up Your System
To power up the SCRIPT Viewer system:
1. Turn on the 15” SCRIPTedit monitor.
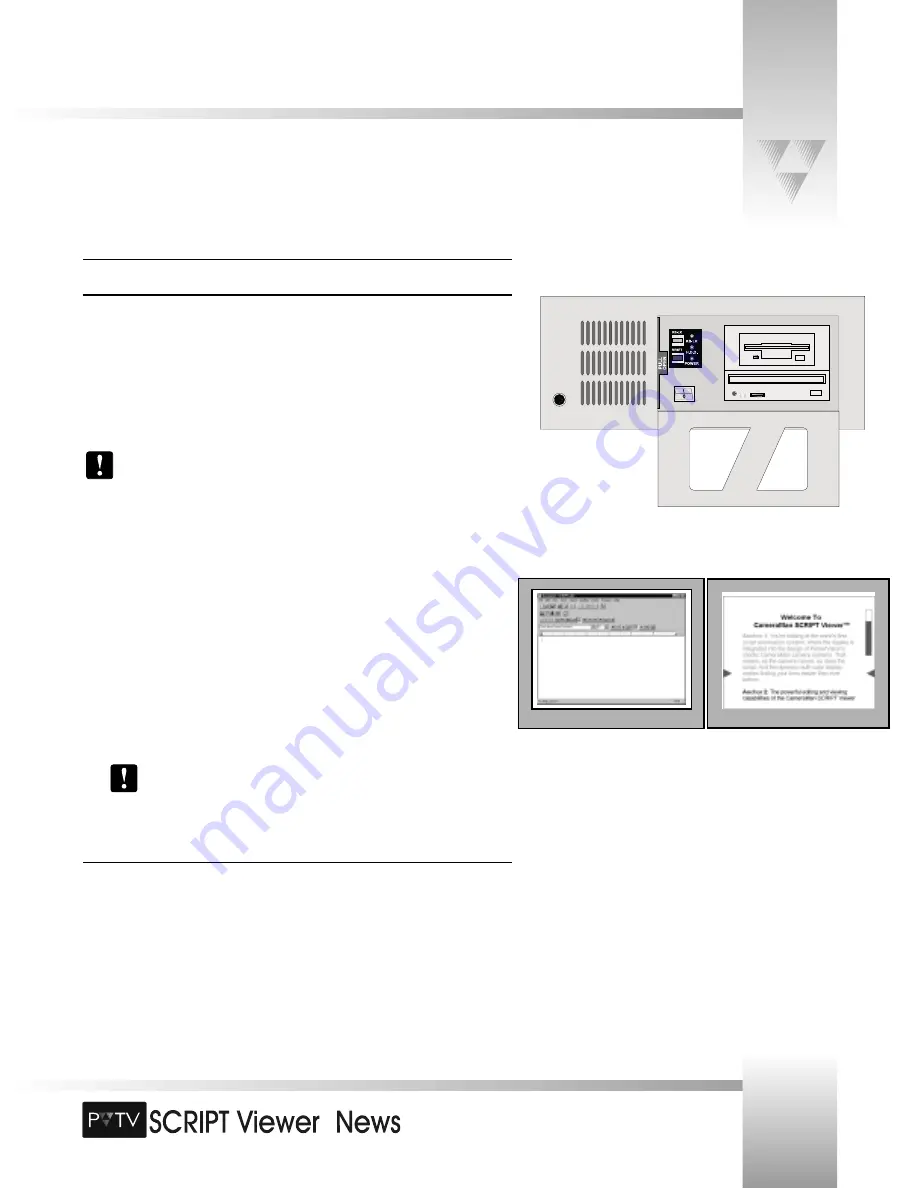
2. Turn on the SCRIPT Viewer CPU (the on/off switch is located behind the keyed door
on the front panel of the CPU
).
3. The SCRIPTview flat-panel displays turn on when you power up the SCRIPT Viewer
CPU.
Split Screen Processing
PVTV SCRIPT Viewer software splits the screen in half with the SCRIPTedit application
automatically loading on the 15” monitor and the SCRIPTview application running on
all the flat-panel displays.
Other installed software, like Windows NT®, will view the monitors and displays as
one screen, so dialog boxes and splash screens) may appear off center. However, they
are appearing half on the 15” monitor and half on the displays.
What to Expect at Startup
At startup, you will see the Windows NT boot-up procedures and splash screen. Then you will
be asked to do two things initially to log on:
1. When prompted, press
CTRL
,
ALT
, and
DELETE
simultaneously.
2. When prompted for a password, press
ENTER
.
You can add or change the password at any time, see the Microsoft Windows
NT manual for instructions on how to do this.
Starting the Software
When you initially power up (boot up) SCRIPT Viewer, SCRIPTview will appear on the flat panel
display. If it does not load, you will need to start it.
To start SCRIPT Viewer:
1. Go to the
Windows Start
menu.
2. Select
Programs
.
3. Select
Startup
.
4. Click
SCRIPTview
.
15” Monitor
Flat-panel Display
Double-click the SCRIPT Viewer Icon
from the Window’s Desktop.
-OR-


