Operating Instructions and Parts Manual
Operation (continued)
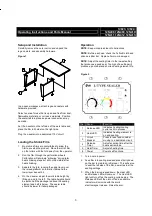
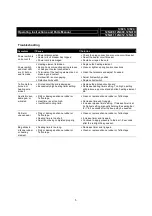
4. A uniform, fully-welded seal should be produced.
NOTE: If seal is damaged, incomplete, or not uniform,
or if the bag is sticking to the sealer, refer to
troubleshooting section of this manual
a good seal is achieved.
5. Place a package on the table of the
such that it is under the upper layer of film
6. Move the package to the L-sealer, unwinding the
film from right to left as you do so.
should be positioned near the front right corner to
minimize excess film.
7. Press firmly down on the bar to begin sealing.
8. At the audible tone, the Release LED turn
and the arm’s electromagnet will
9. Raise the arm and remove the sealed package.
10. Shrink the film using a heat gun or a heated
shrink tunnel.
11. Power off the sealer when finished.
Maintenance
WARNING: Disconnect power before performing any
service or repair.
NOTE: Use original manufacturer’s parts
Weekly Maintenance
Keep the sealing platform clean and remove any
residue found on the platform or Teflon
Silicone spray may be used for this purpose
Check the condition of the silicone
or burn. Damaged silicone rubber will affect the
quality of the seal.
Monthly Maintenance
Place a drop or two of oil on the bearing for the film
roller cradle.
Check screws, nuts, and bolts for loose connections.
Other Maintenance
When changing the Teflon tape, be sure that the
entire surface under the heating element is covered
with Teflon. Bend the excess Teflon
ends to prevent the heating element from breaking
or from grounding to the frame.
4
Operating Instructions and Parts Manual
12N408,12N409,12N410
12N411,12N412,12N413
welded seal should be produced.
If seal is damaged, incomplete, or not uniform,
or if the bag is sticking to the sealer, refer to
troubleshooting section of this manual and repeat until
table of the roller holder
such that it is under the upper layer of film.
sealer, unwinding the
film from right to left as you do so. The package
should be positioned near the front right corner to
to begin sealing.
At the audible tone, the Release LED turns off
will release.
Raise the arm and remove the sealed package.
Shrink the film using a heat gun or a heated
when finished.
before performing any
Use original manufacturer’s parts.
eep the sealing platform clean and remove any
Teflon tape.
spray may be used for this purpose.
e rubber for wear
ubber will affect the
Place a drop or two of oil on the bearing for the film
Check screws, nuts, and bolts for loose connections.
, be sure that the
lement is covered
end the excess Teflon down on both
lement from breaking,
Troubleshooting
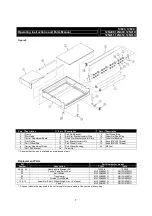
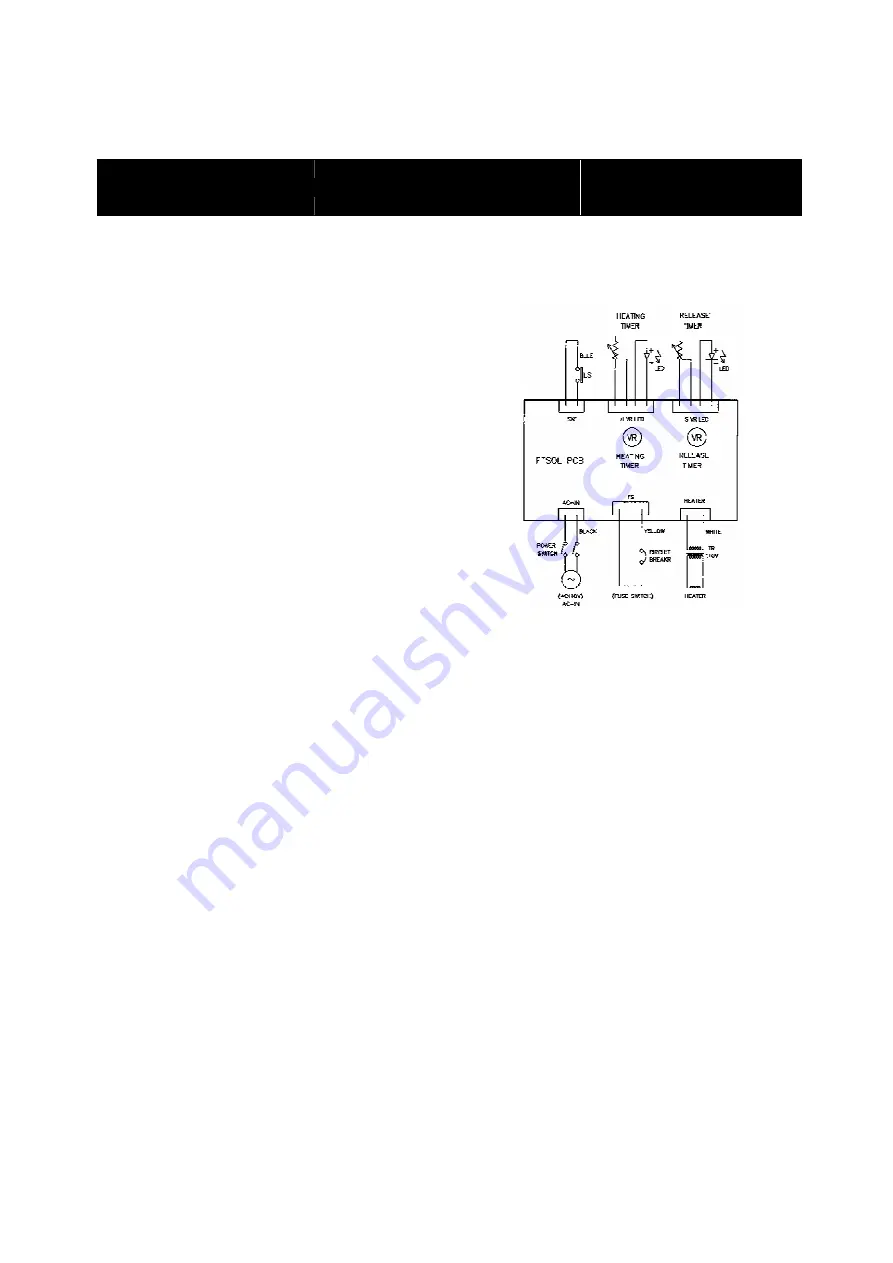
Figure 3
7J823, 7J824
12N408,12N409,12N410
12N411,12N412,12N413


