Spray Adjustments (Mortar Spray Applicator)
Spray
Spray
Spray Techniques
Techniques
Techniques
1.
Test the spray pattern on cardboard. Hold
the applicator 6-18 in. (150-450 mm) from the
surface. Use this spraying distance for most
applications.
2.
Adjust fluid flow until material flow is adequate.
3.
Adjust the applicator air assist needle valve to
achieve a uniform round spray pattern.
4.
Consider the size of aggregate in the material
and the coarseness of the spray pattern. Larger
nozzles allow heavier patterns.
5.
Overlap each stroke 50%. A circular overlapping
pattern may give the best results, and is obtained
by grasping the flex-head and swinging the head
around as the hose flexes.
When spraying small confined areas use the valve
and knob to make fine adjustments without adjusting
the pump.
Typically desired spray pressure is 20-25 psi
(140-170 kPa, 1.4-1.7 bar) on the motor air
regulator (F). Higher pressures may cause excessive
wear on the fluid pump. Select a fluid tip large
enough to spray at low pressure. Some materials will
packout at higher pressures.
Installing
Installing
Installing Nozzle
Nozzle
Nozzle Retaining
Retaining
Retaining Cap
Cap
Cap
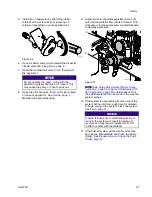
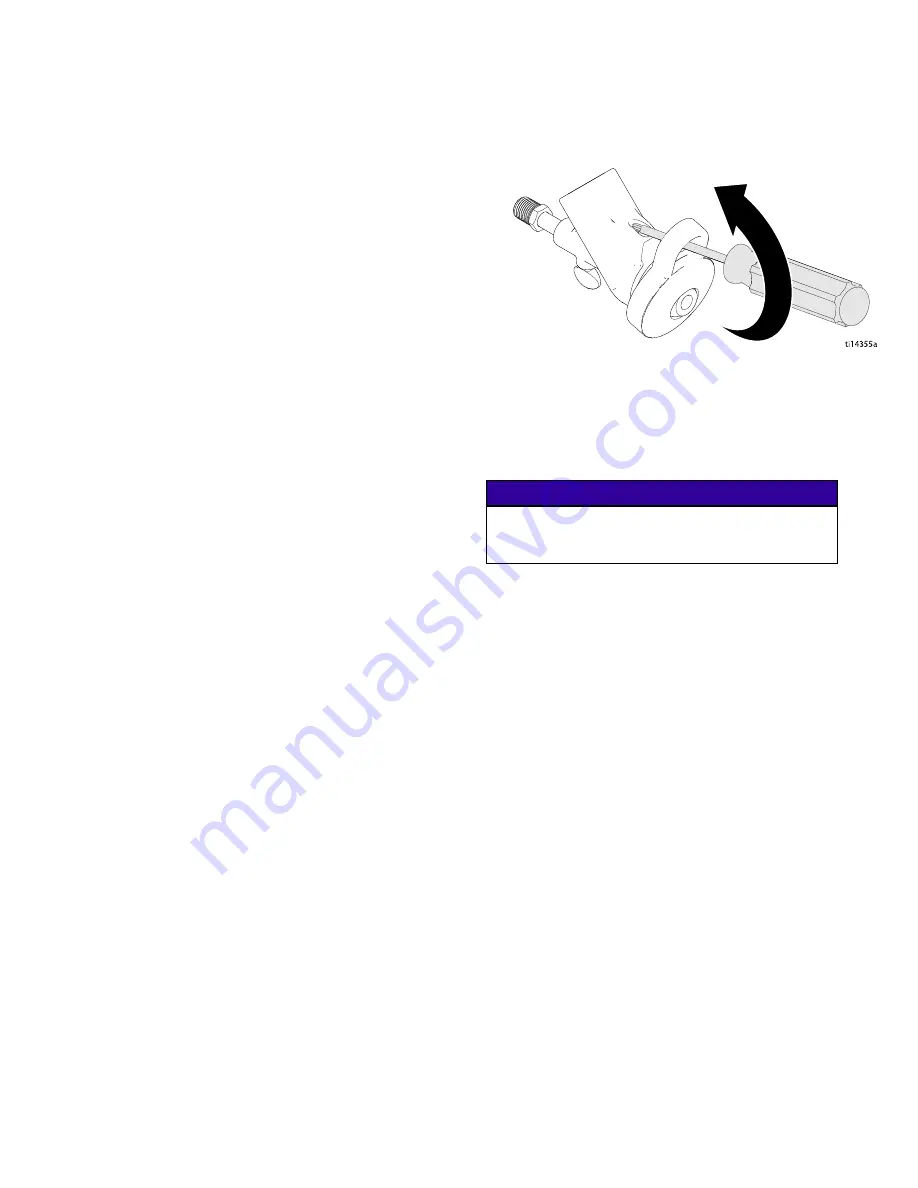
1.
Place nozzle retaining cap over top lip of
applicator housing.
2.
Insert screwdriver through hole in tab of nozzle
retaining cap.
3.
Push screwdriver head against notch on
applicator tip and pry nozzle retaining cap over
lip until it snaps into place.
t
i14355a
Figure 29
4.
Turn the rubber retainer back and forth to be sure
it is fully seated.
Material
Material
Material Compatibility
Compatibility
Compatibility
NOTICE
NOTICE
NOTICE
To prevent the seals and rubber tip from swelling,
do not leave solvent in the applicator when not in
use.
The nylon hose in the Flex Applicator is compatible
with solvents. The rubber gasket in the cam and
groove inlet fitting and the rubber nozzle retainer
should be hand cleaned and dried after each use.
332612C
25


