background image

5

306–667

Operation

Grounding

To reduce the risk of static sparking, ground the pump,
object being sprayed, and all other spray equipment
used or located in the spray area. Check your local
electrical code for detailed grounding instructions for
your area and type of equipment. Be sure to ground all
of this spray equipment.

Pump or sprayer: as instructed in your separate
pump or sprayer manual.

Air compressor or hydraulic power supply: accord-
ing to local code.

Fluid hoses: use only grounded hoses with a maxi-
mum of 500 feet (150 m) combined hose length to
ensure grounding continuity.

Spray gun: obtain grounding through connection to
a properly grounded fluid hose and sprayer or
pump.

Fluid supply container: according to local code.

Object being sprayed: according to local code.

All solvent pails used when flushing, according to
local code. Use only metal pails, which are conduc-
tive. Do not place the pail on a non-conductive
surface, such as paper or cardboard, which inter-
rupts the grounding continuity.

To maintain grounding continuity when flushing or
relieving pressure, always hold a metal part of the
gun firmly to the side of a metal pail, then trigger
the gun.

Pressure Relief Procedure

WARNING

INJECTION HAZARD
Fluid under high pressure can be in-
jected through the skin and cause 
serious injury. To reduce the risk of an

injury from injection, splashing fluid, or moving
parts, follow the Pressure Relief Procedure
whenever you:

are instructed to relieve the pressure,

stop spraying,

check or service any of the system equipment,

or install or clean the spray tips.

1.

Engage the spray gun safety latch.

2.

Shut off the power supply to the pump and close
any bleed-type master air valves in the air supply.

3.

Disengage the gun safety latch.

4.

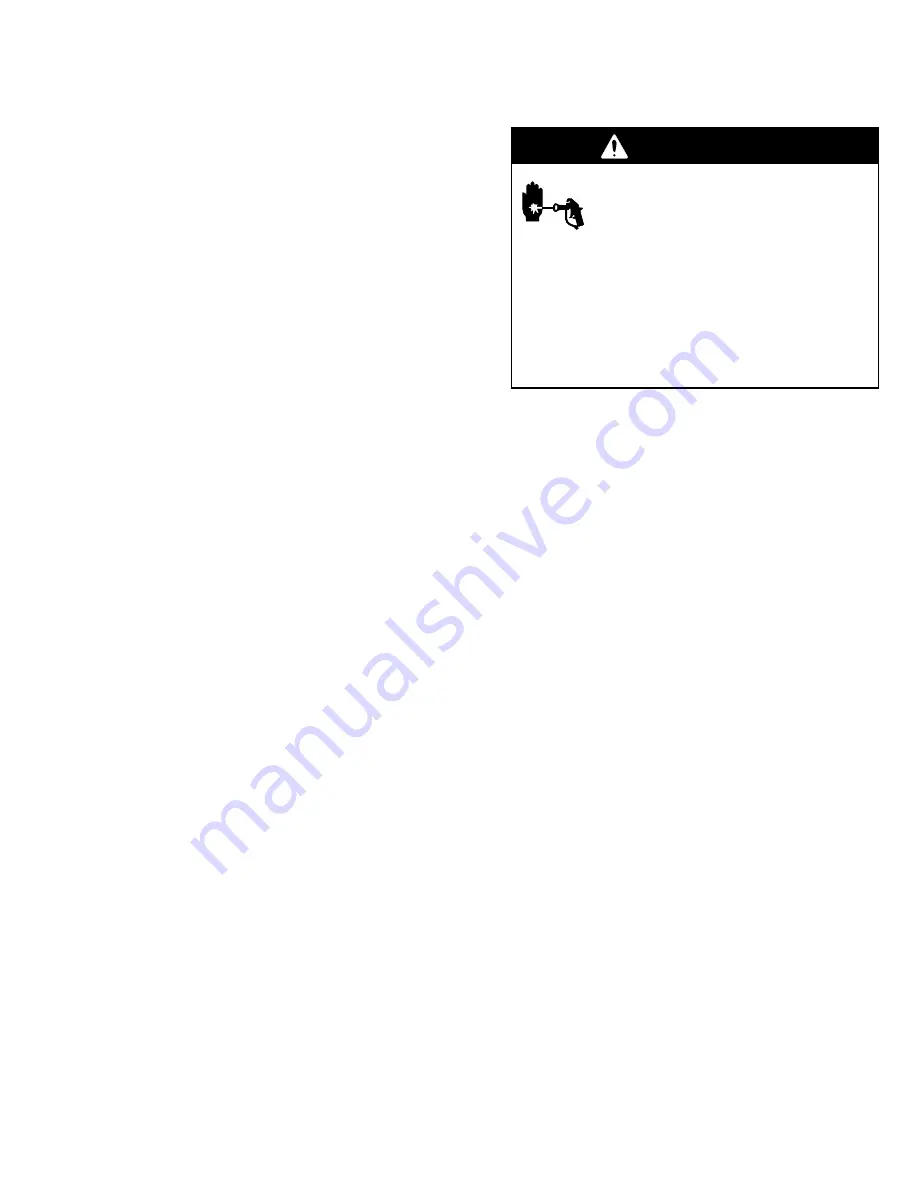
Hold a metal part of the gun firmly to the side of a
grounded metal pail, and trigger the gun into the
pail to relieve pressure.

5.

Engage the spray gun safety latch.

6.

Open the pump fluid drain valve (required in your
system), having a container ready to catch the
drainage.

7.

Leave the drain valve open until you are ready to
spray again.

If you suspect that the spray tip or hose is completely
clogged, or that pressure has not been fully relieved
after following the steps above, very slowly loosen the
tip guard retaining nut or hose end coupling and relieve
pressure gradually, then loosen completely. Now clear
the tip or hose.

Summary of Contents for T Series

Page 1: ...rnings and information READ AND KEEP FOR REFERENCE Airless Spray Gun 21 0 MPa 210 bar 3000 psi Maximum Working Pressure Model 205 591 Series T For non circulating system Spray tip not included Order separately GRACO INC P O BOX 1441 MINNEAPOLIS MN 55440 1441 http www graco com COPYRIGHT 1997 GRACO INC Graco Inc is registered to I S EN ISO 9001 ...

Page 2: ... leaks with your hand body glove or rag Do not blow back fluid this is not an air spray system Always have the tip guard and the trigger guard on the spray gun when spraying Be sure the gun trigger safety operates before spraying Lock the gun trigger safety when you stop spraying Check gun diffuser operation weekly Follow the Pressure Relief Procedure on page 5 whenever you are instructed to relie...

Page 3: ...n or start unexpectedly and result in a serious injury D This equipment is for professional use only D Read all the instruction manuals tags and labels before operating the equipment D Use the equipment only for its intended purpose If you are uncertain about usage call your Graco distributor D Do not alter or modify this equipment Use only genuine Graco parts and accessories D Check the equipment...

Page 4: ...r trapped between this valve and the pump after the air regulator is shut off Trapped air can cause the pump to cycle unexpectedly The fluid drain valve assists in relieving fluid pressure in the displacement pump hose and gun triggering the gun to relieve pressure may not be sufficient 1 Connect a grounded fluid hose to the gun inlet 2 With no tip installed start the pump sprayer Flush it accordi...

Page 5: ...ld a metal part of the gun firmly to the side of a metal pail then trigger the gun Pressure Relief Procedure WARNING INJECTION HAZARD Fluid under high pressure can be in jected through the skin and cause serious injury To reduce the risk of an injury from injection splashing fluid or moving parts follow the Pressure Relief Procedure whenever you are instructed to relieve the pressure stop spraying...

Page 6: ...ed results Higher pressure may not improve the spray pattern and will cause premature tip and pump wear 2 If adjusting the pressure does not give a good spray pattern try another tip size Be sure to relieve the pressure completely before changing tips 3 Use a full open full close trigger action Hold the gun about 350 mm 14 in from and at right angles to the work surface Do not swing the gun in an ...

Page 7: ...ge never hang the gun by the tip guard Cleaning and Clearing the Spray Tip WARNING INJECTION HAZARD To reduce the risk of fluid injection or splashing in the eyes or on the skin do not hold your hand body or a rag in front of the spray tip when clean ing or checking a clogged tip Always point the gun toward the ground or into a waste container when checking to see if the spray tip is cleared Relie...

Page 8: ... firm metal to metal contact between the gun and the pail during flushing to reduce the risk of a fluid injection injury static sparking and splashing Relieve the pressure remove the spray tip and then flush the gun and spray system with a compatible solvent Always flush the gun before the fluid being sprayed can dry on it Fig 3 Maintain firm metal to metal contact between gun and container Troubl...

Page 9: ...9 306 667 Notes ...

Page 10: ...isassemble the gun to clean and inspect parts Needle 1 Relieve the pressure 2 Screw out the spring retainer 19 Remove the spring 7 and needle 24 Unscrew the seat 23 See the Parts Drawing page 12 3 Soak parts in clean solvent Use the brushes supplied to clean the parts and gun body passage ways Replace worn or damaged parts 4 If installing a new needle 24 remove the two nuts 20 21 from the old need...

Page 11: ...ack to decrease travel 5 Connect the hose 6 Install the tip guard and prime the system 7 Trigger the gun and release it The fluid flow should stop immediately Now engage the safety latch and try to trigger the gun No fluid should flow If the gun fails either test relieve the pressure disconnect the hose and readjust the needle Gun Packings 1 Remove the trigger 14 and screws 1 See the Parts Drawing...

Page 12: ... LEVER cam 1 9 164 115 GLAND packing inner 2 10 164 116 PACKING cam shaft leather 4 11 164 117 GLAND packing outer 2 12 164 118 SHAFT cam 1 13 164 119 NUT cam shaft packing 2 14 164 123 TRIGGER 1 15 164 822 STOP trigger 1 16 166 938 SPRING compression 1 17 166 969 GASKET flat Delrin 1 16 thick 1 18 167 730 GASKET copper diffuser seat 1 19 168 330 RETAINER spring 1 20 171 240 NUT lock 1 21 171 241 ...

Page 13: ...25 in dia Wetted parts Cast Manganese Bronze Stainless Steel Tungsten Carbide Delrin Thiokol Impregnated leather Sound pressure level 78 dB A Sound power level 87 dB A Delrin is a registered trademark of the DuPont Company Measured while spraying water base paint gravity 1 36 through a 517 tip at 21 0 MPa 210 bar 3000 psi per ISO 3744 ...

Page 14: ...14 306 667 Notes ...

Page 15: ...15 306 667 Notes ...

Page 16: ...rth above The buyer agrees that no other remedy including but not limited to incidental or consequential damages for lost profits lost sales injury to person or property or any other incidental or consequential loss shall be available Any action for breach of warranty must be brought within two 2 years of the date of sale Graco makes no warranty and disclaims all implied warranties of merchantabil...

Reviews: