background image

6

309016

Operation

Startup

Always use this startup procedure to ensure that the
unit is started safely and properly.

1. Check the oil levels.

NOTE:  All units are equipped with a low-oil sensor
that shuts the engine off if the oil level falls below a
certain level.  If the unit stops unexpectedly, check the
oil and the fuel levels.  Check the oil level each time
the unit is refueled.
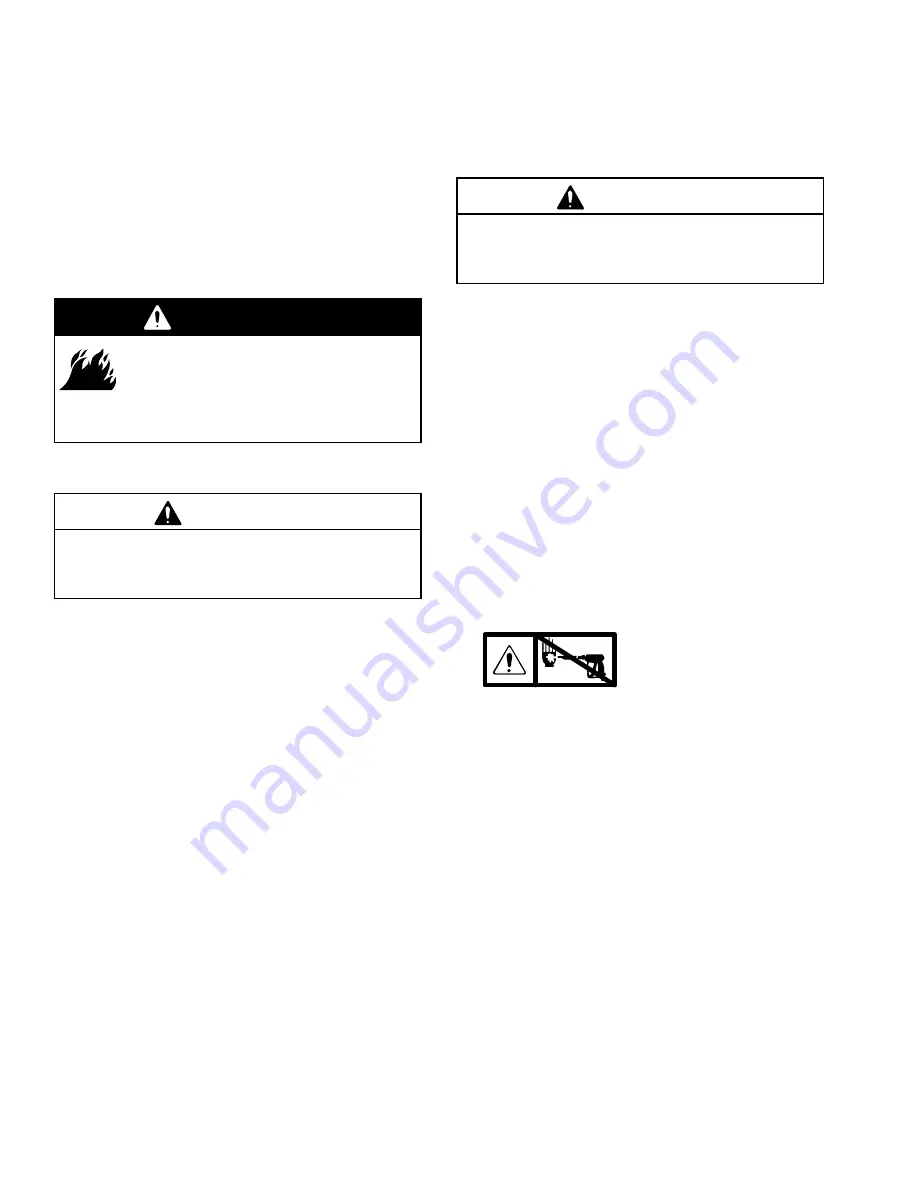
WARNING

FIRE HAZARD
Do not refuel a hot engine.  Refueling a
hot engine could cause a fire.  Use only

fresh and clean regular or unleaded gasoline.
Close the fuel shutoff valve when refueling.

2. Check the fuel level.

CAUTION

Never run the unit dry.  Costly damage to the pump
will result.  Always be sure the water supply is
completely turned on before operating.

3. Turn on the water supply.

4. Trigger the gun until water sprays from the tip

indicating that the air is purged from the system.

5. Open the fuel shutoff valve.  Be sure the spark

plug ignition cable is pushed firmly onto the spark
plug.  Put the switch in the ON position, and put
the throttle in the RUN position.

6. Pull the starter rope to start the engine.  Brace one

foot on the pressure washer cart, and pull the
starter rope out quickly.  Pull and return the rope
until the engine starts.

CAUTION

Do not allow the starter rope to snap back against
the engine.  Return it gently to prevent damage to
the recoil mechanism.

NOTE:  For easier starting, have one person start
the engine while another person triggers the spray
gun.

If the engine is cold,  start the engine with the
choke completely closed.  In cool weather, you
might have to let the engine run with the choke
closed for the first 20 to 30 seconds, then open it
completely.  In warm weather, open the choke
completely as soon as the engine starts.

If the engine is warm,  start the engine with the
choke completely open or partially closed.   When
the engine starts, open the choke completely.

Chemical Injector Operation

NOTE:  See manual 308513 for detailed chemical
injector operation and service instructions.

1.

Relieve the pressure.
See page 5.

2. Insert the chemical filter (attached with clear tubing

to the chemical injector) into the container of
chemical.

3. Install the black, large-orifice chemical tip (see

Installing and Changing Spray T ips on
page 7).

The large orifice of the chemical injector tip causes
a drop in pressure that actuates the chemical
injector.  Changing back to a small diameter spray
tip deactivates the chemical injector and produces
high pressure for rinsing.  The chemical filter can
be left in the chemical container during
high-pressure use.  To regulate the flow rate of the
chemical, turn the chemical adjustment knob on
the injector.  Maximum chemical flow is two full

turns counterclockwise from the closed (clockwise)

position.

Summary of Contents for AquaMax 804594 A Series

Page 1: ...del 804597 Series A AquaMax DD9021 pressure washer with 11 hp engine and 900 liters hr 4 gpm pump on Hi Boy cart with hose gun and tips 210 bar 21 MPa 3000 psi Maximum Working Pressure Model 804596 Se...

Page 2: ...ents can inject fluid into your body and cause serious injury Fluid splashed in the eyes or on the skin can also cause serious injury D Fluid injected into the skin might look like just a cut but it i...

Page 3: ...ed by the fluid manufac turer FUEL HAZARD The fuel used in this unit is combustible and when spilled on a hot surface can ignite and cause a fire Do not fill the fuel tank while the engine is running...

Page 4: ...ge 7 If you are using a sandblaster kit see its separate manual for installation instructions Connect to Water Supply CAUTION Before you connect to the water supply check your local plumbing code rega...

Page 5: ...riggered Pressure at the gun may be significantly higher than the bypass pressure indicated on the pressure gauge Therefore always follow the Pressure Relief Procedure above regardless of the pressure...

Page 6: ...ap back against the engine Return it gently to prevent damage to the recoil mechanism NOTE For easier starting have one person start the engine while another person triggers the spray gun If the engin...

Page 7: ...ou spray again CAUTION To avoid blowing the O ring out of the quick coupler due to the high pressure in the system never operate the pressure washer without a tip securely mounted in the quick coupler...

Page 8: ...8 309016 Notes...

Page 9: ...ine level Fill as necessary After first 5 hours of operation Change engine break in oil Drain oil when warm Use SAE 30 or 10W 30 detergent oil After first 25 hours of operation Retorque exhaust manifo...

Page 10: ...type Clean adjust spark plug gap or replace Spray gun closed Trigger spray gun while starting Engine misses or lacks power Partially plugged air cleaner filter Remove and clean Spark plug dirty wrong...

Page 11: ...iltration on pump inlet plumbing Inlet water temperature too high Check water temperature may not exceed 70_ C 160_ F Over pressurizing pump Do not modify any factory set adjustments See Equipment Mis...

Page 12: ...TE You might have to tap the manifold lightly with a soft mallet to loosen it CAUTION Keep the manifold properly aligned with the ce ramic plungers when removing to avoid damage to the plunger or seal...

Page 13: ...ings only the other includes the packings rings and retainers See Pump Repair Kits on page 20 1 Remove the manifold as outlined in Pumping Section on page 12 2 Carefully pull the packing retainer from...

Page 14: ...You might have to tap the manifold lightly with a soft mallet to loosen CAUTION Keep the manifold properly aligned with the ce ramic plungers when removing to avoid damage to the plunger or seals 3 Ca...

Page 15: ...e is packings only the other includes the packings rings and retainers See Pump Repair Kits on page 20 1 Remove the manifold as outlined in Pumping Section on page 14 2 Carefully pull the packing reta...

Page 16: ...1 30 2 25 24 23 3 Ref 18 19 17 1 Apply sealant to threads 3 All parts supplied with unloader 10 28 29 43 39 47 See Detail 1 48 1 1 2 Supplied with pump 2 39 3 49 1 51 50 4 Shaft key supplied with engi...

Page 17: ...15_ yellow 1 805545 TIP spray Q type 2504 25_ green 1 805546 TIP spray Q type 4004 40_ white 1 19 805634 TIP spray chemical injector black 1 23 114801 HOOK pail 1 24 112380 SCREW mach fil hd 1 2 in 2...

Page 18: ...31 30 2 1 25 24 23 3 Ref 18 19 17 1 Apply sealant to threads 2 50 48 1 2 All parts supplied with unloader 3 Supplied with pump 3 27 10 28 29 40 39 9261A 49 1 47 See Detail 1 52 51 43 41 54 18 309016 P...

Page 19: ...TIP spray Q type 25_ green 805545 Model 804596 2504 1 805549 Model 804597 25045 1 TIP spray Q type 40_ white 805546 Model 804596 4004 1 805550 Model 804597 40045 1 19 805634 TIP spray chemical inject...

Page 20: ...472 Valve assembly 804402 Valve assembly 804402 Valve assembly O ring Valve seat Valve Spring Valve cage 6 6 6 6 6 804034 Valve cap 804403 Valve cap 804403 Valve cap O ring Cap 6 6 804036 Packing asse...

Page 21: ...kg 151 lb 69 kg 151 lb Dimensions Length Width Height 927 mm 36 5 in 533 mm 22 in 788 mm 31 5 in 927 mm 36 5 in 533 mm 22 in 813 mm 32 5 in 927 mm 36 5 in 533 mm 22 in 813 mm 32 5 in Maximum inlet wat...

Page 22: ...but not limited to incidental or consequential damages for lost profits lost sales injury to person or property or any other incidental or consequential loss shall be available Any action for breach...

Reviews: