


ITS Camera System - Installation and User Manual
2650 Biscayne Boulevard, Miami, Florida 33137 | 305-937-2000 | www.GovComm.us | [email protected]
© GovComm, Inc. 2017
9
3. Check ARP tables to cross reference MAC and IP addresses:
Knowing the camera’s MAC
address is a vital clue to discovering a camera’s IP address, it’s usually printed somewhere on most
units on the camera or housing. It’s good practice to keep a record of the MAC and IP addresses of
installed cameras for troubleshooting purposes. In a similar manner to ping in Tip #2 above, the ARP
command can be used to show the IP and MAC addresses of devices connected to the network, just
type “arp -a” at the command prompt. The IP address of the camera can be known by knowing the
MAC address and vice versa.
4. Confirm IP Addresses are not conflicting:
Take care that two devices are assigned the same
address, because this often has the result of ‘cancelling out’ network access to either device. A
simple “fat finger” while inputting the camera’s address, gateway or subnet can cause all kinds of
havoc. The ARP command listed in Tip #3 can help with this.
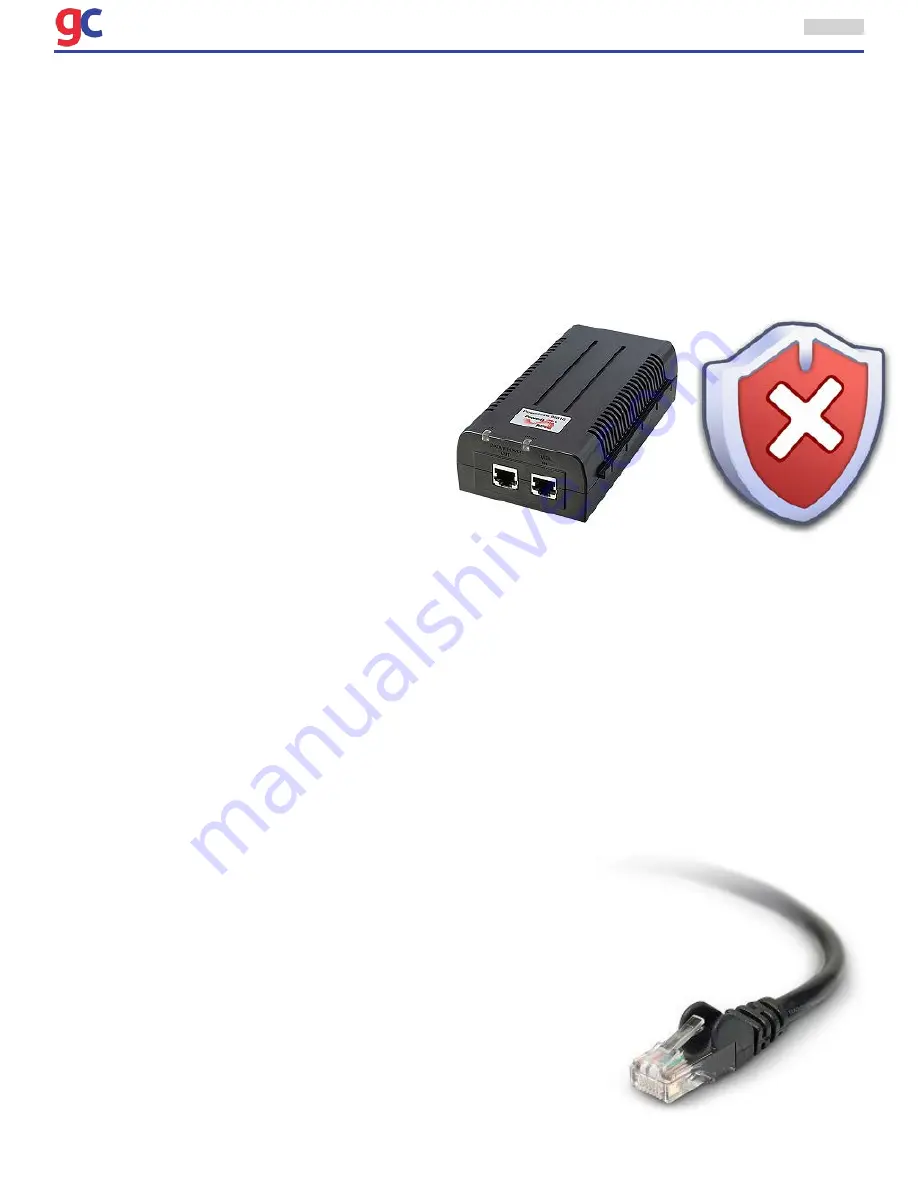
5. Disable Antivirus Software or Firewalls:
In
some cases, a computer’s antivirus utility will
conflict a camera’s ability to send video, or a
firewall setting may prevent the connection
altogether. While not an acceptable ‘permanent
solution’, sometimes a worthwhile provision
measure is to disable antivirus software or
loosen firewall protections. If the connection
with the camera is achieved at this step, then
a final configuration of the antivirus software
or firewall can take place that permits proper
operation.
6. Verify Camera Power and connection:
If possible, look at the camera to make sure it is powered
up. Most cameras have LED’s that indicate the camera’s power status, and if it is connected to and
transmitting data to the network. Many times these LED’s may be concealed inside the camera’s
housing. If the camera is externally powered (non-PoE) check the power supply if no LED’s are lit.
If it’s a PoE camera and not powered, check to see if it is plugged into a PoE switch or midspan. Verify that
the camera is receiving the proper wattage of PoE power, outdoor cameras with heater/blowers and PTZ
cameras often require High-PoE or PoE+ 30W or 60W of PoE power that is higher than most standard
15W PoE switches provide, often requiring different wattage midspans. Some cameras that require
>15W of power will boot up and connect with 15W, but not transmit images or respond to PTZ commands.
Another pitfall may be the PoE network switch itself. Some PoE switches do not have enough power
to supply 15W to every port and will not supply power to another camera if it is already overloaded.
To troubleshoot, connect the camera into a suitable PoE injector or midspan to see if that is the
problem.
7. Check the Cabling:
If the camera’s link and/or activity lights
aren’t blinking, it’s likely a cable. A high frequency of connection
issues center around cabling problems. Basic IT troubleshooting
places a huge emphasis on checking transmission cables. Since
the final assembly is only as robust as it’s weakest link, checking
data cables for kinks, frays, shorts, and bad terminations is a very
basic troubleshooting step. Cable and patch panel connections
made in a hurry by hand can get crossed wires or connectors
come loose.Sometimes the power wires to a PoE camera in the
cable may be powering the camera up, but the data wires may
be crossed or not connected preventing network connection. To
troubleshoot, use a cable tester to test the cabling or use a known


