WX-950
Installation Manual
3-1
Rev. C
CHAPTER 3
INSTALLATION CHECKOUT
3.1 INTRODUCTION
This section contains instructions for post-installation checkout of the WX-950. Complete operating
instructions for the WX-950 are provided in the Pilot’s Guide supplied with each system.
NOTE
The post-installation check procedures in this chapter assume familiarity
with the set-up and operation of the WX-PA Portable Analyzer Kit
(P/N 78-8060-5791-1).
3.2 CONTROLS
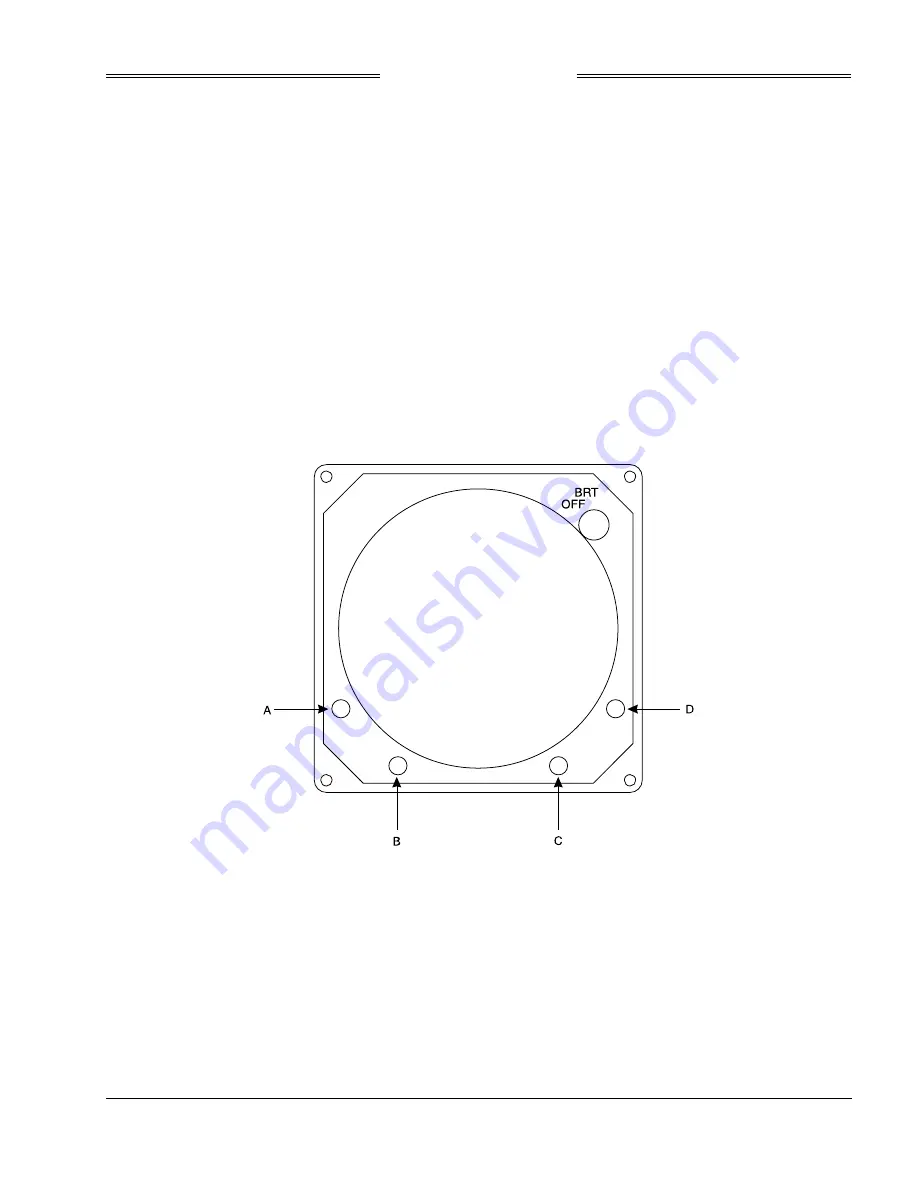
All operating controls are located on the front of the indicator. Figure 3-1 shows the location of the controls.
Figure 3-1. Controls
OFF/BRT
Switch
Power is applied by rotating the knob clockwise past the detent. Continued
clockwise rotation increases display brightness.
A, B, C, & D
Pushbuttons
Also referred to as softkeys (A), (B), (C), and (D). In every operating mode a label
identifying the button function will be displayed next to the button.
Summary of Contents for Stormscope Series II
Page 16: ...WX 950 Installation Manual 1 8 Rev C This page intentionally left blank...
Page 34: ...WX 950 Installation Manual 2 19 Rev C Figure 2 11 Heading Flag KCS55 Connection...
Page 37: ...WX 950 Installation Manual 2 22 Rev C This page intentionally left blank...
Page 65: ...WX 950 Installation Manual A 6 Rev C This page intentionally left blank...


