- 16 -
²
Fingerprints and dust should be carefully wiped off the disc’s recorded surface with a soft cloth. Unlike
conventional records, compact discs have no groove to collect dust and microscopic debris, so gently
wiping with a piece of soft cloth should remove most particles.
CLEANING THE UNIT
²
To prevent fire or shock hazard, disconnect your unit from the AC power source when cleaning.
²
If the cabinet becomes dusty, wipe it with a soft dry dust cloth. Do not use any wax or polish sprays
on the cabinet.
²
If the cabinet becomes dirty or smudged with fingerprints it may be cleaned with a soft cloth slightly
dampened with a mild soap and water solution. Never use abrasive cloths or polishes, as these
will mar the finish of your unit.
CAUTION:
Never allow any water or other liquids to get inside the unit while cleaning.
TROUBLESHOOTING GUIDE
If you experience any difficulties in operating this unit, please take the time to read the hints and tips
shown in the troubleshooting guide below.
Symptom
Possible Cause
Solution
Radio
Station not tuned properly for
MW or FM
Fine tune MW or FM broadcast station
FM:
The FM antenna wire is not
extended
Extend FM Wire Antenna
Noise or sound distorted on
MW or FM broadcasting
MW:
The built-in ferrite bar
antenna is not positioned
correctly
Reposition the until the best reception
is obtained
Mono mode is selected
Press ST/MO button to STEREO mode
You have tuned to a mono
station
Retune another FM station
FM STEREO indicator
does not light up
The signal is too weak
Retune another FM station
Unit not in TUNER mode
Press TUNER / BAND button to select
TUNER mode
MW or FM no sound
Volume at minimum position
Adjust Volume level
CD / MP3 Player
Unit not in CD mode
Press CD button to select CD mode
CD Player will not play
CD is not installed or installed
incorrectly
Load a CD; check that the CD is placed
in the tray with the label side
uppermost.
CD skips while playing
Disc is dirty or scratched
Wipe disc with doth or use another disc
Function inoperative and
jammed
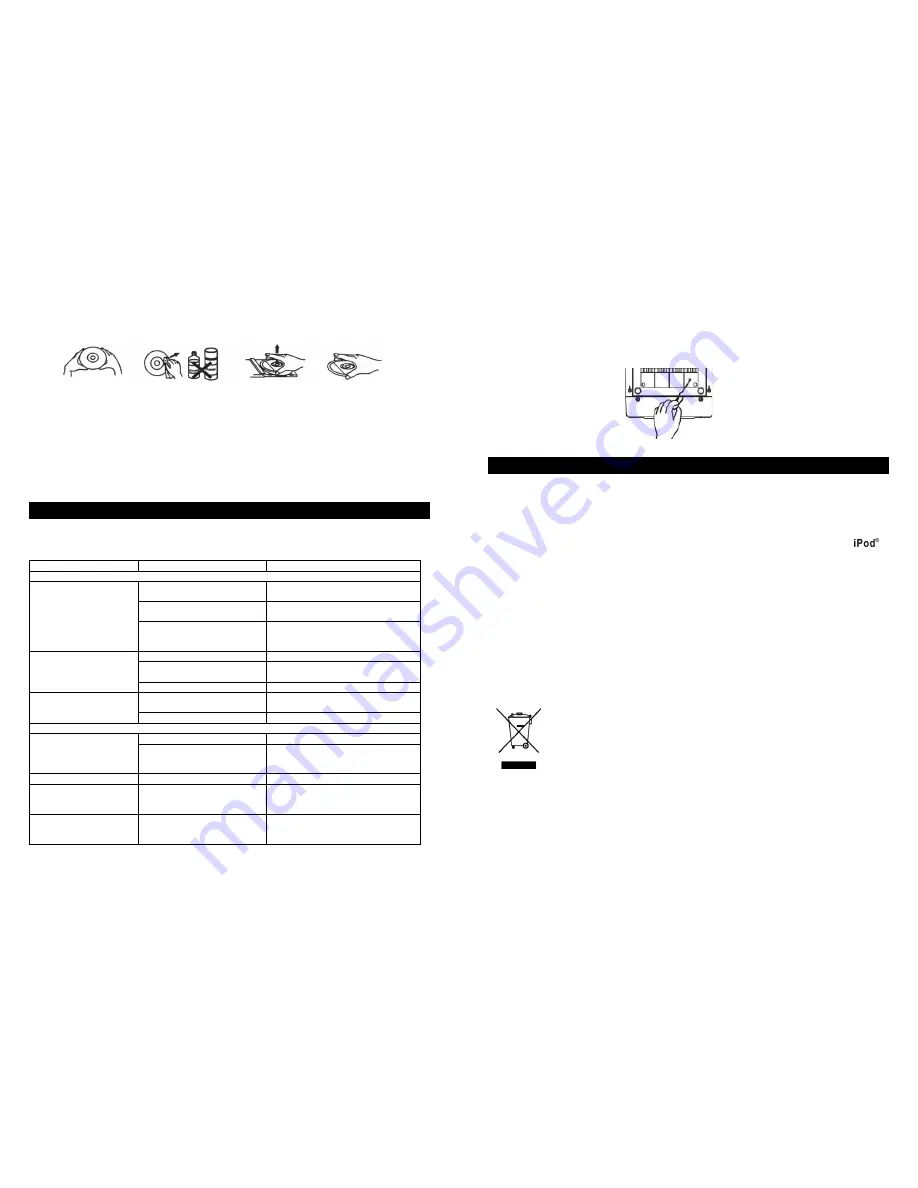
Built-in microcomputer hangs up Use the end of a pencil etc to press the
reset button located on the underside
of the unit (see the below figure).
Display no indication or
abnormal indication
Built-in microcomputer hangs up Use the end of a pencil etc to press the
reset button located on the underside
of the unit (see the below figure).
- 17 -
RESET THE UNIT
l
If the unit exhibits abnormal operation, or fails to respond to button presses, use a pointed
non-metallic object such as a pencil tip to press the RESET button located on the underside of the
unit (see below) .
l
Disconnect the AC power from AC outlet and wait a few seconds for the built-in microcomputer to
reset.
SPECIFICATIONS
GENERAL
Power source ---------------------------------- AC ~230V-240V 50Hz
DC 3V - 1 pc of “CR2025” lithium battery (included)
or equivalent for remote handset
Power Consumption ------------------------ 80 Watts
Dimension ------------------------------------- Main Unit: 149(W) x 214(H) x 243(D) mm (without
dock adaptor)
Speaker Box: 145(W) x 214(H) x 167(D) mm
TUNER SECTION
Frequency range ----------------------------- FM: 88 – 108 MHz
MW: 531 – 1602 kHz
CD / MP3 /WMA SECTION
Playback System ---------------------------- Draw type CD mechanism
USB support ---------------------------------- Version 1.0, 1.1 and 2.0
AUDIO SECTION
Power Output --------------------------------- 2 x 10 Watts RMS @ 10% THD
Speaker impedance ------------------------- 4 ohms
Headphone Impedance --------------------- 8 – 32 ohms
AUX input sensitivity ------------------------- 300 mV
How do I dispose of this product?
When your Micro 1456i has reached the end of its life, contact your local Council
regarding available recycling or disposal options.
Do not dispose of electrical products in the general waste.
Design and specification subject to change are without notice.
172-G401783AU0 -0GM


