7
8. SETTING THE CLOCK
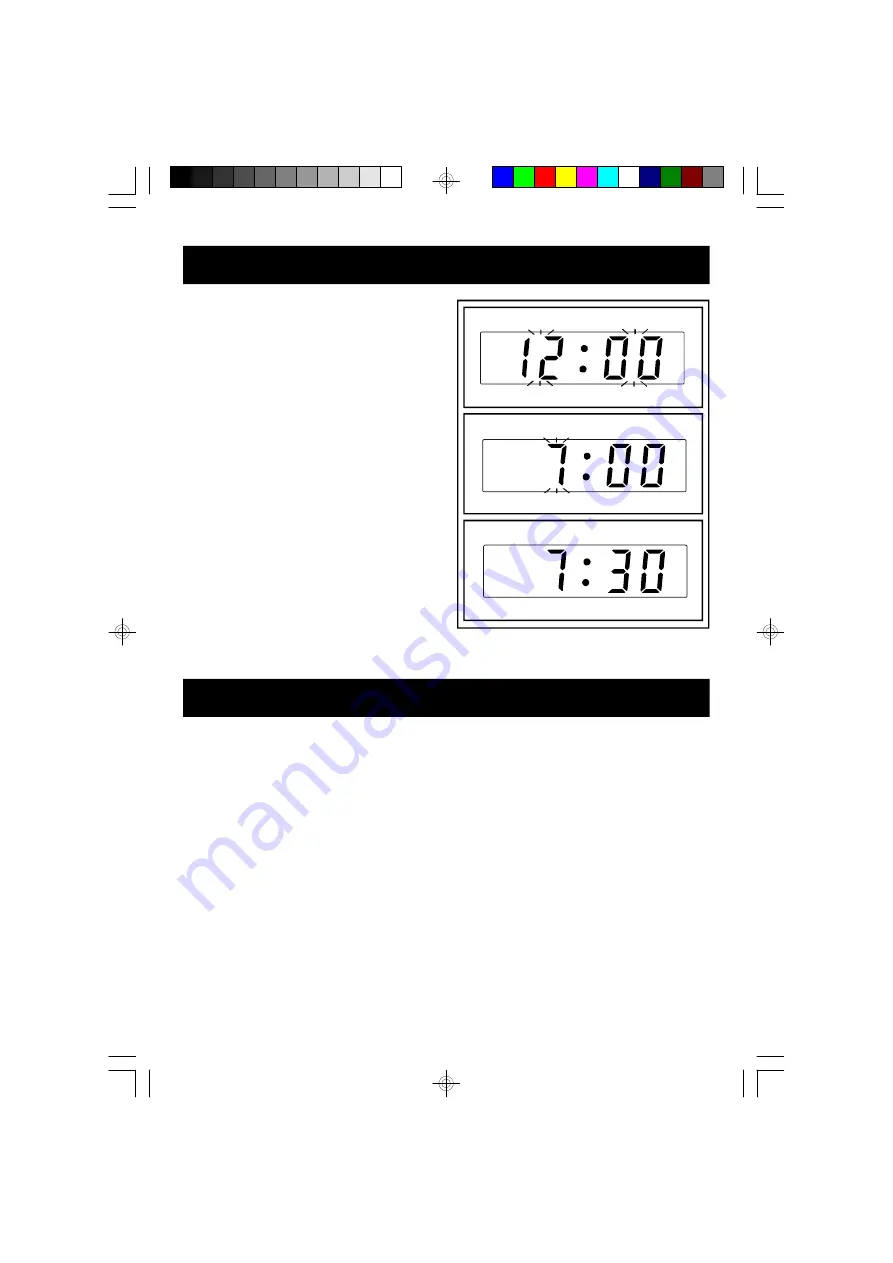
When the unit is connected to the power for the
first time, it will be in Standby, the red power indi-
cator will come on and the LED display will show
"0:00" and will flash. Do not press the STANDBY
button, the clock must be set in the Standby mode.
(F.1)
1. Ensure the unit is in Standby mode (Standby
indicator is ON).
2. Press and hold the PROGRAM/C-ADJ button
until the "hour" digit flashes in the display, then
press the SKIP UP/FF and the SKIP DN/FR
buttons to set the correct hour. (F.2)
3. Press the PROGRAM/C-ADJ button to confirm
the hour and the "minute" digits will flash, press
the SKIP UP/FF and the SKIP DN/FR buttons
to set the correct minute.
F1
F2
F3
9. SETTING THE WAKE-UP TIME
1. Press and hold the DISPLAY/AL SET button for more than 2 seconds until the "hour" digit flash in the
display, the Alarm 1 LED indicator will also flash, press the SKIP UP/FF and the SKIP DN/FR
buttons to set the desired hour.
2. Press the PROGRAM/C-ADJ button to confirm the hour and the "minute" digit will flash, press the
SKIP UP/FF and the SKIP DN/FR buttons to set the desired minute.
3. Again press the PROGRAM/C-ADJ button to confirm and the time for the Alarm 1 is set.
4. The Alarm 2 LED indicator and the "hour" digit in the display will then flash, repeat the above
procedure to set the time for the Alarm 2.
5. To check the Alarm time, press the DISPLAY/AL SET button, repeatedly until the corresponding
LED indicator flashes. The time shown in the clock display is the time set for that alarm.
4. Again press the PROGRAM/C-ADJ button to confirm and the clock is set. (F.3)


