Crosshair
Just as might be expected for a targeting or locating device the
horizontal and vertical crosshairs aide the user in positioning the pointer
antenna directly at the target in question
Battery Indicator
This icon in the lower right corner constantly reports the
status of the “AA” batteries powering the receiver It should be seen as a
“fuel guage” When the icon is “empty” the batteries should be replaced with
fresh ones
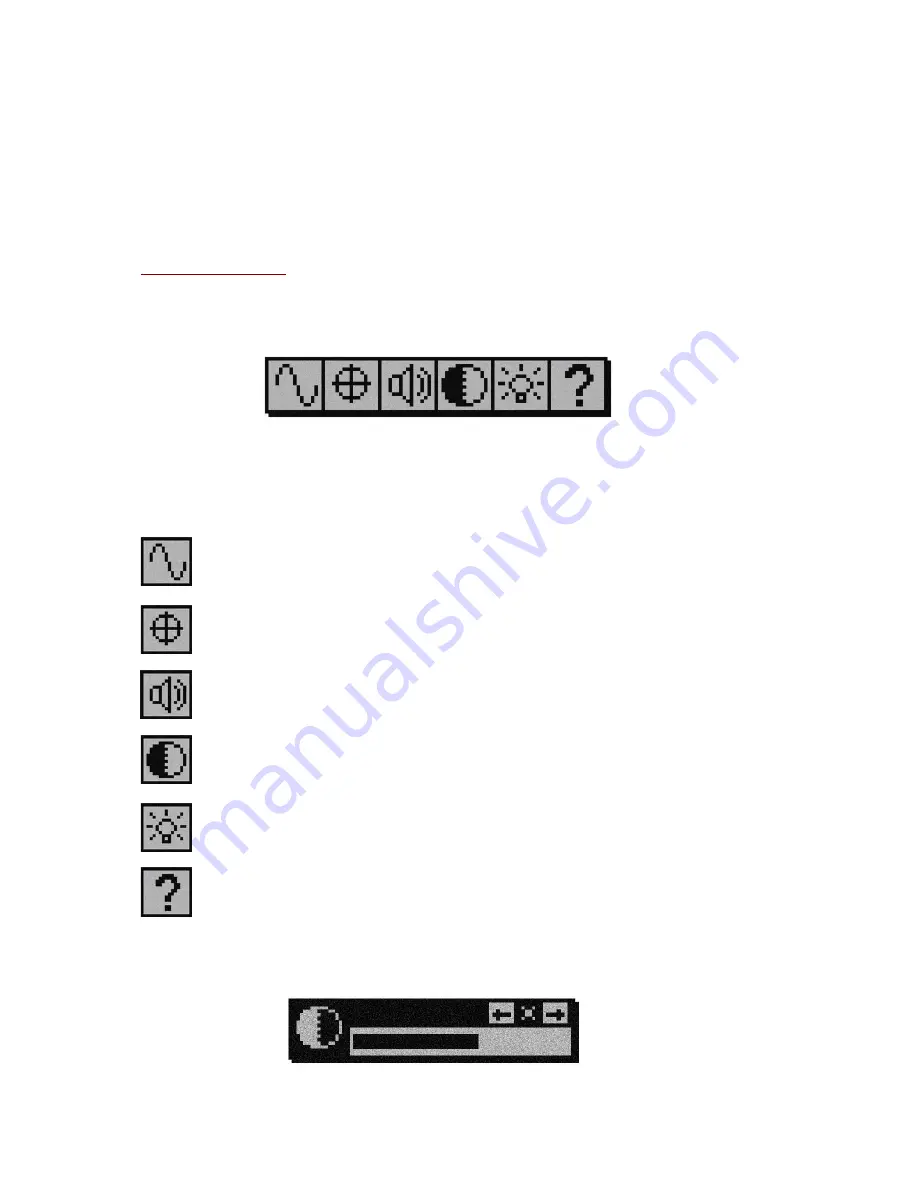
Control Strip Menu
The pop up control strip menu (shown below) provides a quick and easy way
for the user to make any desired adjustments to the receiver’s settings at any
time during a locating job
To access the control strip while locating simply CLICK HOLD the trigger
CLICK to advance through the available choices As each icon becomes
highlighted a help text above the strip indicates the function of the icon
Once the desired choice is highlighted CLICK HOLD to select that choice
The adjustments that can be made via the control strip follow here
SET FREQUENCY
Selecting this will take you directly to the “SET
FREQUENCY” menu described in the startup procedure on the
previous pages
LOCATING MODE
Selecting this will activate the “SET LOCATING
MODE” menu previously described
SET VOLUME
Adjust the speaker/headset audio volume via this
choice
SET CONTRAST
Adjust the LCD image contrast via this choice
BACKLIGHT THRESHOLD
Use this function to set the light level
at which the LCD backlight comes on
HELP
Allows access to information about the
locating
receiver
When setting the volume the LCD contrast or the backlight threshold the
following adjustment bar will be displayed:


