4.
Cut type:
•
Manual tear bar: With this setting, labels have to be torn off or removed
manually.
5.
Adjust left margin (mm):
Sometimes a label gap may not be positioned precisely at the tear bar. In such a
case, you can also enter positive or negative values to adjust the label position.
Positive values will move the labels backward (into the printer), negative values
will move them forward (out of the printer).
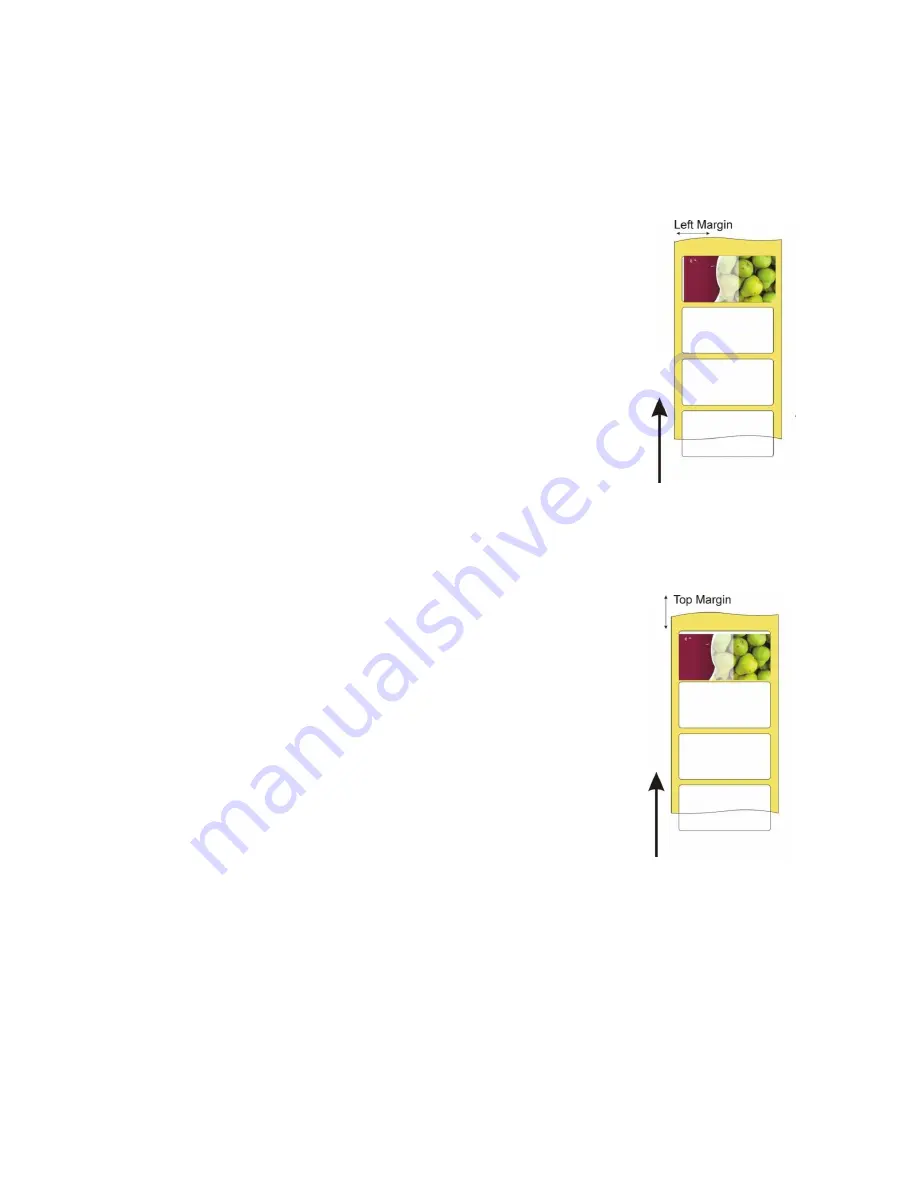
Use this setting to prevent white margins on your labels. If a
white margin is visible on the left or right of the label, enter a
positive or negative value to correct it. In the example
shown on the right, you would enter a negative value to
move the printed image on the label to the left. You may
need to repeat this step until you have reached the desired
position of the printout.
6. Adjust top margin (mm):
Use this setting to prevent white margins on your labels. If a
white margin is visible at the top or bottom of the label,
enter a positive or negative value to correct it. In the
example shown on the right, you would enter a negative
value to move the printed image on the label upwards. You
may need to repeat this step until you have reached the
desired position of the printout.
7. Adjust eject position (mm):
14
Print direction
Print direction


