background image


Meter View 

A left mouse click on the four bottom blue dot icons will 
change the number of meters on the screen to: 1, 2, 4 or 6 
meters. A left click on any of the meters will open a dialog 
box for meter type selection and assigning a sensor for this 
meter.  


Marker 

A left mouse click, near any of the graphs, will place a 
marker on the graph. Hovering over any of the markers, 
while pressing and holding the left mouse button and 
dragging the mouse, will move the marker over the graph 
and will show the values as the marker moves along the 
graph line. Selecting the 

Marker 

icon again, exits the 

Marker 

mode. 


Annotation 

Allows a left mouse click to open a dialog box where text 
and images can be entered. Pressing the 

Annotation 

icon 

again exits the 

Annotation 

mode

.  


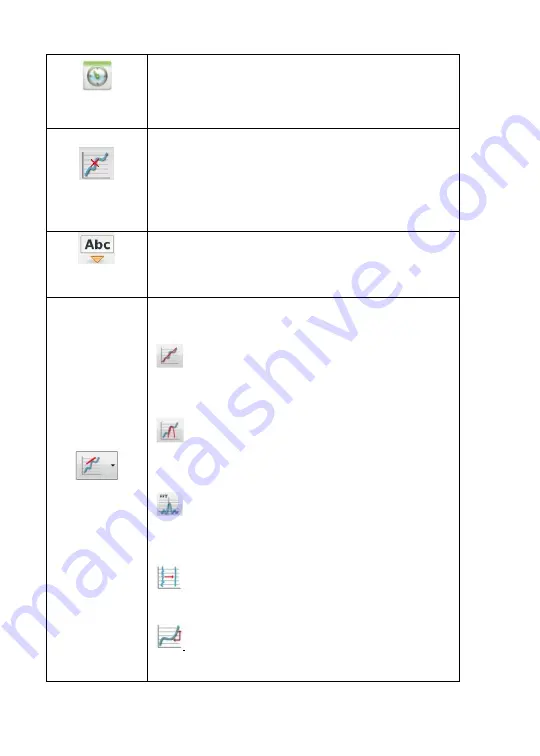
Mathematical 

Functions 

Pressing the 

Function-options 

small triangle icon allows the 

user to apply the mathematical functions listed below 
between the graph markers:  


Linear regression

 will display the best linear line that 

fits the graph between the locations of two markers. Next to 
the line the software will open a small text box displaying 
the linear line equation: Y= aX+b. 


Quadric regression 

will display the best parabolic line 

(2nd degree) that fits the graph between the locations of 
two markers. Next to the line the software will open a small 
text box displaying the parabolic line equation: Y= aX²+bX+c.  


FFT

 is used to split the graphic display to show the 

original measurements in a time scale in the top window 
and to show its harmonics, on a frequency scale in the lower 
window. 


Smooth

 is used to average a graph. Every sample is 

an average of the two readings before and two after 
samples. It can be useful in case the graph is very noisy. 


Derivative

 measures the sensitivity to change of a 

quantity in one data source determined by another quantity 
or another data source. 

Summary of Contents for Labdisc Mini

Page 1: ...Quick Start Guide This Guide is intended to help you get your Mini up and running quickly For more detailed instructions please see the Getting to Know Your Mini document in the Getting Started sectio...

Page 2: ...re Functions 6 2 3 Software Icons and their Functions 7 2 4 GlobiLab Software for the iPad 10 2 5 GlobiLab Software for Android Tablets 14 3 0 MINI GLOBILAB COMMUNICATION 17 3 1 USB Connection 17 3 2...

Page 3: ...1 3 2 1 6 7 1 Mini Hardware Overview 1 1 What s in the Pack Mini data logger Temperature probe Air pressure tube Banana cables USB charging cable Plastic clip Ear clip 1 4 5...

Page 4: ...2 1 2 Ports and Controls The picture below reviews the Mini ports sensors and display...

Page 5: ...probe 10 sec Temp probe Heart Rate 0 to 200 bpm Measuring heart rate 100 sec Ear clip Air Pressure 0 to 300 kPa Measuring air pressure 10 sec Plastic tube Relative Humidity 0 to 100 RH Measuring rela...

Page 6: ...6 LEDs When logging Green light rotates through all 6 LEDs Sensors currently sampling will show a light indicator for 3 seconds Manual logging Green light continues rotating through all 6 LEDs Sample...

Page 7: ...Mini configurations are performed from the GlobiLab software menu Your Mini must be paired with the computer or tablet that you plan to use with it See Chapter 3 0 below for instructions on how to pai...

Page 8: ...2 Simple instructions will take you through the installation of the GlobiLab software 2 2 Software Functions A quick overview of the major features of the GlobiLab software is below For more detailed...

Page 9: ...d 1 A left click on the sensor name makes it active and changes the y axis to this sensor s units scale 2 A single right click on the sensor name changes a line graph to individual data points 3 A sec...

Page 10: ...triangle icon allows the user to apply the mathematical functions listed below between the graph markers Linear regression will display the best linear line that fits the graph between the locations o...

Page 11: ...then automatically opens EXCEL and exports the experiment data into the spreadsheet GlobiLab status bar at the bottom right corner of the software includes 3 icons 1 USB indicator the USB Indicator is...

Page 12: ...icon 2 Search for GlobiLab 3 Press the green FREE button to install the application Set wireless communication between the Mini and the iPad 1 Go to iPad Setting Bluetooth and select your Mini from t...

Page 13: ...o stop recording tap the STOP icon Download stored measurements The Mini can store up to 127 different experiments This is very useful when conducting outdoor data collection or long measurements 1 Ta...

Page 14: ...to add a 2nd marker 5 Place markers at the beginning and end of a section of the graph 6 Tap the Curve Fitting icon and select a function to get the mathematical equation representing the graph Graph...

Page 15: ...ails check the Microclimates movie at http www globisens com resources experiment videos 3 Tap the color scale on the left and select Ambient Temperature Observe the temperature change while walking f...

Page 16: ...e iPad 1 Go to Settings Bluetooth and scan Make sure that your tablet is visible to all nearby Bluetooth devices 2 Select your Mini from the list of Available Devices Hold down the blue button until a...

Page 17: ...2 The iPad will list all stored experiments and show what sensors were used the sampling rate and how many samples were collected as well as the date time of the collection 3 Click on one of the line...

Page 18: ...ed to the Internet 2 Tap the Open icon and select Walk in the Park This experiment measured the climate in a city park compared to a nearby city cross road For more details check the Microclimates mov...

Page 19: ...omplete the computer stores the connection information including a unique number for each Mini found on a small silver sticker on the back of your Mini 3 2 1 Set the Mini to Pairing Mode 1 Turn on the...

Page 20: ...creen and select the device you want from the pop up menu listing the paired devices When connected the Bluetooth icon will turn blue and a notice in the lower left hand corner of the screen will indi...

Page 21: ...is turned on 3 From the list of available devices select MiniDisc_xxxx xxxx will be the last four digits on the Mini s serial number sticker 4 When the iPad asks for a PIN code enter 1234 Press and h...

Page 22: ...of the screen near the back arrow or home button 5 The application will open the Bluetooth pairing wizard and start searching for Mini devices 6 Select the Mini_xxxx where xxxx are the last 4 digits o...

Reviews: