


43
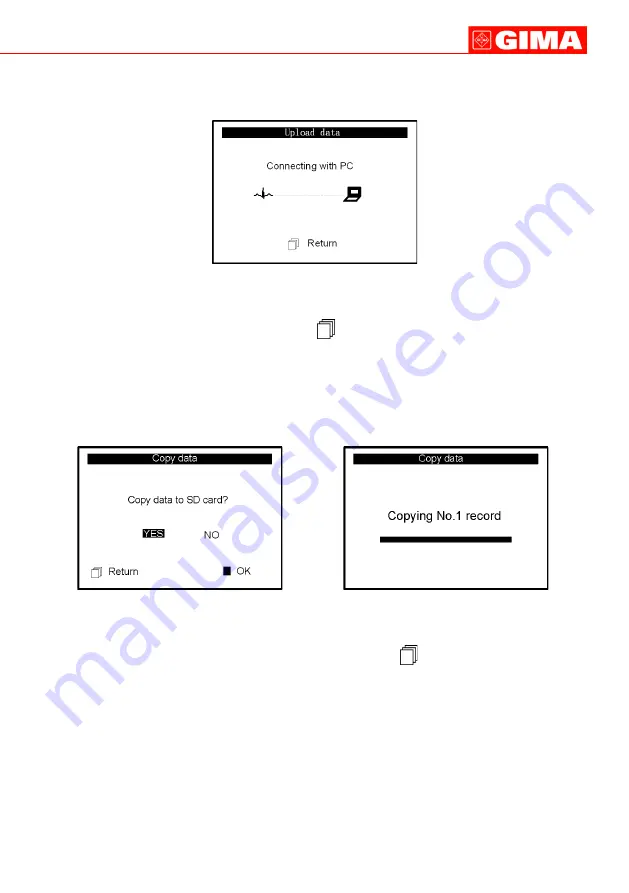
Figure 3-21 Figure 3-22
Choose “YES” and press “OK” button, the data in the device will be copied to SD Card
(shown as Figure 3-22) one record by one record. If press “
Return” button7 directly, the
screen will return to data management screen.
Note
1) On data management screen, if no SD Card in the device, the option “Copy
data” is gray.
2) Ensure that there is enough battery power for performing data deletion, copying
data and uploading data, or low battery will make the device stop coping.
3.5 System Setting
On the main menu screen, select “Setting” with Navigation Key, then press “OK” button to
enter into system setting screen, as shown in Figure 3-23 A and Figure 3-23B.
Figure 3-20 Upload Data Screen
On this screen, you can transmit data to PC for data management, review and interpretation
through PC-80B data cable (optional). Press “
Return” button to return.
3.4.3 Copy Data
On data management screen, select “Copy data” to enter into copy data screen, as shown in
figure 3-21.
Suggestion: Before copying data to SD card, please back up the original data in SD card and
format the SD card.
ENGLISH
3.4.2 Upload Data
On data management screen, select “Upload data” to enter into upload data screen, as
shown in figure 3-20.
Summary of Contents for CARDIO-B
Page 30: ...30 ENGLISH 1 Overview 1 1 Appearance Figure 1...
Page 56: ......


