


SATA Hard Drive Configurations (nForce series) - 4 -
Ác
Åé
¤¤
¤å
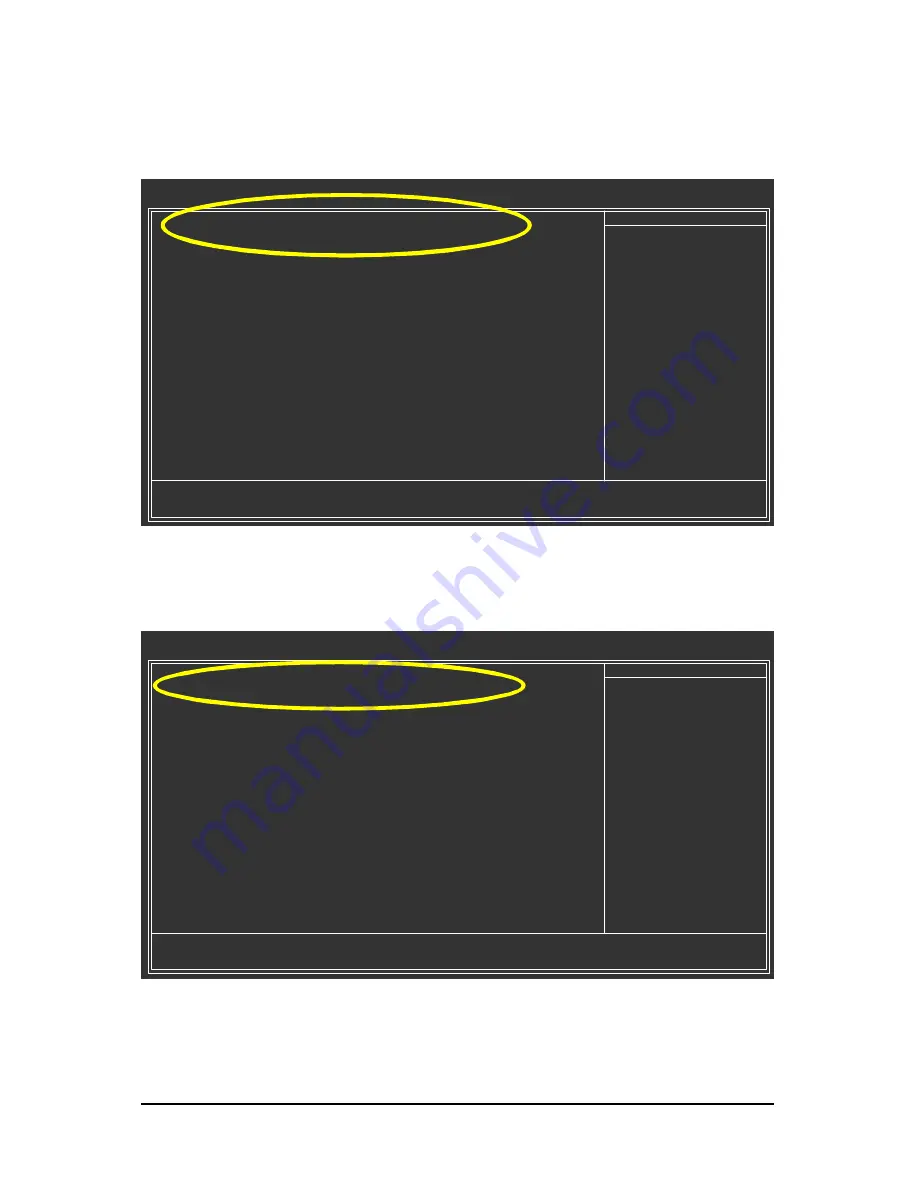
Step 2:
Later, select
Hard Disk Boot Priority
under
the
Advanced BIOS Features
menu. In the
Hard Disk
Boot Priority
submenu, select the model of the SATA hard drive onto which you intent to install Microsoft
Windows 2000/XP (Figure 3).
Figure 3
CMOS Setup Utility-Copyright (C) 1984-2004 Award Software
Hard Disk Boot Priority
1. CH2 M. :
S_ATA1-ST3120026AS
2. CH3 M. :
S_ATA2-ST3120026AS
3. Bootable Add-in Cards
hi
: Move
PU/PD/+/-: Change Priority
F10: Save
ESC: Exit
Item Help
Menu Level
}}
Use <
h
> or <
i
> to
select a device, then
press <+> to move it
up, or <-> to move it
down the list. Press
<ESC> to exit this
menu.
Step 3:
Set
First Boot Device
under the
Advanced BIOS Features
menu to
CDROM
to boot from CD-ROM
drive after system restarts (Figure 4).
CMOS Setup Utility-Copyright (C) 1984-2004 Award Software
Advanced BIOS Features
}
Hard Disk Boot Priority
[Press Enter]
First Boot Device
[CDROM]
Second Boot Device
[Hard Disk]
Third Boot Device
[CDROM]
Boot Up Floopy Seek
[Disabled]
Password Check
[Setup]
Flexible AGP 8X
[Auto]
Init Display First
[AGP]
higf
: Move
Enter: Select
+/-/PU/PD: Value
F10: Save
ESC: Exit
F1: General Help
F5: Previous Values
F6: Fail-Safe Defaults
F7: Optimized Defaults
Item Help
Menu Level
}
Step 4:
Save and exit BIOS Setup.
Figure 4


