SATA Hard Drive Configurations (nForce series) - 14 -
Ác
Åé
¤¤
¤å
NV I D I A R A I D Ut il it y Ma y 1 0 2 0 0 4
- D e f i n e a N e w A r r a y -
R A I D M o d e :
S t r ip i n g
S t r ip in g B l o c k :
O p t im a l
F r e e D is k s
L o c
D i s k M o d e l N a m e
1 . 0 . M
S T 3 1 2 0 0 2 6 A S
1 . 1 . M
S T 3 1 2 0 0 2 6 A S
A r r a y D i s k s
L o c
D i s k M o d e l N a m e
[
g
] A d d
[
f
] D e l
[ F 6 ] B ac k [ F 7 ] F in is h [ TA B ] N a v ig a t e [
h i
] S e le c t [ E N TE R ] P o p u p
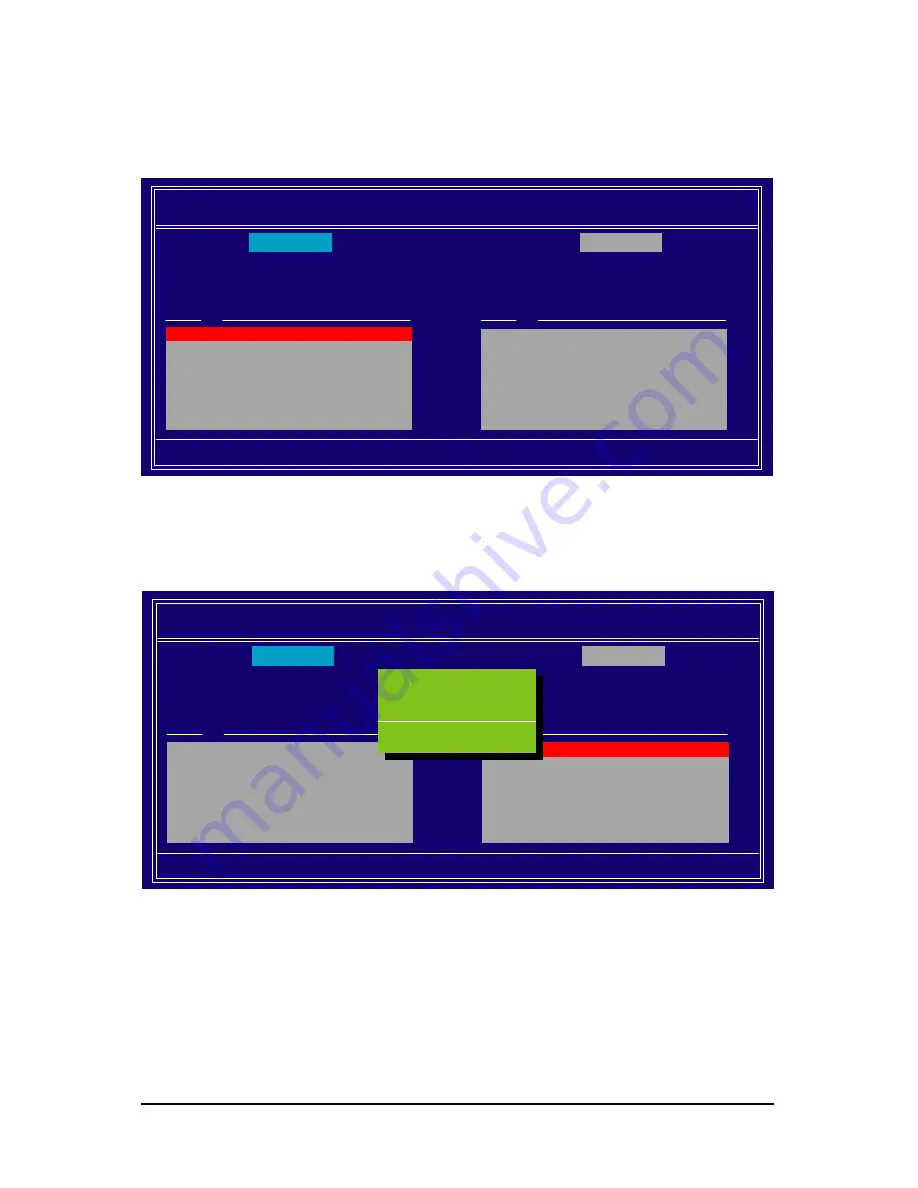
Step 3:
After system restarts, press F10 to enter the NVIDIA RAID setup utility. Select Striping in the RAID Mode
filed (Figure 23). Move to the Free Disks section with the TAB key. Select the desired disk and use the
RIGHT ARROW key to add it to Array Disks menu.
Figure 23
Step 4:
After all the settings, press F7 to complete the configuration. When prompted to
Clear Disk Data
(Figure
24), press N. Then press CTRL+X to exit the NVIDIA RAID BIOS. Restart the computer to boot into Windows
2000.
Figure 24
NV I D I A R A I D Ut il it y Ma y 1 0 2 0 0 4
- D e f i n e a N e w A r r a y -
R A I D M o d e :
S t r ip i n g
S t r ip in g B l o c k :
O p t im a l
F r e e D is k s
L o c
D i s k M o d e l N a m e
A r r a y D i s k s
L o c
D i s k M o d e l N a m e
[
g
] A d d
[
f
] D e l
[ F 6 ] B ac k [ F 7 ] F in is h [ TA B ] N a v ig a t e [
h i
] S e le c t [ E N TE R ] P o p u p
1 . 0 . M
S T 3 1 2 0 0 2 6 A S
1 . 1 . M
S T 3 1 2 0 0 2 6 A S
C le a r d is k d a t a ?
[ Y] YE S [ N ] N O


