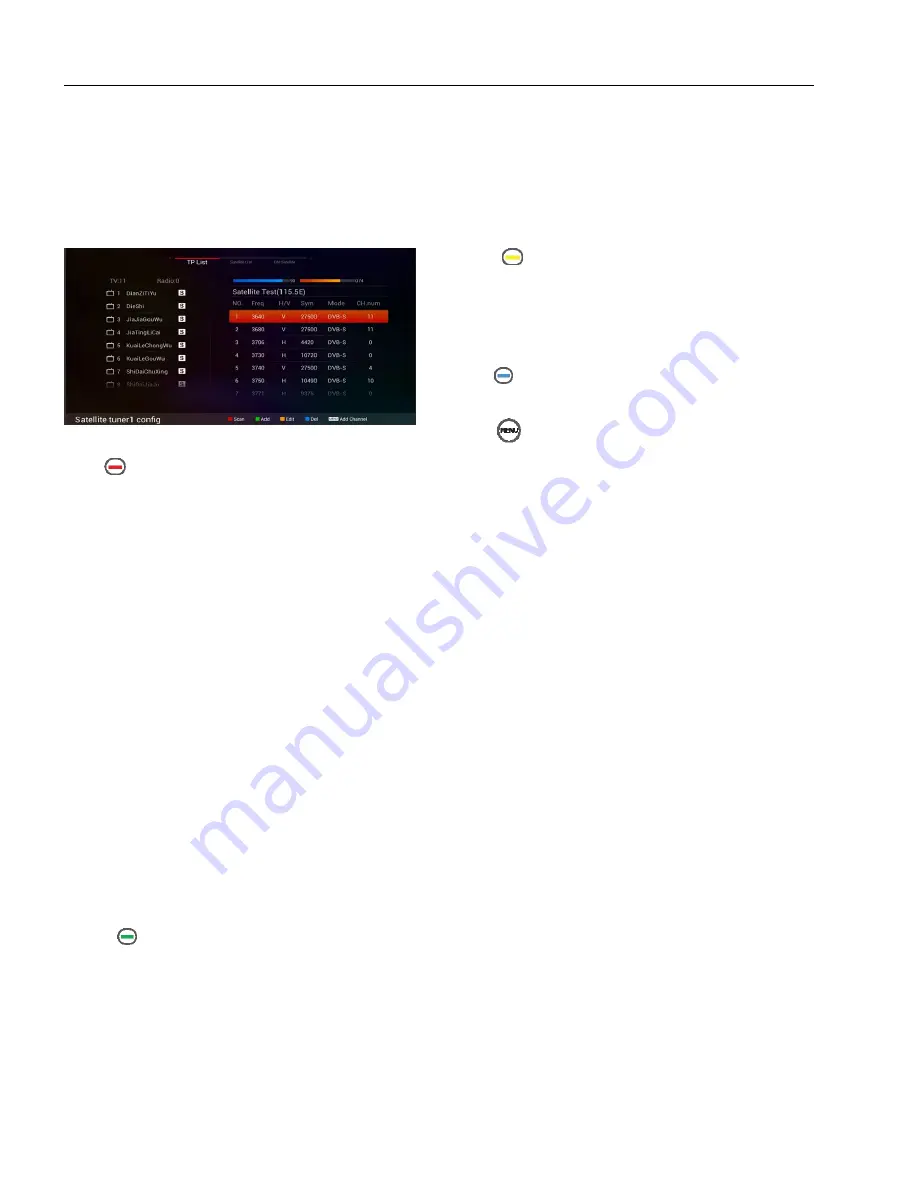
3, TP LIST
TP list display satellite’s default
transponder
list.
Use the UP/DOWN arrow keys to browse satellite list.
Press the OK key to mark the selected satellite. You can
select more than one t
ransponder.
Press
key to open the channel search windows.
Mode: Define what channels to scan; you will be
given six options in the mode criteria: All, FTA,
ALL-TV, FTA-TV, ALL-RADIO and FTA-RADIO.
NET: Some of the new transponders being
broadcasted in the satellite could be missing in
current given TP .So, if you set the Net search to ‘NIT
ON’ status and search that TP, then you will be able
to catch the channels in those new transponders.
Video: Enter PID for the video signal.
Audio: Enter PID for the audio signal
PCR: Enter the PID (Packet Identifier) for the PCR
(Program Clock Reference)
Video, audio and PCR options activate only while one
tp be select, these options will be hidden if you select
more than one tp to scan
After define scan parameter completely, press the
OK key to start searching all selected
transponder
s.
Press
key to add a new transponder.
TP Frequency: Specify the frequency in MHz.
Polarization: Select horizontal or vertical.
Symbol Rate: Enter with the Number buttons.
Mode: select DVB-S or DVB-S2
After entering TP frequency, symbol rate, polarization
and select Modulation, press OK key to save this
specific
transponder
.
Press
key to edit a highlighted transponder. After
modify TP frequency, symbol rate, polarization and select
Modulation, press OK key to save your change.
Press
key to delete all selected
transponder
s.
Press
key to add a specific channel by set PID
parameter.
Video PID: Enter PID for the video signal.
Audio PID: Enter PID for the audio signal
PCR PID: Enter the PID (Packet Identifier) for the
PCR (Program Clock Reference)
Video: select the correct video format
Audio: select the correct audio format
After setting all necessary parameters, press ok key to
find and add the channel.


