background image


 Connecting GV-CS1320 


3

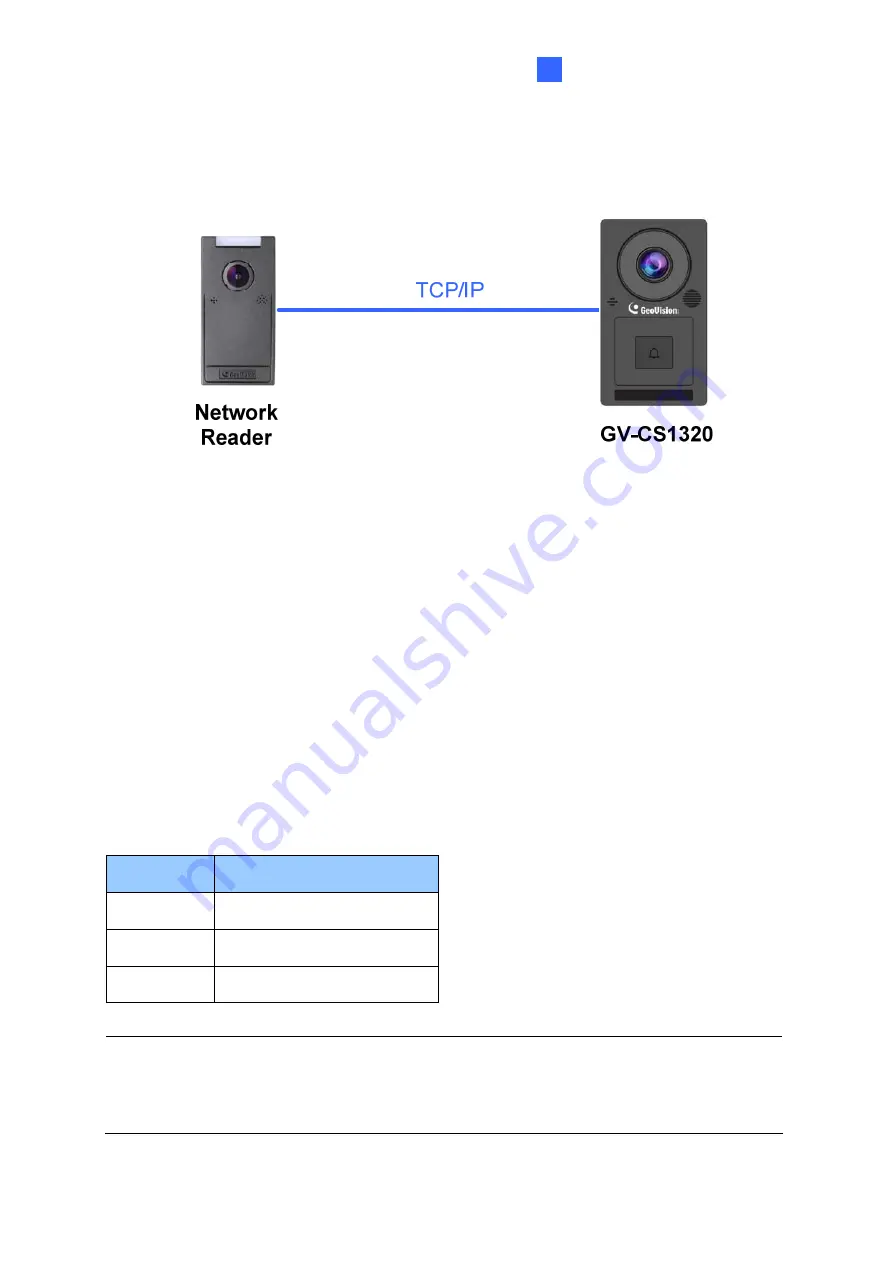
3.2  Connecting Network Readers 

GV-CS1320 supports network connection with GV-CR420 and GV-GF1921 / 1922.   


3.3    Connecting Input Devices to GV-CS1320 

GV-CS1320 supports 2 types of inputs: 

1.  Sensor inputs, e.g. door status sensor 

2.  Button inputs, e.g. door opener and exit button 


All inputs are 

dry contact 

and can be configured as normally open (NO) or normally closed 

(NC) through the GV-CS1320 Web interface. The default value is 

NO

. To change the input 

status, see

 Input Setting

, Chapter 4, 

GV-CS1320 Camera Access Controller User’s Manual


The table below shows the wire assignments of input connectors on GV-CS1320. 


Note:

 You can connect a GV-I/O Box to your GV-CS1320 to give an extra layer of security. 

For details, see 

Chapter 8 Connecting to GV-I/O Box 4 Ports, GV-CS1320 Camera Access 

Controller User’s Manual.


7

Wire color 

Definition 

Yellow Sensor 

IN1 

Light Red 

Button IN2 

Brown IN 

COM 

Summary of Contents for GV-CS1320

Page 1: ... for purchasing GV CS1320 Camera Access Controller This guide is designed to assist the new user in getting immediate results from the controllers For advanced information on how to use GV CS1320 please refer to GV CS1320 Camera Access Controller User s Manual on Software CD DVD ...

Page 2: ...tal or consequential damages arising from the use of the information or products contained herein Features and specifications are subject to change without notice GeoVision Inc 9F No 246 Sec 1 Neihu Rd Neihu District Taipei Taiwan Tel 886 2 8797 8377 Fax 886 2 8797 8335 http www geovision com tw Trademarks used in this manual GeoVision the GeoVision logo and GV series products are trademarks of Ge...

Page 3: ...ng Network Readers 7 3 3 Connecting Input Devices 7 3 4 Connecting Output Devices 8 3 5 Connecting GV CS1320 to PC 9 3 6 Connecting the Power 10 4 Accessing the GV Fisheye Camera 11 4 1 Creating Login Credentials 11 4 2 Web Browser 12 4 2 Looking Up the Dynamic IP Address and Logging In 12 4 3 Configuring the IP Address 14 5 The Web Interface 15 6 Upgrading System Firmware 16 7 Restoring to Factor...

Page 4: ...aced at a parking lot gate GV CS1320 should be about 1 2 meters above the ground to match the height of vehicles Face Detection Limitations GV CS1320 cannot detect the face of cardholders wearing facial masks or sunglasses GV CS1320 is designed to detect front view faces only If the face is slightly tilted horizontally or vertically the tilt angle cannot exceed 15 degree Lighting Conditions Avoid ...

Page 5: ...rn the basic installations and configurations of GV CS1320 For details see GV CS1320 Camera Access Controller User s Manual 1 1 Packing List GV CS1320 Mounting Plate Standard Screw x 2 Plastic Screw Anchor x 2 Security Tube Torx Wrench Silica Gel Bag Software DVD Micro SD Card 2 GB formatted and installed Warranty Card 1 ...

Page 6: ...lover Server V1 1 0 0 with Patch or later GV Recording Server V1 2 5 0 with Patch or later GV Edge Recording Manager V1 1 0 0 with Patch or later The compatible versions between GV CS1320 and GV ASManager GV CS1320 V1 0 V1 10 V1 11 V2 00 V2 11 V2 20 GV ASManager V4 3 5 0 V4 3 5 0 V4 4 0 0 V4 4 2 0 V4 4 3 0 V5 0 0 0 V5 0 1 0 V5 0 2 0 GV CS1320 V3 00 V3 01 V3 03 V3 04 V3 05 V3 06 V3 07 V3 08 GV ASMa...

Page 7: ...r Talks to the surveillance area from the local computer 6 Touchpad and LED status Touch to activate the talk mode See the LED and Beeper Status below 7 Default Button Resets all configurations to default factory settings See 7 Restoring to Factory Default 8 Power Cable Connects to power supply See 3 6 Connecting the Power 9 Ethernet Port Connects to network and power supply See 3 5 Connecting GV ...

Page 8: ...een LED momentarily One long beep Touchpad activated Flashes blue momentarily One short beep Touchpad ignored Returns to blue purple LED Three short beeps after 30 seconds Wire Definition Wire Definition RJ 45 Ethernet Red 12V DC Black GND Yellow Input 1 Brown Input COM Light Red Input 2 Blue RS 485 Light Blue RS 485 Gray Output NO Purple Output COM Orange Output NC Green Not functional White Not ...

Page 9: ...all mount installation 1 Attach the single gang power box to the wall 2 Place the mounting plate on the single gang power box and secure with the 2 standard screws provided 3 Place GV CS1320 on the mounting plate together with the single gang power box and thread the cables through the holes 4 Secure the security screw on the bottom with the mounting plate Step 2 Step 3 Step 4 5 ...

Page 10: ...wo RS 485 wires from one reader to GV CS1320 When connecting a second reader to GV CS1320 you will need to set up a separate power source to power the second reader if the total power consumption including output devices exceeds 12V The table below shows the wire assignments of RS485 connection on GV CS1320 6 Wire color Definition Red 12V DC Black GND Blue RS 485 Light Blue RS 485 ...

Page 11: ...rmally open NO or normally closed NC through the GV CS1320 Web interface The default value is NO To change the input status see Input Setting Chapter 4 GV CS1320 Camera Access Controller User s Manual The table below shows the wire assignments of input connectors on GV CS1320 Note You can connect a GV I O Box to your GV CS1320 to give an extra layer of security For details see Chapter 8 Connecting...

Page 12: ...V CS1320 circuit board may occur Continuous operation of GV CS1320 at the absolute rating level may affect GV CS1320 s reliability 2 You can connect a GV I O Box to your GV CS1320 to give an extra layer of security For details see Chapter 8 Connecting to GV I O Box 4 Ports GV CS1320 Camera Access Controller User s Manual To connect an output device The example below illustrates the connection of a...

Page 13: ...nk between the computer and GV CS1320 requires a network connection When GV CS1320 is connected to GV ASManager GV ASNotify will generate a notification message whenever the touchpad on GV CS1320 is activated You can use GV ASNotify to watch live view and talk with the surveillance site For details see Chapter 15 GV ASNotify in GV ASManager User s Manual 9 Note 1 GV CS1320 is only compatible with ...

Page 14: ...s the pin assignments of the power connectors on GV CS1320 When using PoE adapter power will be provided to the device through the Ethernet cable Note 1 Power should only be applied to the unit when all connections are completed and tested 2 GV CS1320 produces an output voltage of 12V You will need to connect an external power supply if the total power consumption exceeds 12V after readers and out...

Page 15: ... website 2 On the GV IP Device Utility window click to search for your GV CS1320 3 Double click your GV CS1320 in the GV IP Device Utility list This dialog box appears 4 Click the Create User Account tab to type a new username and password Note that the new password must meet the password strength requirements 11 5 Optionally click Upgrade all devices to use the same username and password on all o...

Page 16: ... ensure your PC use one of the following web browsers Browser Internet Explorer 9 x or later Firefox Google Chrome Safari Note For users of non IE browsers download GV Web Viewer to access full functioning user interface See 3 1 Accessing Your Surveillance Images in the User s Manual 12 ...

Page 17: ... the Web interface Note The PC installed with GV IP Device Utility must be under the same LAN as GV CS1320 1 Install the GV IP Device Utility program from the Software DVD or our website 2 On the GV IP Utility window click the button to search for the IP devices connected in the same LAN Click the Name or Mac Address column to sort 3 Click on the IP address of GV CS1320 and select Web Page 13 4 On...

Page 18: ...IP address on the Web browser Important 1 If Dynamic IP Address or PPPoE is enabled you need to know which IP address the GV CS1320 will receive from the DHCP server or ISP to log in If your device in installed in a LAN use the GV IP Device Utility to look up its current dynamic IP address See 4 2 Checking the Dynamic IP Address and Logging in in the Quick Start Guide If your GV CS1320 uses a publ...

Page 19: ...ive video 6 File Save Records live video to the local computer 7 Full Screen Switches to full screen view Right click the image to have these options Snapshot Digital PTZ Wide Angle Lens Dewarping Wide Angle Setting PIP and PAP 8 Show System Menu Brings up these functions Alarm Notify Video and Audio Configuration Remote Config Show Camera Name and Image Enhance 15 For details see Chapter 3 Access...

Page 20: ...ive View window click the Show System Menu button No 8 Chapter 5 The Web Interface and select Remote Config This dialog box appears 2 Click the Browse button to locate the firmware file img saved at your local computer 3 Click the Upgrade button to process the upgrade To upgrade system firmware using GV IP Device Utility see Chapter 5 Advanced Applications in the User s Manual 16 ...

Page 21: ...ng the Web Interface 1 In the left menu select Management and select Tools 2 Under the System Settings section click the Load Default button 7 2 Directly on the Camera 1 Unplug the power cable 2 Use a point object such as the tip of a pen to hold down the Load default button while plugging the power cable 17 3 Wait until the status LED blinks twice to release the Load default button The process ta...

Reviews: