


© 2022 GeoSLAM Ltd 6 ZEB Vision User Guide v1.3
3.3. Collecting Data
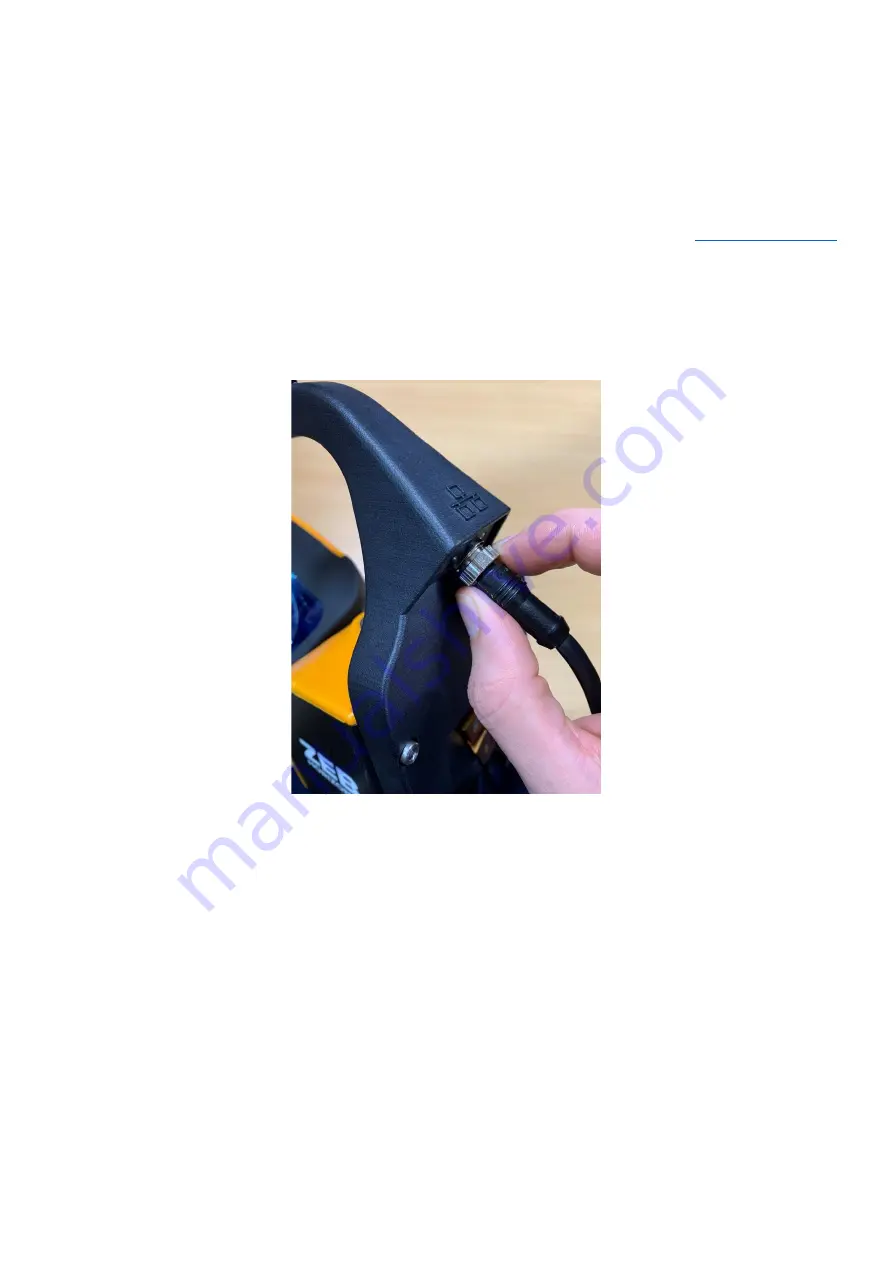
The ZEB Vision camera will be powered by the ZEB Horizon system. Ensure the camera is fully connected before
powering on the Horizon system, otherwise it will not be detected and no images will be captured. Once the ZEB
Horizon initialisation process has been completed successfully, images will begin to be taken.
The LED on the camera will be illuminated green when powered on.
For best practices on capturing data for colourisation, please consult the guidance outlined on
3.4. Downloading Images
Insert one end of the ZEB Vision ethernet cable into the back of the ZEB Vision camera and secure by tightening the
screw. Insert the other end of the cable into a PC.
3.4.1. Establishing a Connection
The Vision camera is set to Local Link IP address 169.254.0.206 which enables connection to a Windows
TM
PC set
to default Ethernet setting -
DHCP “Obtain IP address automatically” without the need to configure the IP settings.
To check the Ethernet settings on a Windows
TM
PC go to:
Control Panel > Network and Internet > Network Connections
Right click on the Ethernet adapter to be checked and select:
Properties > Internet Protocol Version 4 (TCP/IPv4)
Select the
Obtain the IP address
automatically option button if not already set as shown in Figure 3.1 and
click
OK
to close the Network Properties dialogue boxes.
Connect an Ethernet cable between the datalogger and the web enabled device and power the data logger ON


