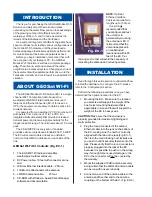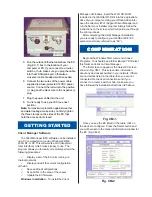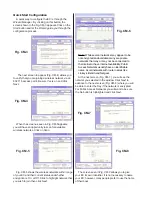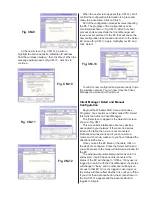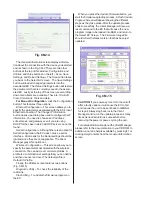
Fig. CM-14
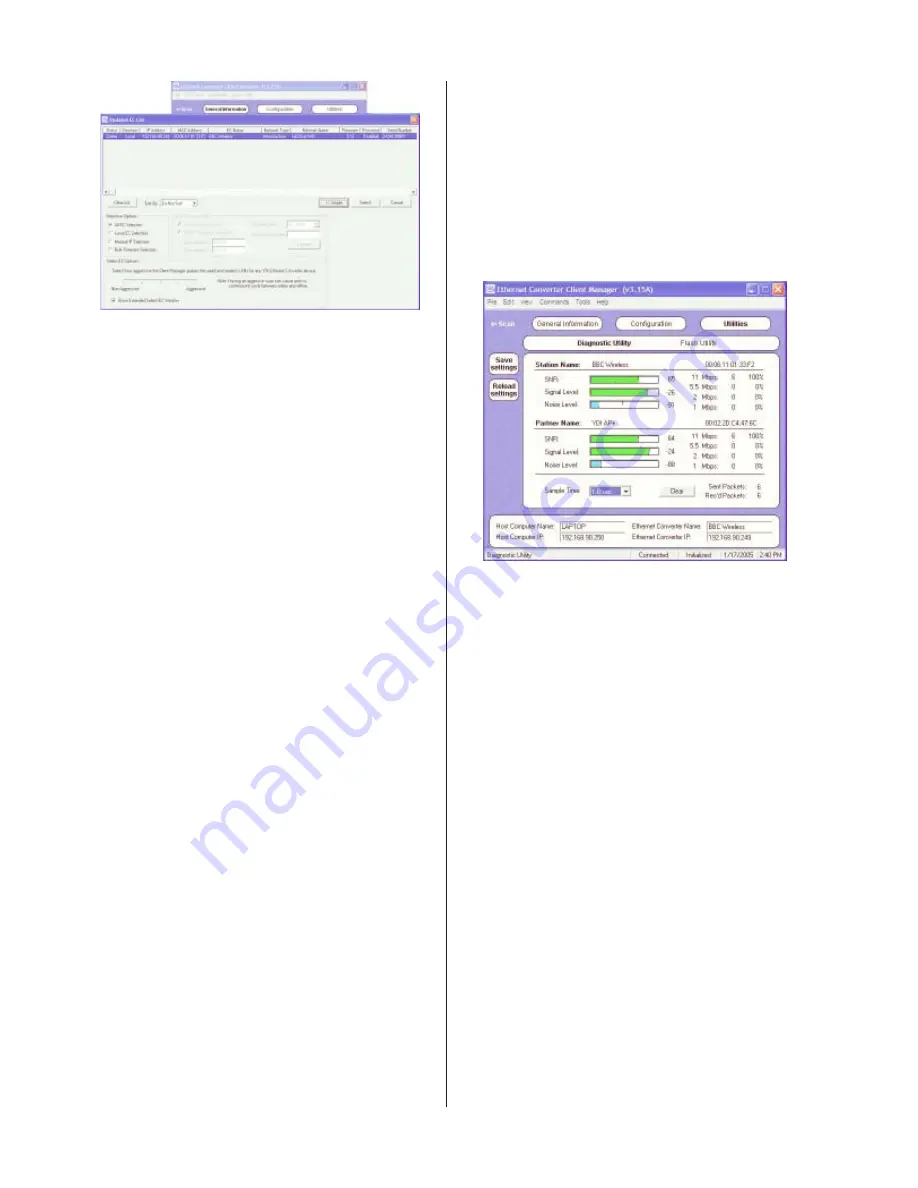
Fig. CM-15
The
General Information
screen displays informa-
tion about the connection with the device you selected
and is shown in the Fig. CM-2 There are two other
buttons at the top of this window.
Configuration
and
Utilities
, and three buttons on the left –
Scan, Save
Settings, and Reload Settings
. The
Scan
button takes
you back to the
Select EC
screen. The
Save Settings
button will load all changed parameters into the
associated EC. The
Reload Settings
button will restore
the parameters that are currently saved in the associ-
ated EC. Lastly, at the top of the screen, several drop-
down menu items are available. They are:
File, Edit,
View, Commands, Tools
and
Help
.
For Manual Configuration
, click the
Configuration
button. This features three options:
Ethernet Configuration
– This screen allows you to
specify the parameters associated with the EC’s local
Ethernet connection. The
Change IP Information
button opens up a dialog box used to configure the IP
information. You need to choose an IP address,
subnet mask, and gateway even if you are using
DHCP for the case in which a DHCP server can not be
found.
Serial Configuration
– Although there is an option for
Serial Configuration, the EC does not use a serial
interface. All screens for the Serial settings should be
ignored since they are not applicable. The Client
Manager grays this option out.
Wireless Configuration
– This screen allows you to
specify the parameters associated with the wireless
connection. You can add, edit, or delete profiles. A
profile is a combination of settings that you can define
and then use over and over. The default profile is
Default IS Profile
.
Finally, the
Utilities
screen features two buttons
(Fig. CM-15):
Diagnostic Utility
– To check the reliability of the
radio link.
Flash Utility
– To update the firmware program on
the EC.
When you press the
Update Firmware
button, you
start the firmware upgrading process. A
Flash Update
Progress Screen
will appear showing the different
steps as they take place. After the update process
ends successfully, the Client Manager will issue a
reset command to the EC that will cause the new
program image to be loaded into RAM, and return to
the
Select EC Screen
. The
Firmware Image File
should reflect the latest version that has been just
updated.
CAUTION:
If you power–cycle or turn the unit off
after a faulty update, it will cause the EC to fail
and require the unit to be sent back to GEOSat
for repair.
Always log back in via the Client
Manager and re-run the update process as many
times as needed until it is successful before
removing the power or power–cycling the unit.
For detailed information about the Client Manager,
please refer to the documentation in you CD ROM. In
addition, an online help is available by pressing F1 or
clicking
Help
Contents from the
General Information
screen.


