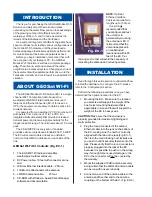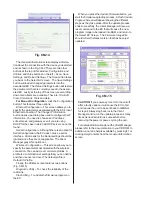
At the next screen (Fig. CM-10), be sure to
highlight the button opposite “Obtain an IP address
from the wireless interface,” then click
Next
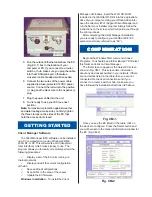
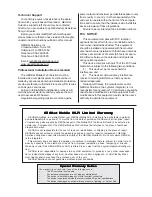
. When the
message window opens (Fig. CM-11), click
Yes
to
continue.
Fig. CM-9
Fig. CM-10
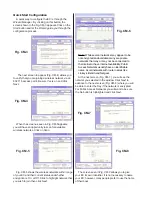
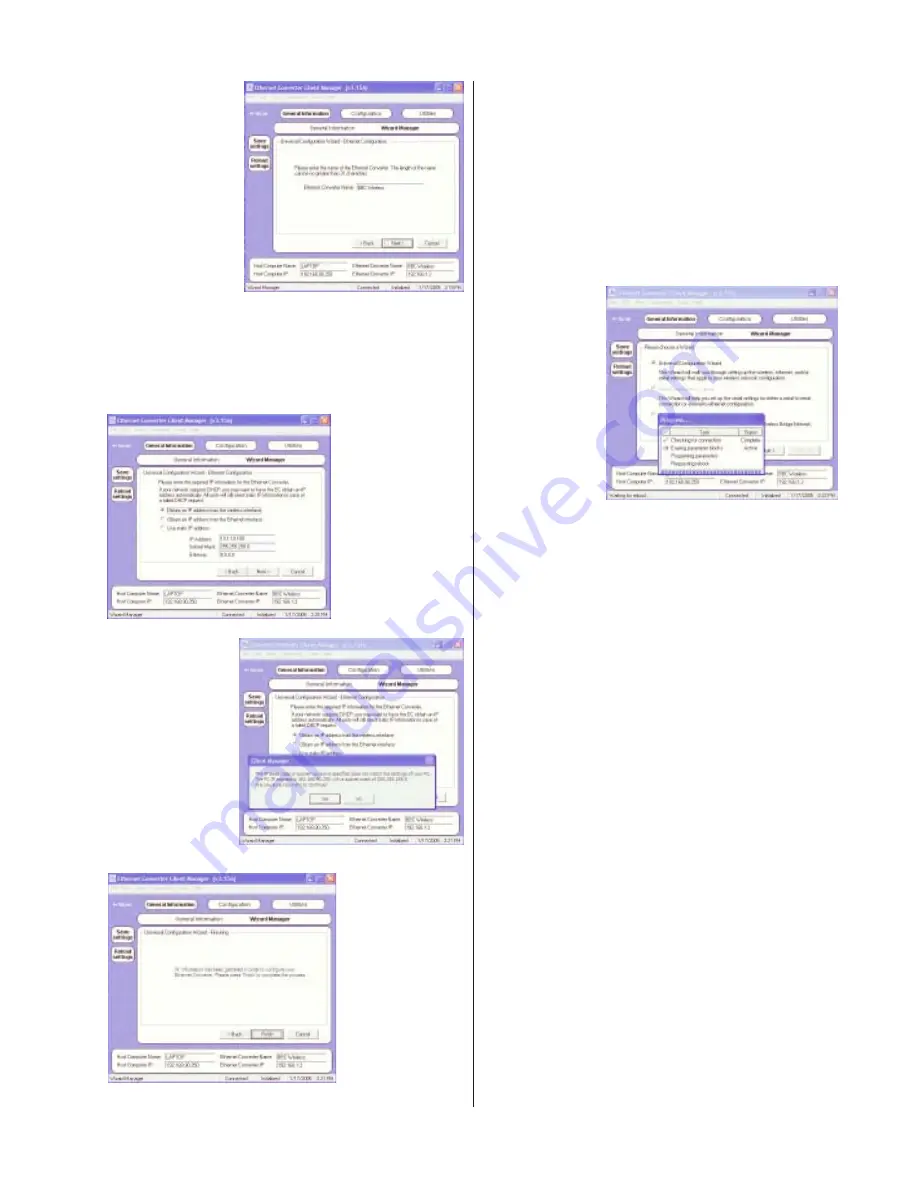
When the next screen appears (Fig. CM-12), it will
confirm the configuration information is in place and
ready to be executed. Click on
Finish.
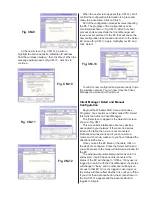
Part of the configuration process involves rebooting
the EC. The progress of the configuration can be
monitored as shown in Fig. CM-13. After the reboot
process ends successfully, the Client Manager will
issue a reset command to the EC that will cause the
new configuration to be loaded and return to the
Select
EC
screen (Fig. CM-1). Again, highlight your EC and
click
Select.
Fig. CM-11
Fig. CM-12
Your EC is now configured and you are ready to join
the wireless network. You can now close the Client
Manager and proceed to the Internet.
Client Manager Detail and Manual
Configuration
Begin at the Windows Start menu and choose
Programs. You should see a folder called YDI. Select
this folder and click on Client Manager.
The first screen to appear is the
Select EC
screen
shown in Fig. CM-1.
This screen lists information about any devices
associated in your network. If there are no devices
listed in the table, then you are not connected.
Recheck all connections and if you connect to a
router, switch or hub, make sure you have followed the
directions in #5 above.
Once you see the EC listed in the table, click on
the device to configure. Press the Select button and
you will be taken to the
General Information
window for
the EC.
The window will automatically update as an EC is
discovered. If an EC has been disconnected, the
status of the EC will change to “Offline.” If any user is
logged in to an EC with the Client Manager, the status
will change to “Busy” and no other user will be given
access to that EC. Once the logged in user logs out,
the status will then reflect whether it is online or offline.
If you click the Advanced button, the screen shown in
the Fig. CM-14 appears and the Advanced button
toggles to Simple.
Fig. CM-13


