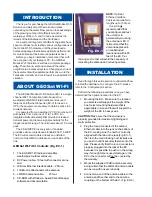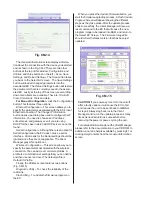
5. Run the outdoor Ethernet cable from the EC
(Fig. EC-1) box to the location of your
computer or PC. If you connect to a router,
switch or hub, make sure you plug the cable
into the WAN/Uplink port, otherwise a
crossover cable or adaptor will be needed.
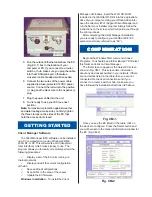
6. Connect the two wires of the power cable
supplied to a fuse-protected 12 VDC power
source. Connect the red wire to the positive
(+) plug and the black wire to the negative (-)
plug.
7. Plug the power cable into the unit.
8. You’re ready to use your EC (see next
section).
Note:
For maximum protection against weather
and water leakage, make sure you firmly tighten
the three clamps on the sides of the EC that
hold the access door closed.
Client Manager Software
The Client Manager (CM) software can be installed
on a PC or workstation running Windows 98/ME,
2000, NT, or XP. This software is a GUI (Graphical
User Interface) which makes it easy to use. The
program allows you to locally or remotely perform the
following procedures:
√
Display a list of the EC units running on
the local network
√
Display and edit the current configuration
of the EC
√
Save and load configurations
√
Scan LAN’s in the area of the vessel
√
Update the EC firmware
Windows Installation
– To install the Client
Manager in Windows, insert the Wi-Fi CD-ROM
included in the GEOSat Wi-Fi Kit into the appropriate
drive of your computer. Using your Windows Explorer,
open the directory \Wi-Fi Support\Client Manager
and
run the Set Up or Installer program. Simply follow the
instructions on the screen which will guide you through
the entire process.
After completing the Client Manager installation,
you are ready to configure your GEOSat Wi-Fi EC
system (commonly referred to as “EC”).
GETTING STARTED
Fig. EC-2
Begin at the Windows Start menu and choose
Programs. You should see a folder labeled
YDI
. Select
this folder and click on
Client Manager
.
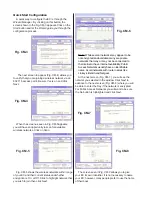
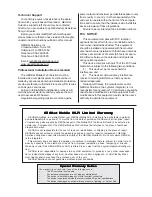
The first screen to appear is the
Select EC
screen
shown in Fig. CM-1. This screen lists information
about any devices associated in your network. If there
are no devices listed in the table, then you are not
connected. Recheck all connections and if you
connect to a router, switch or hub, make sure you
have followed the installation directions in #5 above.
CONFIGURA
CONFIGURA
CONFIGURA
CONFIGURA
CONFIGURATION
TION
TION
TION
TION
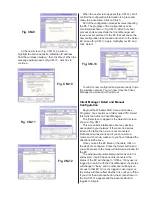
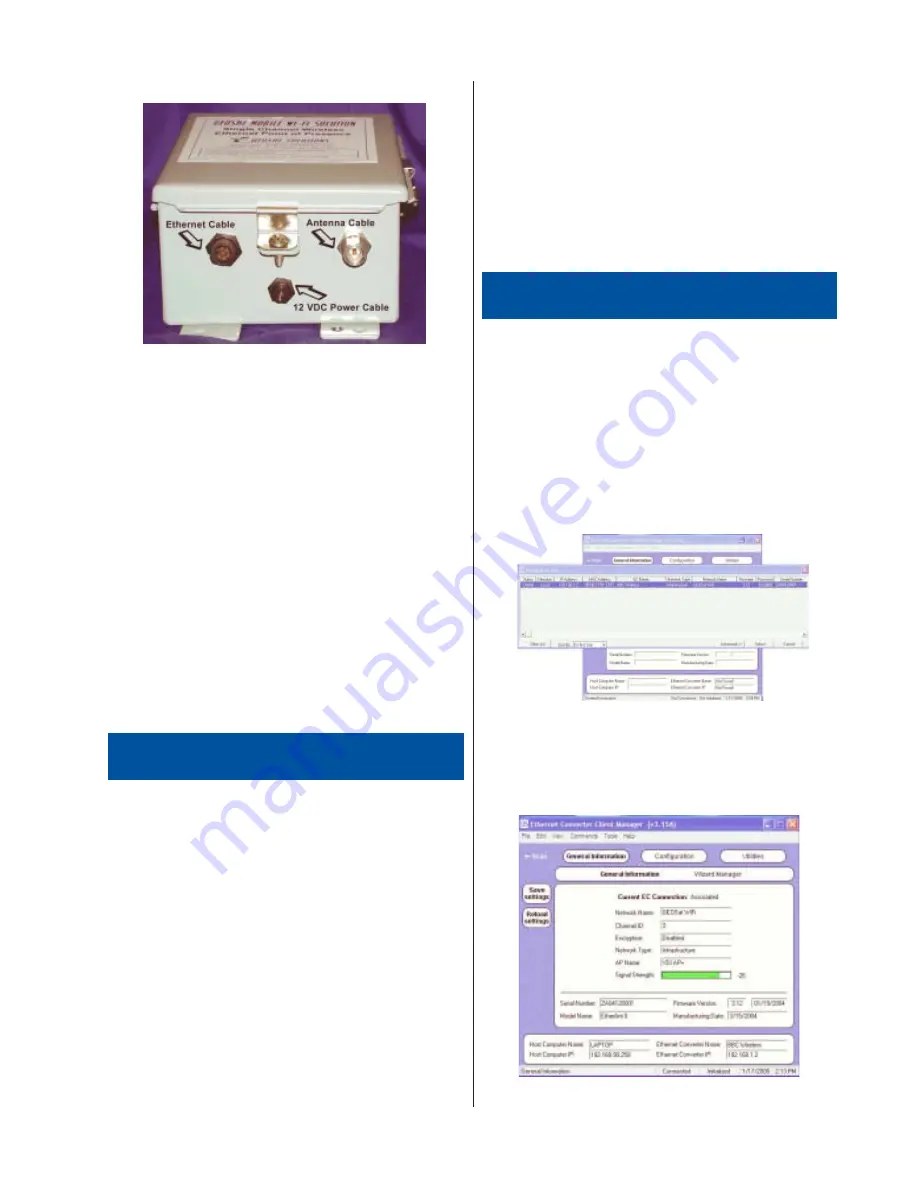
Once you see the EC listed in the table, click on
the device to configure. Press the Select button and
you will be taken to the
General Information
window for
the EC (Fig. CM-2).
Fig. CM-1
Fig. CM-2


