FOUR ASHES MACHINERY LTD
www.georipper.co.uk
29
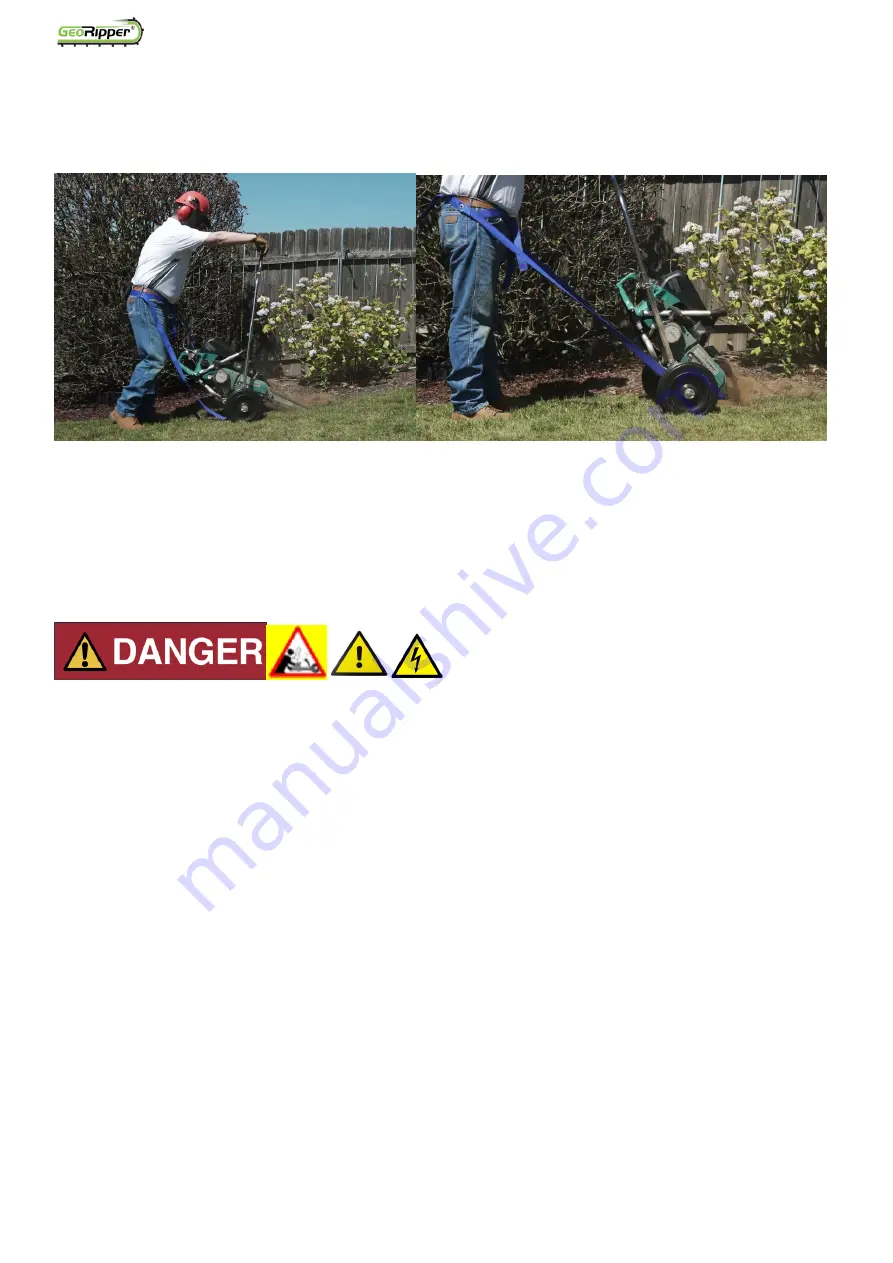
depth of trench is achieved (Fig.29). The tubular section of the handle is connected to the axle on a ratchet
mechanism. Each position of the ratchet incline the trencher to achieve the desired depth depending on the bar
length (Fig.30). The GeoRipper® can be used vertically only when mounted on the EZ Kart® to achieve the maximum
trench depth.
Fig.30 & 31
The EZ Kart® is recommended for longer trenches to reduce strain on the operator and give better line accuracy and
depth control. The EZ Kart® has also been shown in tests to reduce vibrations. Optional side walls can be mounted
on the axle of the EZ Kart® to reduce side projections and minimise back fill. (Part number GRPEZ-28)
5.3.4
Trenching with the GeoRipper® hand held
1.
Place the GeoRipper® on the ground and slowly engage the bar into the soil as parallel as possible and
using mid-range engine speed. Hold the machine firmly as some manageable kick back may be
experienced. Keep the angle of the digging bar at 25-30-degree angle from vertical for comfortable
operation. In lighter soils, it may be necessary to make second pass through the trench to clear out any
spoils that fell back in
2.
Do not use the trencher in a vertical position and do not straddle: risk of injury
3.
Most powerheads are designed to operate best and develop maximum power near 3/4 throttle.
Depending on soil type, best operating speeds will be from 3/4 to full throttle. For greater control at
shallow depths [8 inches (200 mm) or less] a 1/2 to 3/4 throttle will improve trenching safety
4.
When trenching without an EZ Kart in difficult soils, a sawing motion is recommended
5.
If you strike solid obstacles (large rocks, concrete, or large roots or buried timber) remove the obstacle
before continuing. The GeoRipper® mini trencher is designed to dig earth, not large stones or tree roots
over 3 inches (70mm) in diameter
6.
For wider trenches [2-3 inches (50 – 80mm)], rotate blade along the long axis of the blade while
trenching. For anything over 3 inches (80mm), make a second trenching cut at the outside of the desired
width and remove the soil between the two trenches
7.
Regular checking/adjustment of digging chains will extend chain life
8.
At the end of the job, and periodically during the project, brush the loose dirt off the digging chain and
around the digging sprocket. Inspect the digging teeth for any damage. Always switch the engine off and
wait that the chain to stop
9.
To trench down an incline, always stand downhill of the trencher
10.
To trench laterally across an incline, always direct the discharge chute downhill. This will keep the spoils
from falling downhill back into the trench
11.
In very rocky soils, use an EZ Kart® with side walls, or rock shield (Part number GRPEZ-28)


