


4
5)
Tighten the nut on the cable fitting so that it securely grips the cable.
This must be
done to ensure that water does not enter the enclosure.
(Beware of
overtightening, which may damage the plastic threads.)
3.1.2 10-pin Bulkhead Models (8002-1A-1, 8002-1A-2, 8002-1A-3)
Sensors are attached to the datalogger with a 10-pin Bulkhead connector. Align the
grooves on the transducer connector (male), with the connector on the unit (female). Push
the connector into place and then twist the outer ring of the male connector until it locks.
3.2 Battery Installation
Install the batteries as follows:
(For units manufactured prior to September 2018 refer to Appendix I.)
1)
Open the device by unscrewing the four captive screws on the front of the enclosure.
Make
sure that no dirt, water or other contaminants are allowed to enter the enclosure.
2)
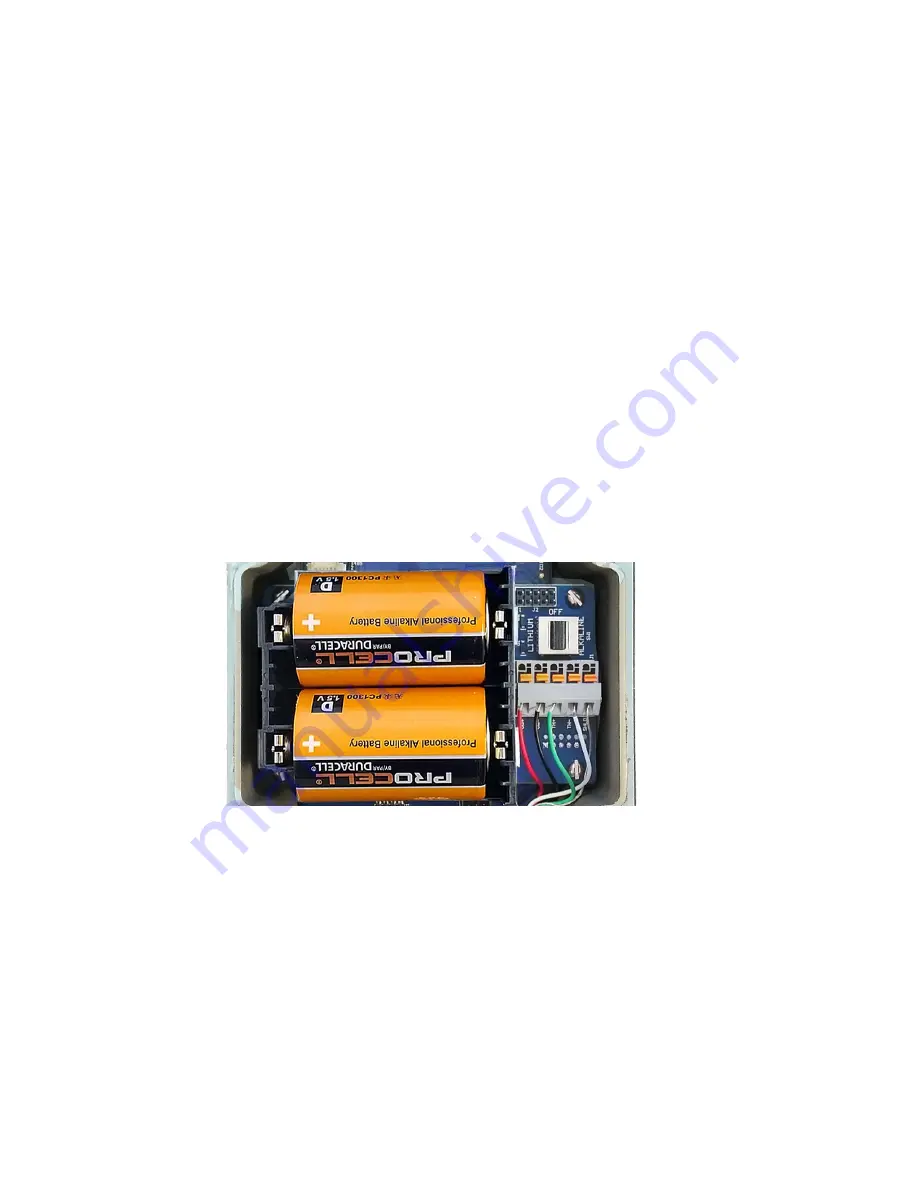
Install the batteries by aligning the positive (+) side of the D cells with the left side of the
battery holder. Push the batteries straight down into the holder.
Figure 2 - Battery Detail
3)
The battery select switch (located to the right of the battery holder) is set to “Alkaline” at the
factory. Always use the Alkaline position, even when lithium batteries are installed.
3.3 Accessories
After the batteries have been installed:
1)
Remove the desiccant packs from the plastic seal top bag they were shipped in and place
them inside the enclosure.
2)
Reinstall the cover. Ensure that the rubber gasket clean and properly seated in the groove on
the underside of the cover. Tighten the screws a little at a time, working in a diagonal pattern.
Make sure the cover seals tightly and evenly.