


Solo II CT: Consumption
7
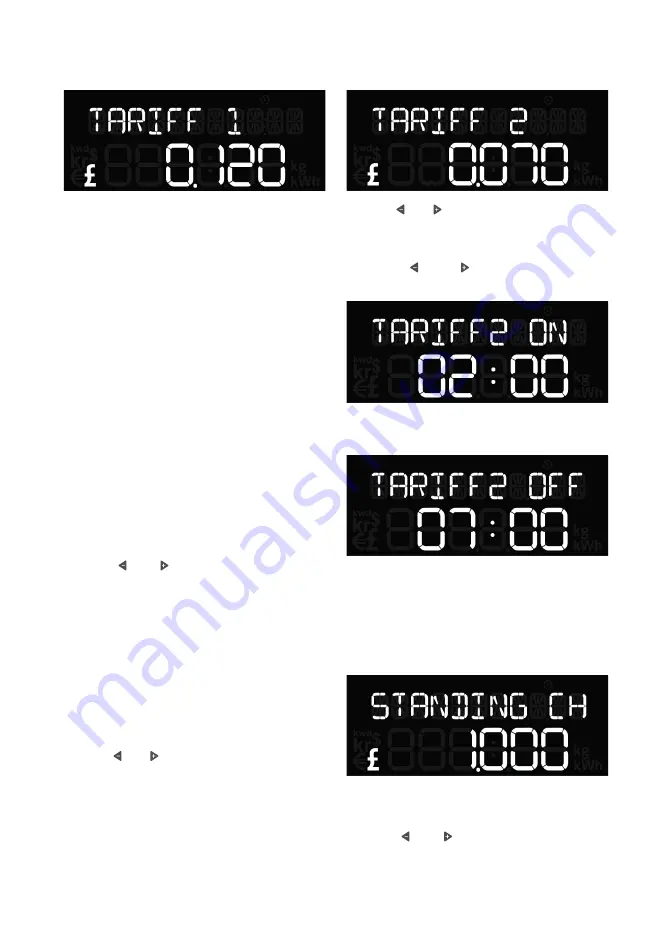
Tariffs
You need to enter the price you pay for
your energy. If you have only one tariff,
then enter the cost per kWh. This can be
found on your electricity bill.
If you have a block tariff you can work
out an average from your recent bills and
enter as one tariff.
What is a block tariff? A block tariff means
that for the first x number of kWh in each
billing period you pay a more expensive
tariff than normal.
How to calculate it: take the total cost of
electricity for the period (e.g. £120) and
divide it by the amount of kWh you used.
Example:
If you were billed £120 this quarter and
you used 1000kWh, then enter the sum
of £120/1000kWh = £0.12/kWh in the
display setting [TARIFF 1].
Use the
and
buttons to set the tariff
and then press the centre button to
confirm.
If you don’t have a second tariff, then
leave [TARIFF 2] cost as zero.
If you do have a second tariff, for example
cheaper electricity overnight, then enter
the cost per kWh for that second tariff. If a
second tariff is entered then you need to
enter the time that tariff starts and ends.
Use the
and
to set the second tariff and
then press the centre button to confirm.
Use the
and
buttons to set the time the
second tariff switches on and then press
the centre button to confirm.
Use the
and
buttons to set the
time the second tariff comes off
and then press the centre button
to confirm.
If you pay your supplier a standing charge
you can enter that amount here.
Use the
and
buttons to set the daily
standing charge and press the centre button
to confirm.
If you have entered a second tariff then
you are prompted to enter a third tariff.
If you don’t have one then simply leave it
as zero.
Standing charge


