


3.2 How to Disassemble the Tablet and Replace the Components
To replace the components of tablet, you have to realize each step of disassembling
and the probably problems caused by assembling process or defect components
Step Description
Picture
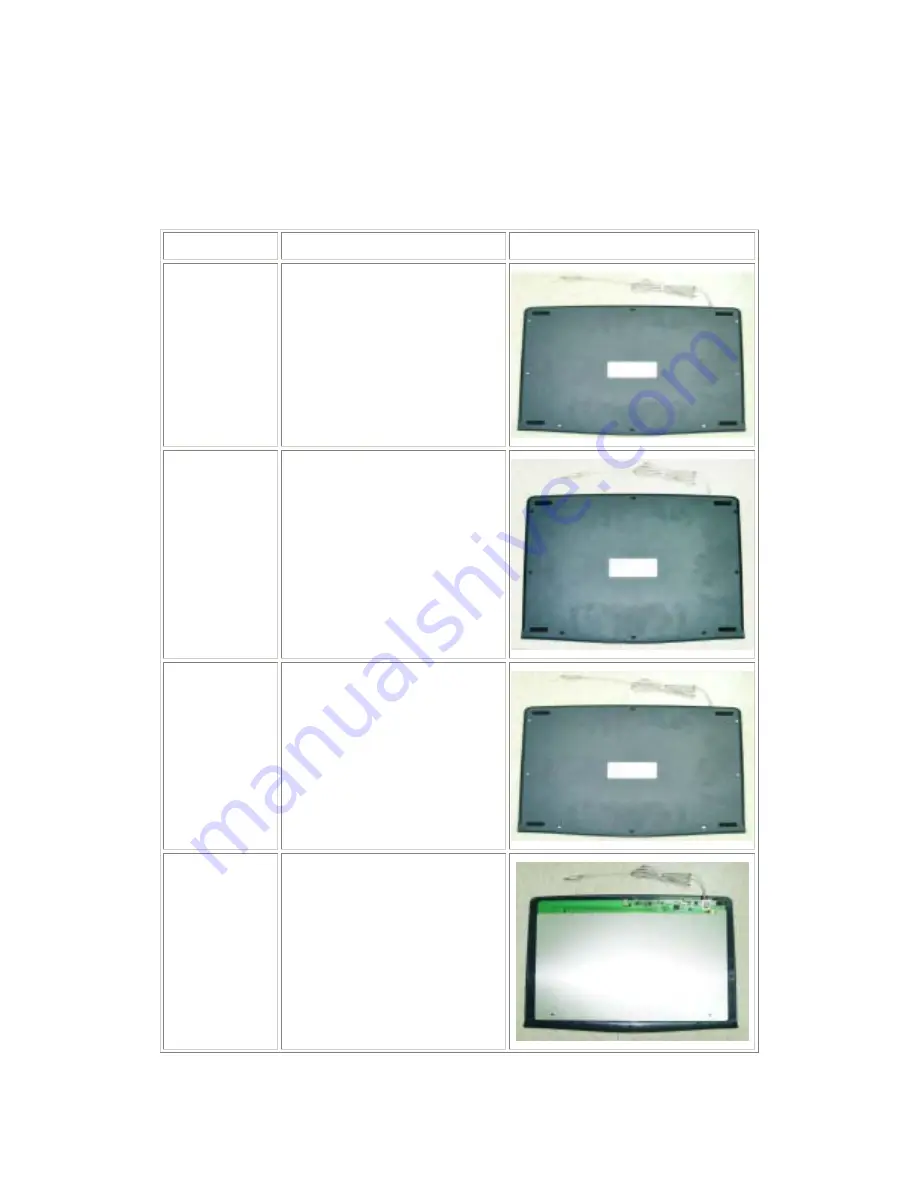
1. Turn
over
tablet
To disassemble the tablet, you
have to turn over tablet. You can
see several pads and screws.
Please note some screws are
under pads.
2. Take off pads Pads are pasted on rear flat so you
can take off all of them by hand.
3. Loose
screws
Using screwdriver to loose all
screws.
If the screw is loosen, it causes
rubber strap can’t press the
membrane tightly.
4. Take
apart
rear flat
After taking all screws off, you can
take up rear flat.
If rear flat is not placed well, rubber
rims and the rubber strap may be
loosened and moved.
7


