English
-29-
6. Select [Print Num.] with the
/
buttons, and press the
OK
button.
This displays the number of prints setting screen.
7. Set the number of prints with the
/
buttons, and press the
OK
button.
You can set up to 9 prints for each image.
8. Select [Date] with the
/
buttons, and press the
OK
button.
The date setting screen appears.
9. Select date [On] or [Off] with the
/
buttons, and press the
OK
button.
On: The date of the photograph will also be printed.
Off: The date of the photograph will not be printed.
10. Select [Print Enable] with the
/
buttons,
and press the
OK
button.
11. Select [Execute] with the
/
buttons, and
press the
OK
button.
This creates a file containing the DPOF
information, and when the operation is finished,
the screen returns to the playback mode.
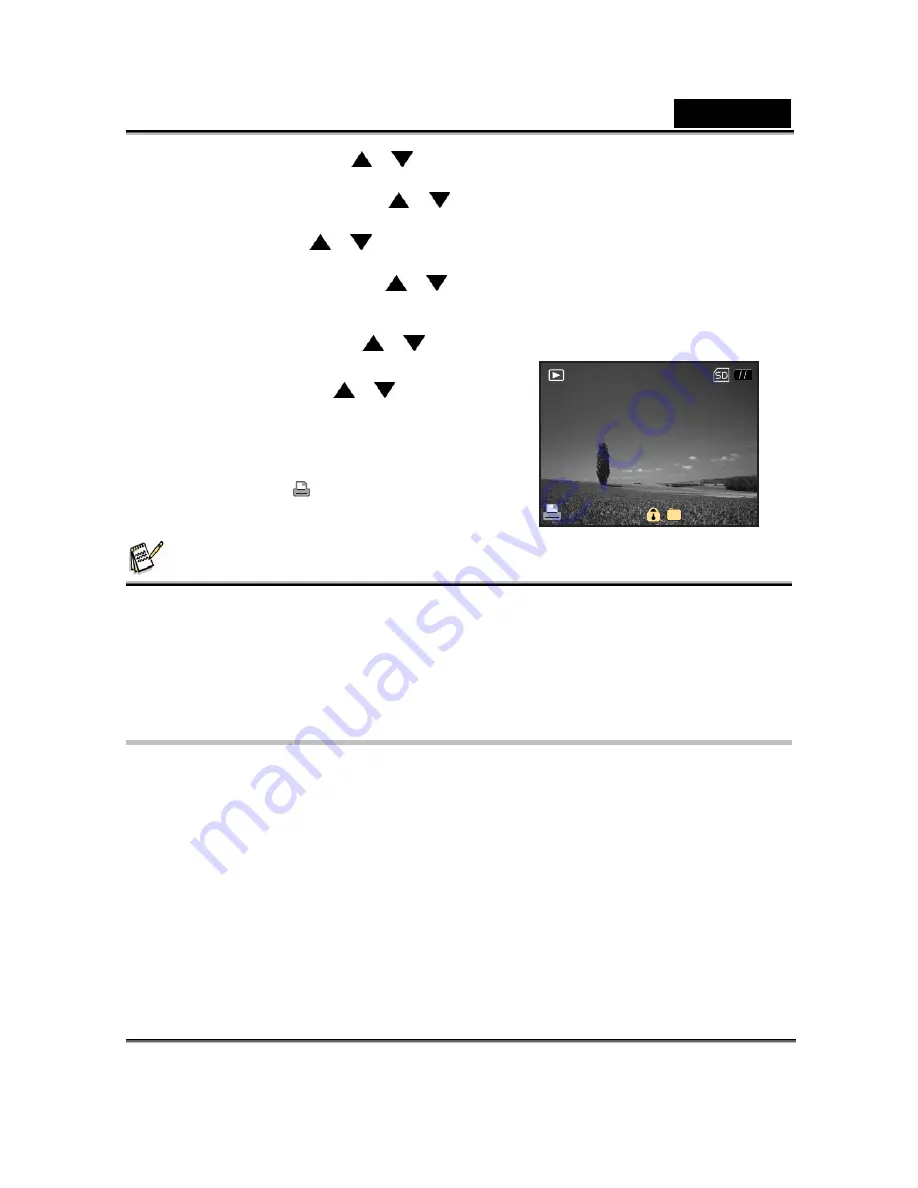
The DPOF icon [
] is displayed on each
image that has set up DPOF settings.
NOTE
z
The date that is printed on the photo is the date set on the camera. To print the correct date on the
photo, set the date on the camera before you photograph the image. Refer to “Setting the Date
and Time” for further details.
z
Before you perform the DPOF settings on your camera, always remember to copy your images
from the internal memory to an SD memory card first.
z
You cannot print movies.
PictBridge Function
Even if you do not have a computer, you can connect the camera directly to a printer that
supports PictBridge to perform image selection and printing using the camera screen and
controls. DPOF support also lets you specify which images you want to print and how many
copies of each should be printed.
Connecting the camera to the printer
Connect one end of the USB port to a PictBridge compliant printer. Connect the other end of
the USB cable to the USB terminal on the camera. Then turn on the printer and your camera.
The [USB] mode screen is displayed.
100-0001
1


