


16
Network Camera User Manual
HLC: lowers the brightness of the entire image by suppressing the brightness of the
image’s bright area and reducing the size of the halo area.
BLC: If enabled, the auto exposure will activate according to the scene so that the object
of the image in the darkest area will be seen clearly.
Antiflicker
:
Off: disables the anti-flicker function. This is used mostly in outdoor installations.
50Hz: reduces flicker in 50Hz lighting conditions.
60Hz: reduces flicker in 60Hz lighting conditions.
White Balance
: Adjust the color temperature according to the environment automatically.
Frequency
: 50Hz and 60Hz can be optional.
Day/night Mode
: Please choose the mode as needed.
Sensitivity
: High, middle and low can be selected for switching back and forth from day to
night modes.
Infrared Mode
: Choose “ON”, “OFF” and “Auto”.
Exposure Mode
: Choose “Auto” or “Manual”. If manual is chosen, the digital shutter speed
can be adjusted.
Image Mirror
: Turn the current video image horizontally.
Image Flip
: Turn the current video image vertically.
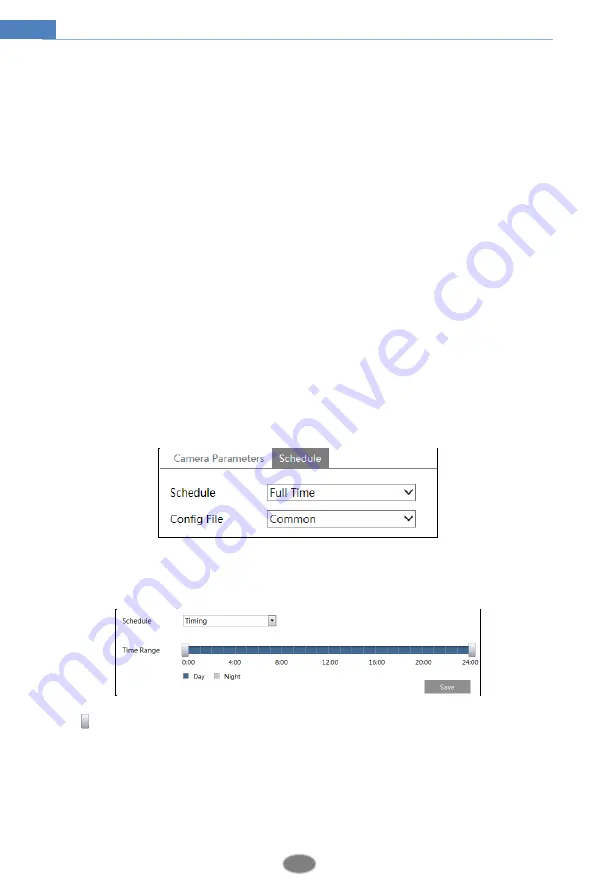
Schedule Settings of Image Parameters:
Click the “Schedule” tab as shown below.
Set full time schedule for common, day, night mode and specified time schedule for day and
night. Choose “Timing” in the drop-down box of schedule as shown below.
Drag “ ” icons to set the time of day and night. Blue means day time and blank means night
time. If the current mode of camera parameters is set to schedule, the image configuration
mode will automatically switch between day and night according to the schedule.
4.2.2
Video Configuration
Go to Image
Video interface as shown below. In this interface, set the resolution, frame rate,
bitrate type, video quality and so on subject to the actual network condition.


