page | 59
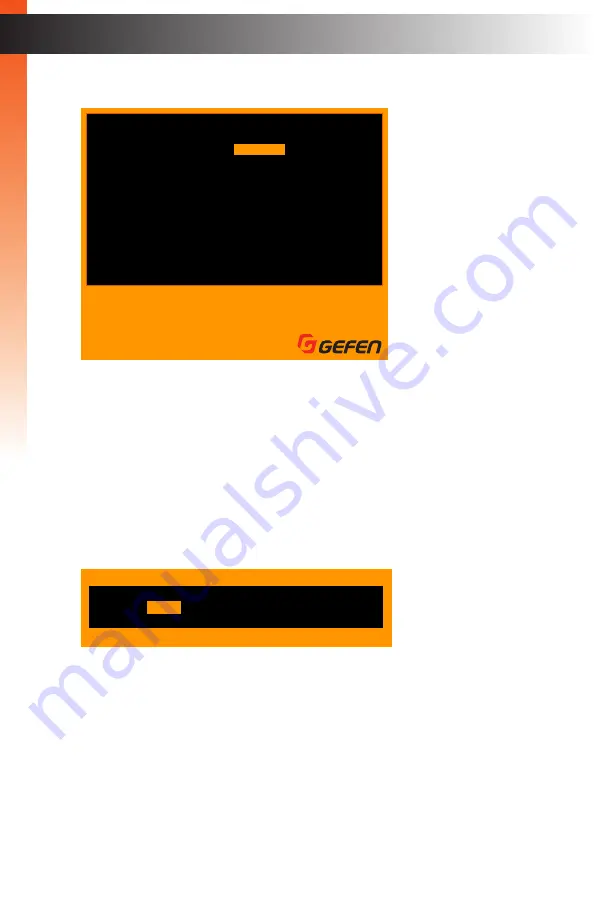
6. Use the
▲
or
▼
keys to select the
Shrink Control
option.
7. Select the desired option by using the ◄ or ► keys.
If the
Shrink Control
is set to
Keep Ratio
, then the output aspect ratio will match
the input aspect ratio. This is the default setting.
If the
Shrink Control
is set to
Fill
, then the image will be stretched to fill the screen.
8. Once the desired resolution has been selected, press the
Esc
key.
9. The following message will be displayed:
10. Press the
Enter
key to select the
Yes
option and save the changes.
To discard changes, press the ► key to select the
No
option, then press
Enter
.
11. To return to the previous screen, without making changes, press the
Esc
key.
B
asic Oper
ation
OSD Menu
Settings
F1
F2
F3
F4
Full view
PIP view
Quad view
PAP view
Esc
Enter
W S
A D
Exit
Select
Navigate
Change
Previous Page
Output Resolution
Shrink Control
EDID Mode
OneClick Switching
PIP Scan Period
Load Factory Default
Main Menu
Information
Exit
1280x1024
Keep Ratio
External
Wheel
10
Sec
Yes
No
Save Before Exit?
Esc
Back
Summary of Contents for EXT-DVIK-MV-41
Page 1: ...EXT DVIK MV 441 User Manual 4x1 DVI KVM Multiview Switcher Release A3 Preferred...
Page 7: ...This page left intentionally blank...
Page 10: ...This page left intentionally blank...
Page 11: ...1 Getting Started 4x1 DVI KVM Multiview Switcher...
Page 20: ...This page left intentionally blank...
Page 21: ...4x1 DVI KVM Multiview Switcher 2 Basic Operation...
Page 88: ...This page left intentionally blank...
Page 89: ...3 Advanced Operation 4x1 DVI KVM Multiview Switcher...
Page 122: ...This page left intentionally blank...
Page 123: ...page 113 4 Appendix 4x1 DVI KVM Multiview Switcher...
Page 129: ...page 119 Appendix Updating the Firmware 6 Click the Manage a Product button...
Page 131: ...page 121 Appendix Updating the Firmware 8 The Update tab will be displayed...


