


GERC_RLY Rev 2 Wiring and Usage manual
January 9, 2007
4
Consult the documentation for the controller software to determine which pin the software
expects for an EStop signal.
For correct operation, the EStop pin on the PC parallel port must be actively pulled high
via a resistor. The GERC_RLY does not “make it go high”.
Thankfully, the input electronics of most parallel ports already do this.
Finally, don’t forget to configure the software in the PC for an active high EStop signal.
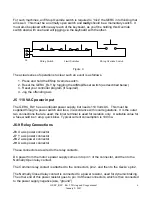
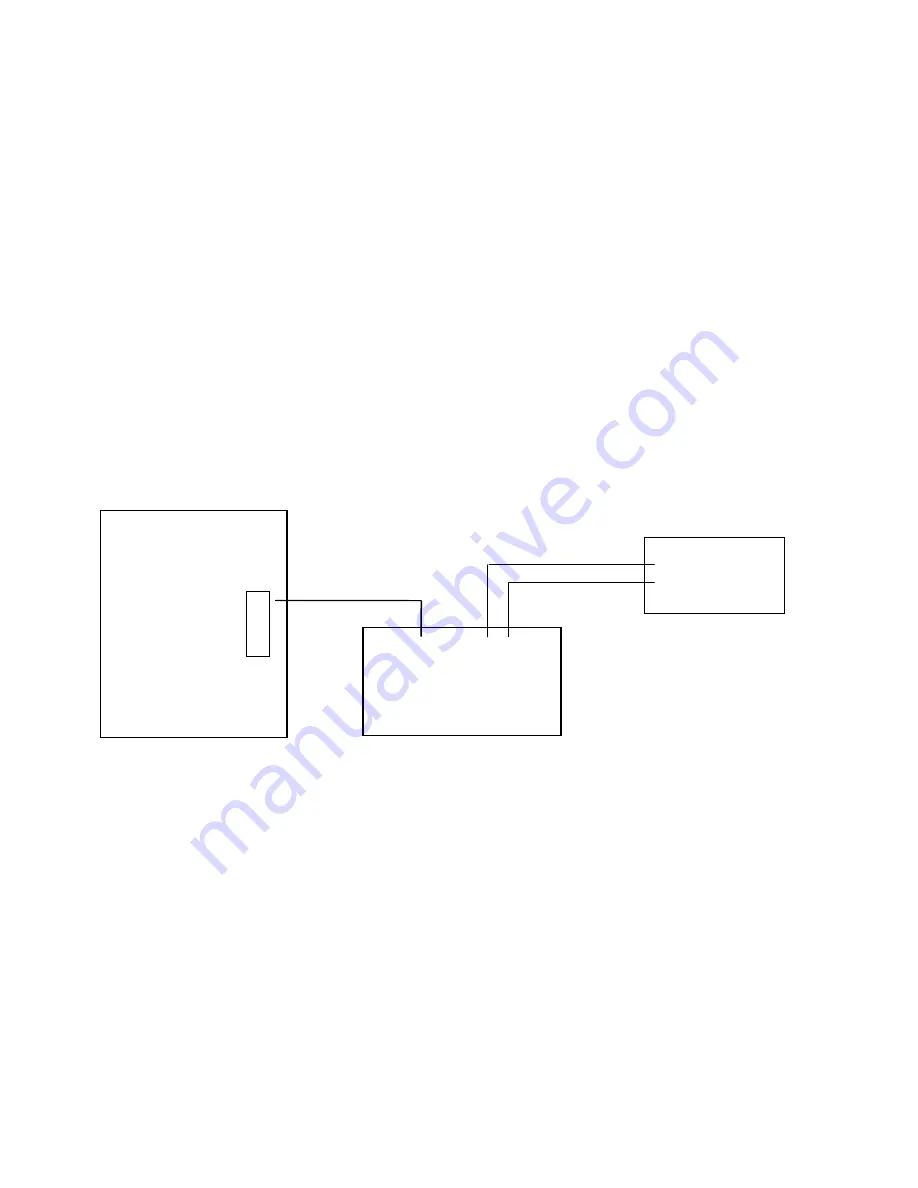
J3 - Error/Reset connections
This is how the GERC_RLY communicates with the Geckos.
Using figure 1 (below) as a guide, connect a wire from the X Y Z and A points of J3 to Pin 5 of
the relevant Gecko. (Four Geckos, four wires)
Note: These inputs are a direct, unprotected connection to the microcontroller. Do not
connect these inputs to anything except the Error/Reset pin of a Gecko G3x0.
J4 - EStop Switch
The EStop switch input is a designed to be connected to an external “Big Red Switch”, located
in such a position that it is easy for the operator to activate it should the need arise.
This switch must be
closed
for the GERC_RLY to operate. When the switch contacts
open
,
the GERC_RLY will stop motor activity (by first placing the Geckos into reset and then
removing power to the Geckos).
X
X axis motor
J3
X axis Gecko
GERC
Pin 5
Figure 1