5
1.
Lay the bass drum on the floor, with the front of
the bass drum at the bottom (the bass drum leg
mounts should be closest to the floor).
2.
Place the batter head (without the Gear4music
logo) onto the drum and place 1x bass drum
hoop on top.
3.
Using 6x bass drum tension rods, claws and
washers, line the tension rods up with the 6x
screw threads (these are called drum lugs) that
are already mounted to the bass drum.
4.
Using the drum key, screw the 6x tension rods
into the drum lugs to an even tension. Ensure
that all the creases have been taken out of the
skin, but do not over-tighten.
5.
Place the 2x bass drum legs into the holes on
each side of the bass drum and tighten the wing
nuts to hold them in place.
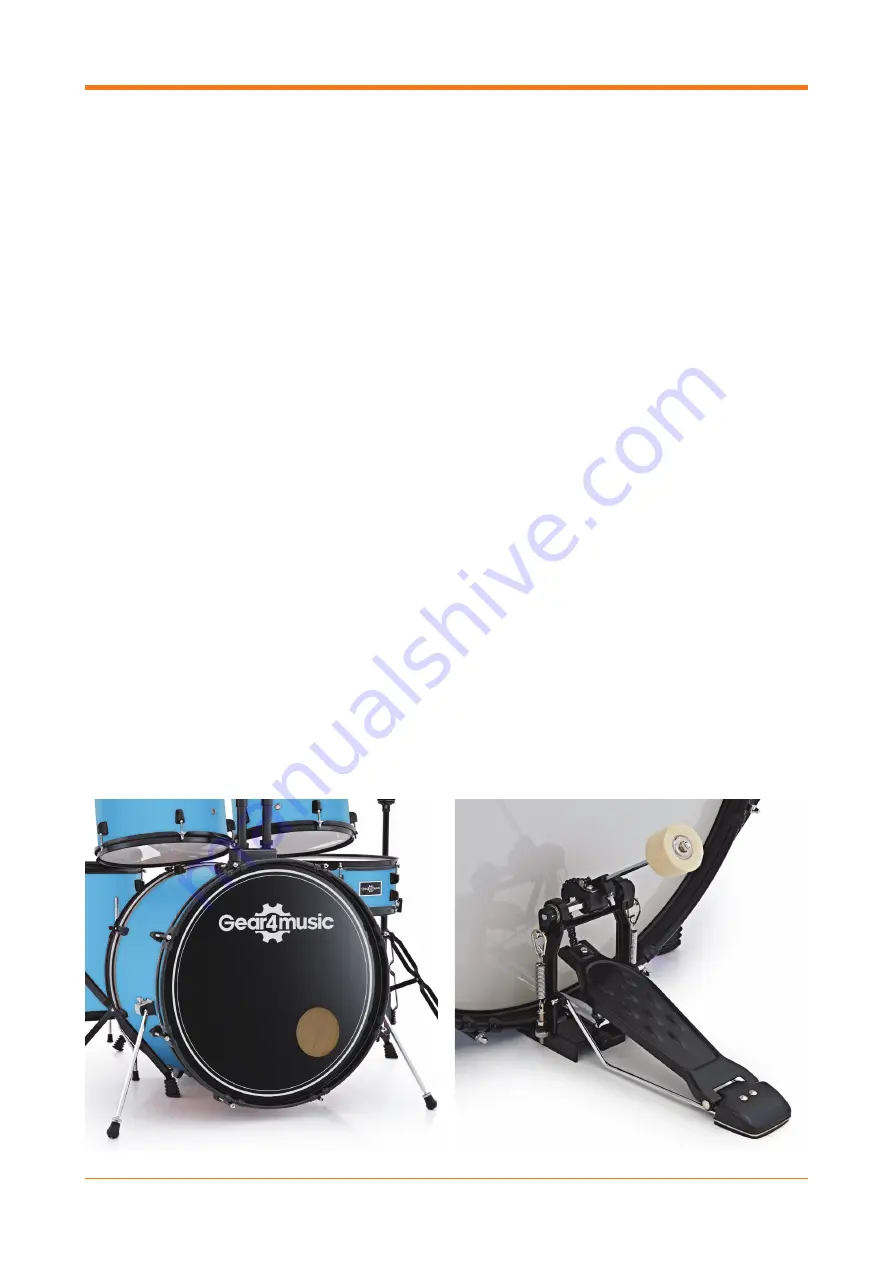
BASS DRUM ASSEMBLY
ITEMS REQUIRED:
1x Bass Drum (20” x 16”)
1x Batter Head for 20” Bass Drum (no logo)
1x Resonant Head for 20” Bass Drum
(with Gear4music logo)
12x Bass Drum Tension Rods, Claws and Washers
2x Bass Drum Legs
1x Drum Key
1x Rubber Bass Drum Hoop Protector
6.
Turn the bass drum over and repeat steps 2 – 4
on the opposite side. When placing the skin on
the front of the drum we advise lining the logo
up with the tom brackets so it will be straight
when viewed by an audience.
7.
Turn the bass drum upright, so it is now resting
on the bass drum legs.
8.
Take the rubber bass drum hoop protector.
Place it on the bottom of the bass drum hoop
on the side that the kick drum pedal will hit (the
side without the logo).
9.
Take the 1x bass drum pedal. There is a clamp at
the bottom of the pedal which can be adjusted
using the wing nut. First, unscrew the wing nut,
then slide the clamp between the bottom of the
bass drum hoop and the top of the rubber bass
drum hoop protector. Once it’s in place, screw
the wing nut so it’s firmly secured.
ASSEMBLY INSTRUCTIONS
Summary of Contents for BDK-1
Page 1: ...FUSIONDRUMKIT SETUPGUIDE...
Page 2: ...FUSION DRUM KIT...


