background image

12 

Software Installation: 

Your Wireless Presenter comes with Presenter Mouse software that integrates with your Windows

®

 Mouse Properties. The Presenter Mouse 

software allows you to assign special functions to the 3 programmable buttons on your Wireless Presenter.  To install the Presenter Mouse 
software, please follow the instructions below: 

1.


If you have installed any other mouse drivers/software onto your computer, please uninstall them 

prior

 to the installation of the 

Presenter Mouse software to avoid any software conflicts. 

2.


Place the Driver CD into the CD-ROM drive of your computer. 

3.


The Presenter Mouse setup screen will start automatically. If the setup screen does not start automatically, click “

Start

”, then 

Run…

”, type “

D:\SETUP.EXE

” into the dialog box (

NOTE:


“D:\”

 represents the drive letter assigned to the CD-ROM drive 

you are using. If 

D

 is not the letter assigned to your CD-ROM drive, replace 

D

 with the appropriate drive letter.), then click “

OK

”. 

4.


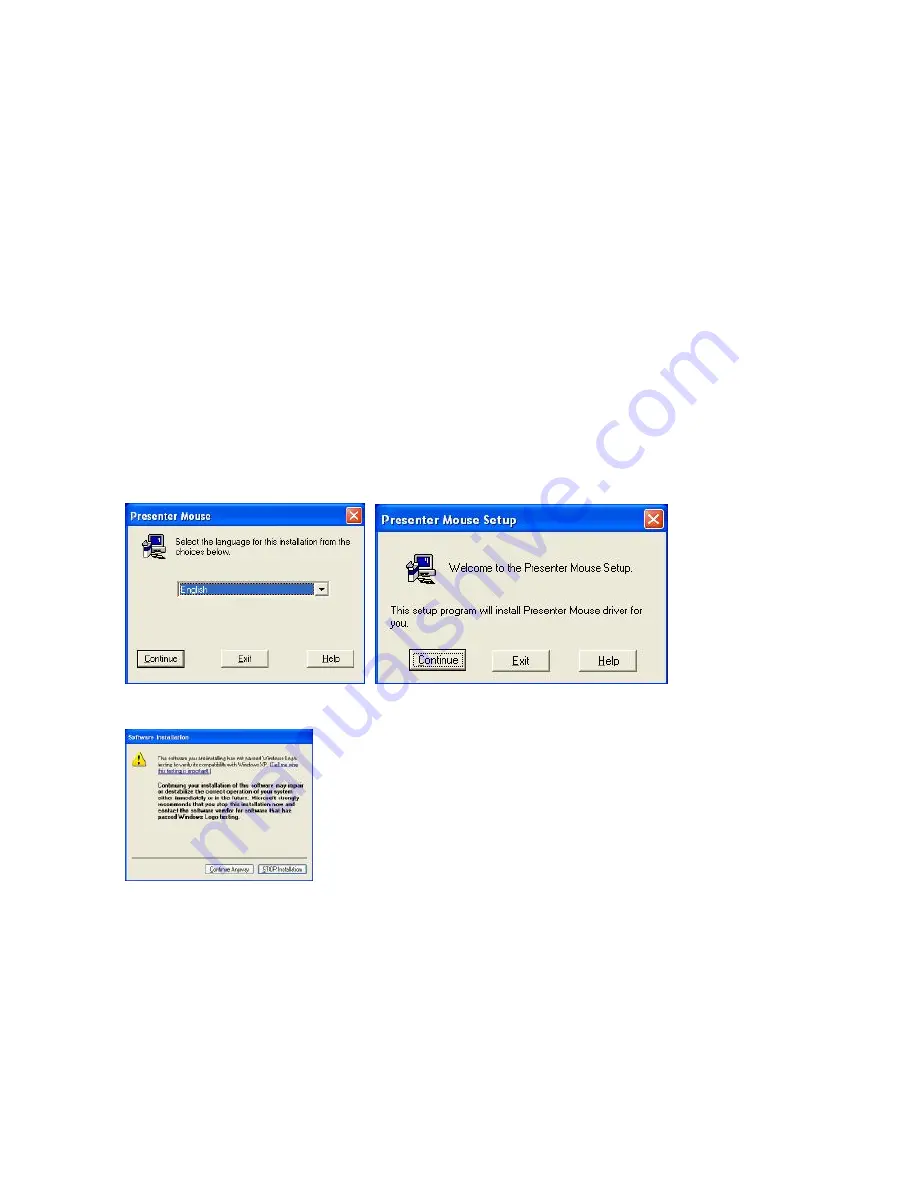
Select your language, then click “

Continue

”, and then click “

Continue

” again to confirm the installation. 


5.


During the installation, the Windows

®

 Logo verification dialog box may appear more than once, click “

Continue Anyways

” to 

continue. 


Summary of Contents for WP7000U

Page 1: ...Wireless Presenter Mouse Model WP7000U User s Manual Rev 060801...

Page 2: ...lowing information as well as your store receipt and this user s manual Date of Purchase __________________________________ Model Number __________________________________ Serial Number ______________...

Page 3: ...ckle Charge Cable User s Manual and Warranty Information Driver Software on CD System Requirements Please be sure that you meet all of the system requirements below to avoid difficulties during instal...

Page 4: ...4 Hardware Descriptions...

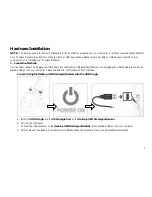
Page 5: ...the USB Dongle into the Desktop USB Recharger Receiver or by plugging the USB Dongle directly into an available USB port on your computer Please see below for instructions on both methods Connect Usi...

Page 6: ...etect your USB device and the necessary drivers will be installed automatically 2 Battery Installation a Slide the Battery Compartment Cover off of your Wireless Presenter b Install the two enclosed A...

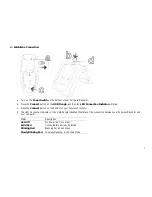
Page 7: ...Press the Connect button on the bottom of your Wireless Presenter d The LED Connection Indicator on the USB Dongle indicates the status of the connection between your Wireless Presenter and your compu...

Page 8: ...ill switch to Presenter Mode automatically In Presenter Mode there are two special features Mouse Trackball In Presenter Mode the Scroll Wheel will respond as a mouse trackball and you can use it to c...

Page 9: ...g the USB Dongle into the Desktop USB Recharger Receiver or by plugging the USB Dongle directly into an available USB port on your computer Please see below for instructions on both methods Recharge Y...

Page 10: ...tor will turn solid red to indicate the charging is in progress and will turn to solid green when your Wireless Presenter is fully charged Status Description LED Off Not Charging Solid Red Charging So...

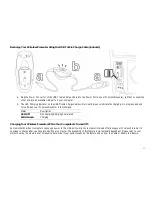
Page 11: ...f when your Wireless Presenter is fully charged Status Description LED Off Not Charging Charging Completed Solid Green Charging Charging Your Wireless Presenter While Your Computer Is Turned Off Some...

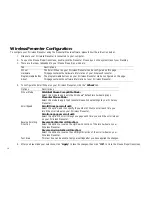
Page 12: ...oftware to avoid any software conflicts 2 Place the Driver CD into the CD ROM drive of your computer 3 The Presenter Mouse setup screen will start automatically If the setup screen does not start auto...

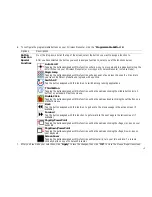
Page 13: ...complete click Restart to restart your computer 7 After your computer has restarted a new icon will be added to the system tray of your Desktop The Presenter Mouse software for your Wireless Presenter...

Page 14: ...l Mode MS Intelli Mouse Compatible Mode Select this mode to apply only the Windows default scroll wheel options Presenter Mouse Mode Select this mode to apply the Presenter Mouse Wheel settings to you...

Page 15: ...on Tapping the button assigned with this function will be the same as clicking the middle button scroll button on a standard 3 buttons mouse Double Click Tapping the button assigned with this function...

Page 16: ...communication However there is no guarantee that interference will not occur in television reception which can be determined by turning the equipment off and on The user is encouraged to try and corre...

Page 17: ...for any loss or damages and claims or damages related to loss of or damage to your records or data This warranty does not apply to any product the exterior of which has been damaged or defaced This wa...

Reviews: