GE HealthCare CONFIDENTIAL
D
IRECTION
5936427
, R
EV
. 1
LOGIQ T
OTUS
Basic Service Manual
8 - 110
Section 8-7 - Replacing OPIO
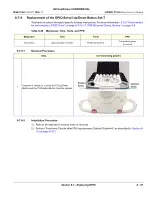
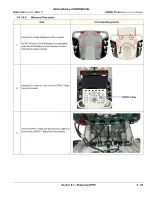
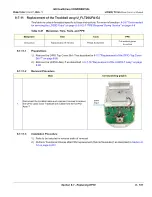
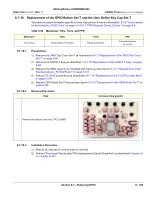
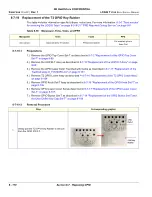
8-7-19 Replacement of the T2 OPIO Key Rubber
This table includes information specific to these instructions. For more information
for servicing the LOGIQ Totus" on page 8-5
8-2-7 "PPE Required During Service" on page 8-6
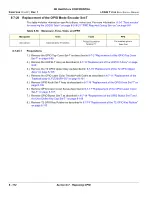
8-7-19-1
Preparations
1.) Remove the OPIO Top Cover Set-T as described in
8-7-2 "Replacement of the OPIO Top Cover
2.) Remove the UOPIO-T Assy as described in
8-7-10 "Replacement of the UOPIO-T Assy" on page
3.) Remove the OPIO Laser Color Trackball with Cable as described in
Trackball assy-U_FLT20UFA-GJ" on page 8-101
4.) Remove T2 OPIO Lower Assy as described in
8-7-14 "Replacement of the T2 OPIO Lower Assy"
5.) Remove OPIO Knob Set-T Assy as described in
8-7-16 "Replacement of the OPIO Knob Set-T" on
6.) Remove OPIO Lower Cover Set as described in
8-7-17 "Replacement of the OPIO Lower Cover
7.) Remove OPIO Button Set-T as described in
8-7-18 "Replacement of the OPIO Button Set-T and
the User Define Key Cap Set-T" on page 8-109
8-7-19-2
Removal Procedure
Table 8-55 Manpower, Time, Tools, and PPE
Manpower
Time
Tools
PPE
One person
Approximately 15 minutes
Philips Screwdriver
Cut resistant gloves
Knee Pad
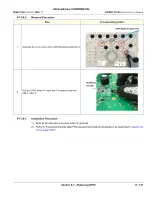
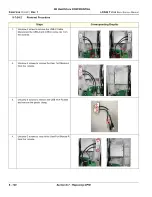
Step
Corresponding graphic
1.
Gently pull the T2 OPIO Key Rubber to remove
from the OPIO PWA-T.
Summary of Contents for LOGIQ Totus
Page 2: ......
Page 4: ...GE HealthCare CONFIDENTIAL Direction 5936427 Rev 1 LOGIQ Totus Basic Service Manual ii...
Page 5: ...GE HealthCare CONFIDENTIAL Direction 5936427 Rev 1 LOGIQ Totus Basic Service Manual iii...
Page 6: ...GE HealthCare CONFIDENTIAL Direction 5936427 Rev 1 LOGIQ Totus Basic Service Manual iv...
Page 643: ......


