


31
Scenes can include lights from different groups.
Adding a Device (Node / Light) to a Scene
1. Enter Z-Wave setup mode and highlight
SCENE SETUP
2. Press
OK
; the screen will display
ADD
3. Press
OK
; the screen will display
SEL DIGIT
4. Press a digit (1-9) for the scene you wish to add the device to.
Press
SHIFT
and the digit (1-9) if you are adding devices to
scenes 10 through 18. The screen will display the scene
you’ve chosen.
5. Press
OK
; the letter “W” will be displayed in the upper left hand
corner and the Z-Wave light will begin blinking indicating the
remote is waiting to connect to your device.
6. Press and release the button on the device so it communicates
with the remote.
7. When the screen displays
SUCCESSFUL
you have successfully
added the Node/Light to a scene. Immediately following this
the screen will display
TO ADJUST LEVEL PUSH OK TO SAVE
.
8. Within 30 seconds press and hold the button on the device to
adjust the brightness level. Release the button at your desired
setting, then press
OK
on the remote.
9. When the screen displays
SUCCESSFUL
you have successfully
added the Node/Light to a scene at your desired setting.
10. To add additional Node/Lights to your scene repeat steps 1
thru 12.
To control a scene:
1. While in the Z-Wave mode press
SCENE
once to put the remote
in
SCENE
mode.
2. Press the digit key for the scene you wish to control (1-9).
Press
SHIFT
and the digit (1-9) if you are controlling scenes 10
through 18. The screen will display the scene you’ve chosen.
• To turn a
SCENE
on, press and release the
CH +
key for less
than one second. The screen will display
ON
above the
selected
SCENE
.
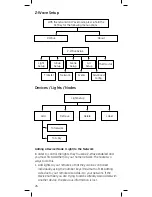
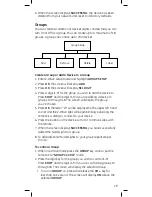
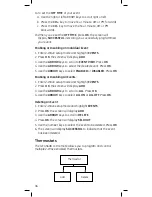
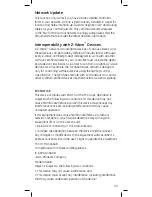
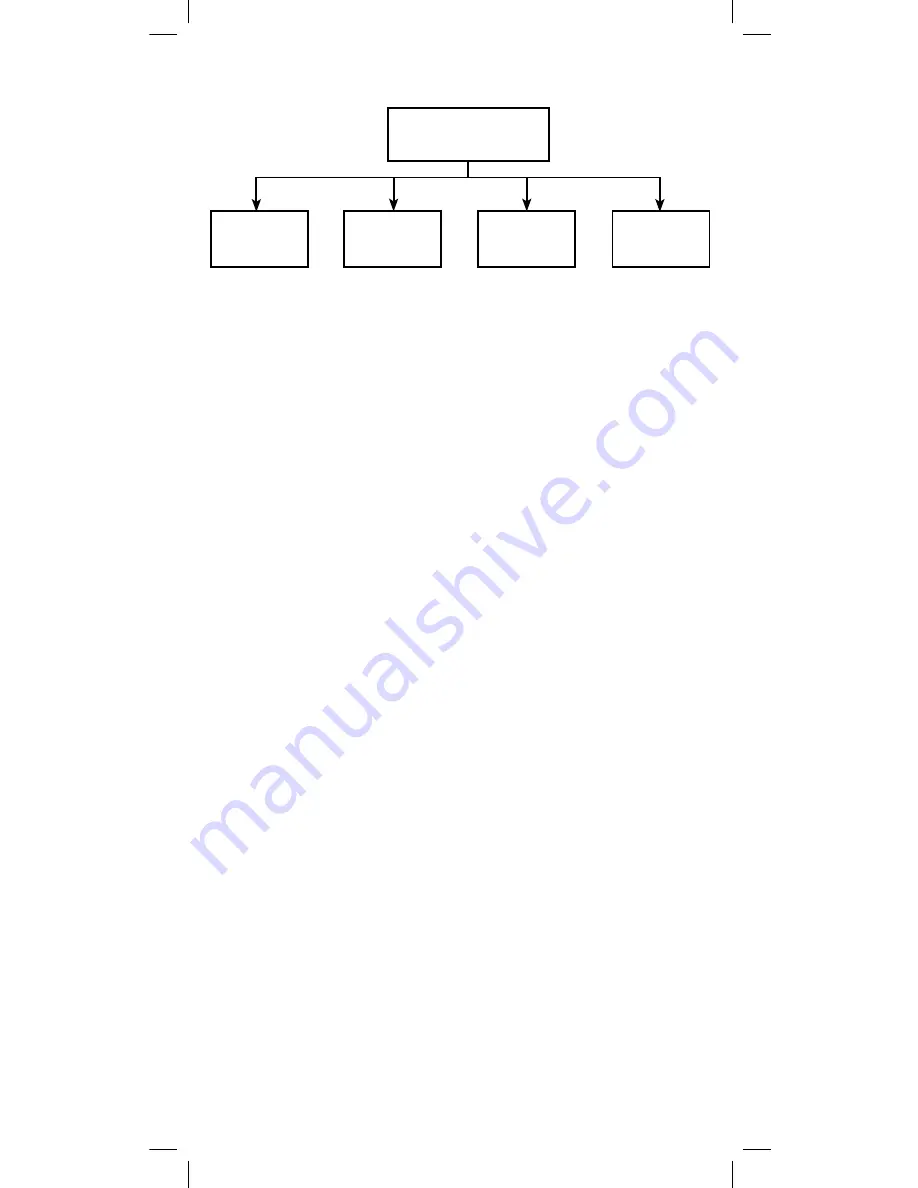
Scene Setup
Add
Remove
Delete
Label


