


Page 4
I n s e r t F i l a m e n t I n t o E x t r u d e r
1.
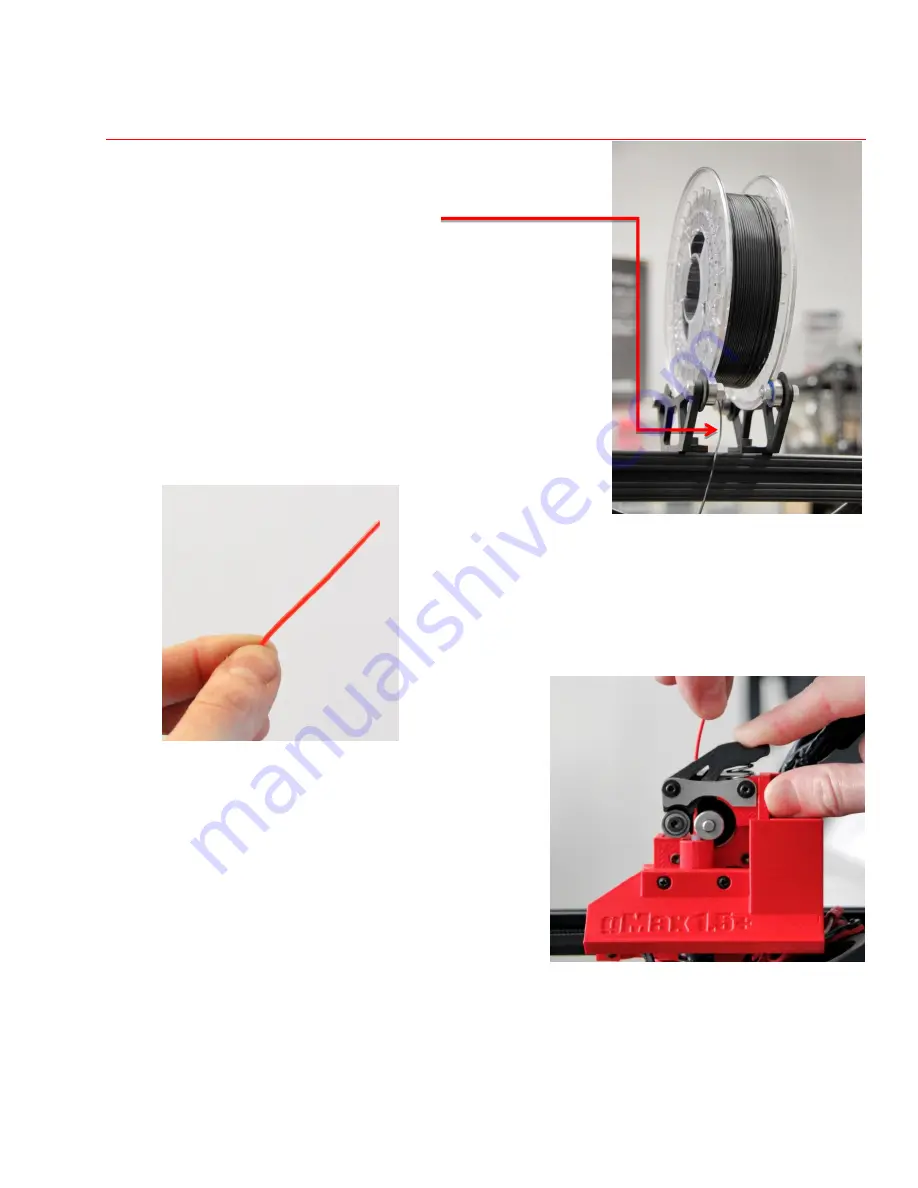
Open a spool of filament and place on filament spool
brackets on top of printer.
Ensure the filament unspools
from the bottom and not from the top to prevent the
spool from falling off during a print
.
Should the filament get tangled, this will prevent the spool
from falling and it also allows the filament to unwind
smoothly.
2.
Adjust the filament brackets to match width of spool.
3.
Every time you insert filament, cut end of filament at an
angle to produce a clean end. It is recommended to
straighten 4” of the end of the filament by gently bending
it. This will make it much easier to insert into the extruder.
Insert the filament as shown here
4.
Pinch the extruder arm above the spring and
insert filament into to hole at top.
5.
Slide filament in until you see it enter the top of
the clear tube just under the metal drive gear. You
may have to twist the filament as you push it in to
get it to enter properly. The filament should slide
in very easily all the way down until it reaches the
brass nozzle at the bottom of the extruder, about
4” total.
Note: When changing filament colors/types, you may need to purge the
old material out of the nozzle. When the nozzle is hot and while
pinching the extruder arm, push material through the nozzle to purge
the old material.


