


Page 2
P l u g I n a n d P o w e r u p
1.
Remove the power cord from the accessories box and use the cord to plug the power supply
into the wall.
Note: The power supply is a computer ATX power supply and it will have
many additional wires coming out of the back. These wires are currently
not used and will be secured.
2.
Press the power button located beneath the LCD screen to turn on the printer.
3.
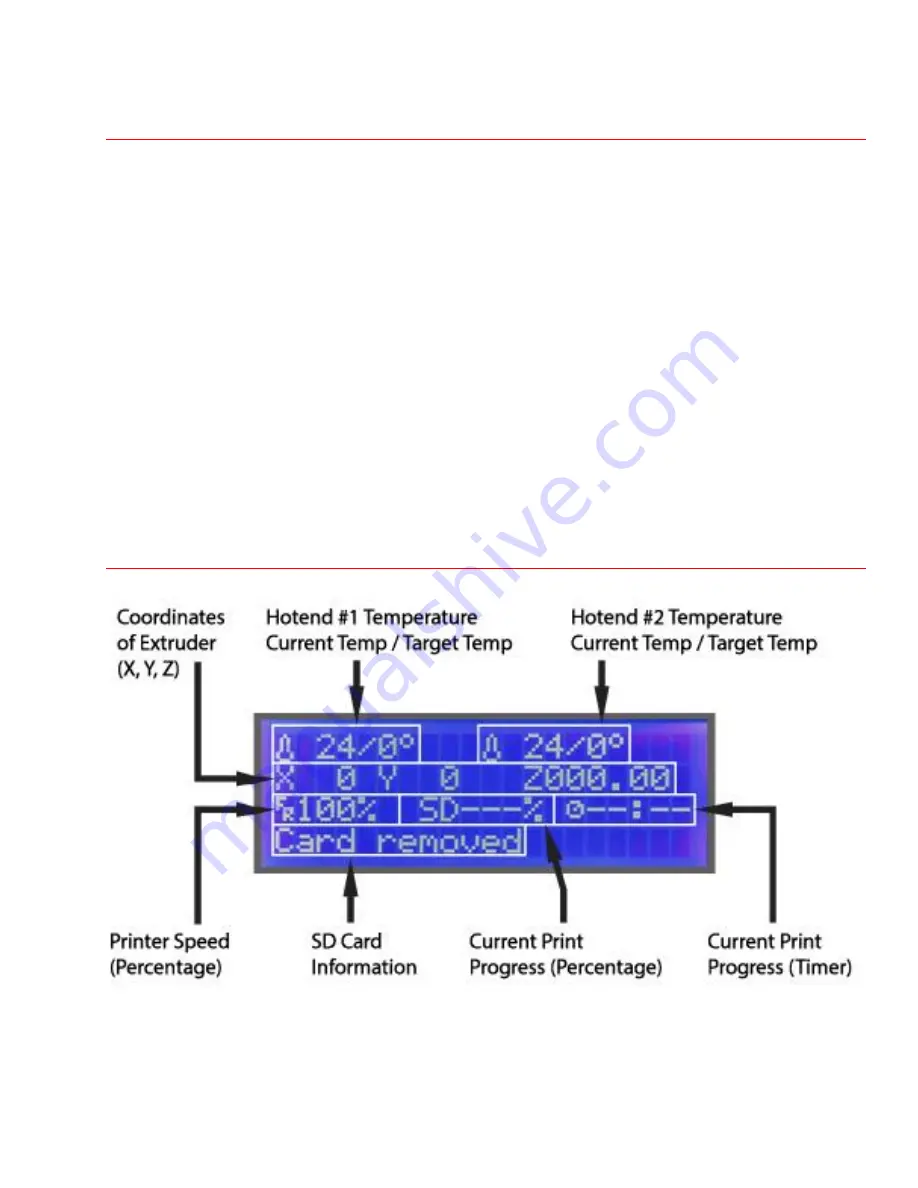
The printer LCD screen should immediately turn on and display text. Below is a diagram of what
each portion of the LCD screen represents. (Note: This is for dual extruders and single extruder
setups will not have a “Hotend #2” reading):
Note: If your LCD screen displays the message “MINTEMP” or the
Hotend “Current temp” reads 0 degrees, do not proceed and refer to the
forum or contact us.
S l i c i n g
1.
We must take the 3d model of your choosing and “slice” it into many layers. It is in the slicing
program where we define the 3d print characteristics such as infill density, walls, layer
thickness and cooling parameters. This is where the magic happens. Each layer is made up of a


