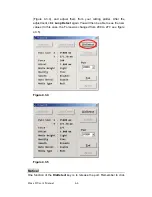
Figure 4.3.7
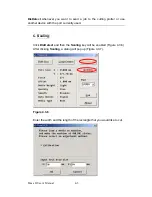
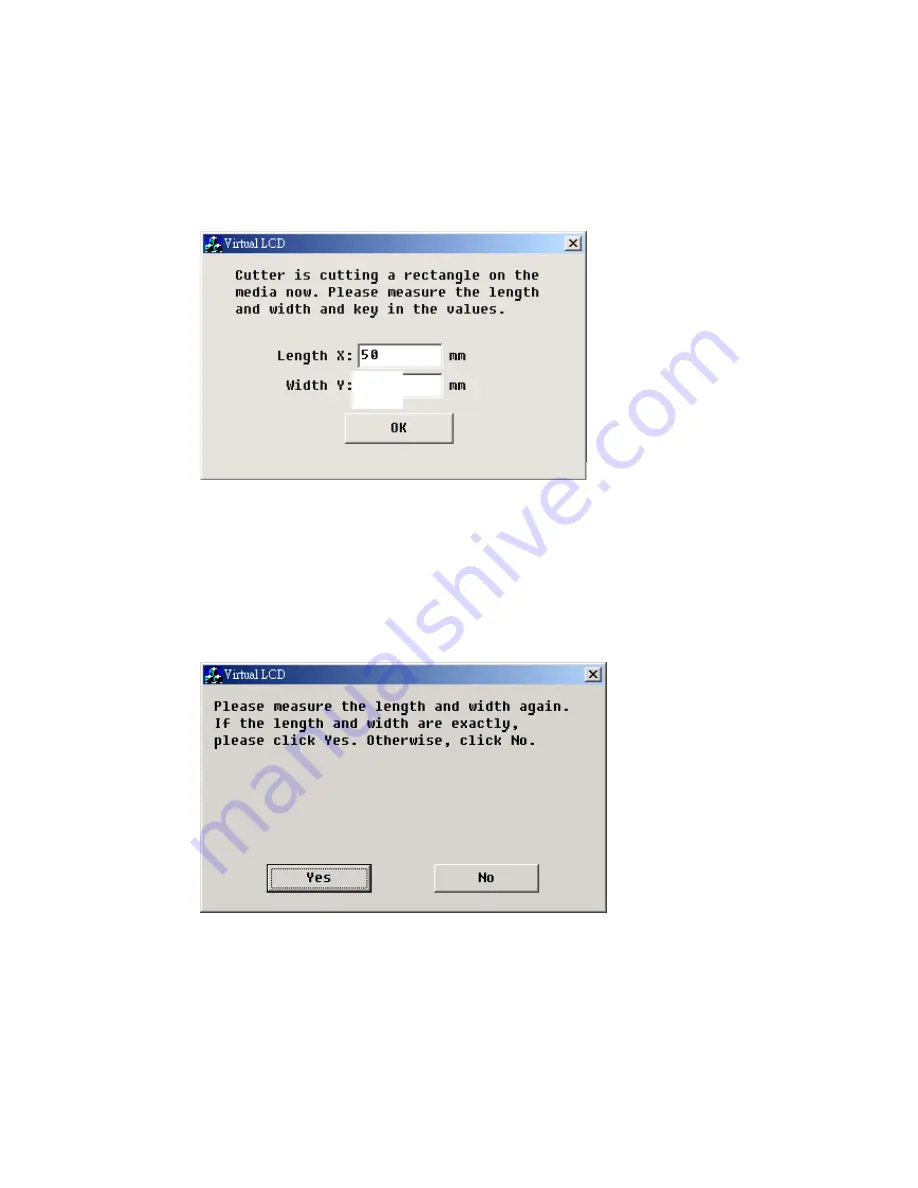
After the cutting job is set, an adjustment dialog window will pop up.
Measure the real cutting width and length of the rectangle, and then, key
in the values in the boxes (Figure 4.3.8). In this case, the actual cutting
width of the rectangle is 49mm.
49
Figure 4.3.8
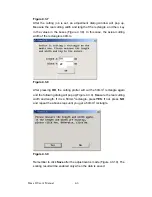
After pressing
OK
, the cutting plotter will cut the 50mm
2
rectangle again
and the following dialog will pop up(Figure 4.3.9). Measure the real cutting
width and length. If it is a 50mm
2
rectangle, press
YES
. If not, press
NO
,
and repeat the above steps until you get a 50mm
2
rectangle.
Figure 4.3.9
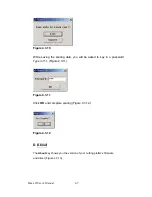
Remember to click
Save
after the adjustment is made (Figure 4.3.10). The
scaling result will be enabled only when the data is saved.
Puma II User’s Manual 4-6
Summary of Contents for PII-132S
Page 1: ...Puma II users manual...

