


www.gateway.com
71
4
Insert a blank, recordable disc into an external
recordable disc drive, then click
Next
. If an
AutoPlay
dialog box opens, click the
x
in the upper-right corner
to close it.
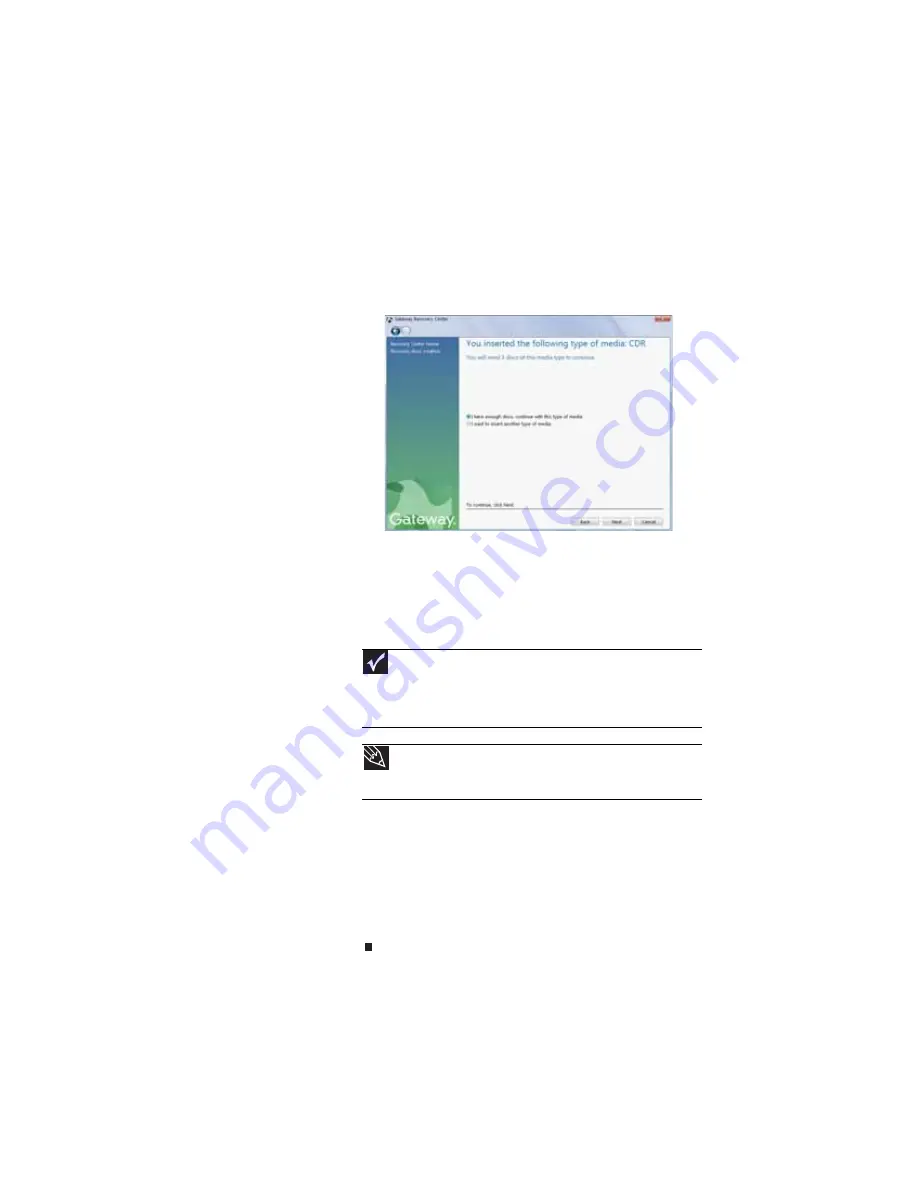
A dialog box opens that tells you the number of blank
discs you need to create a full set of recovery discs.
5
If you have enough blank discs of the specified type,
click
I have enough discs
, then click
Next
. If you do
not have enough discs, choose a different disc type, or
click
Cancel
.
The disc recording begins. Label the discs as they are
completed.
6
If multiple discs are required, insert the additional blank
disks when prompted.
7
When the process is finished, the
Congratulations!
window opens.
8
Click
Finish
.
9
Remove your final disc, then label all of the discs and
store them in a safe place.
Important
Use a permanent marker to label each disc “Software and Driver
Recovery,” along with a short description of which notebook the discs
are for. If you are recording multiple discs, as you remove each disc
from the drive, use the marker to label each disc
1 of
x
,
2 of
x
,
3 of
x
,
and so on.
Tip
After a recovery disc is created, your notebook names the disc
Recovery13
for disc 1 of a 3-disc set,
Recovery23
for disc 2, and
so on.
Summary of Contents for NX100X - Core Solo 1.06 GHz
Page 1: ...NOTEBOOK REFERENCEGUIDE...
Page 2: ......
Page 10: ...CHAPTER 1 About This Reference 4...
Page 11: ...CHAPTER2 5 Checking Out Your Notebook Front Left Right Bottom Keyboard area...
Page 40: ...CHAPTER 3 Setting Up and Getting Started 34...
Page 52: ...CHAPTER 4 Using Drives and Accessories 46...
Page 95: ...CHAPTER9 89 Troubleshooting Safety guidelines First steps Troubleshooting Telephone support...
Page 122: ...CHAPTER 9 Troubleshooting 116...
Page 141: ......
Page 142: ...MAN CYCLOPS REF GDE V R2 8 07...


