28
Replacing and Adding Drives
Hard drives
Removing and replacing the hard drive
The hard drive is secured to a mounting plate that snaps out of and into the
chassis.
To replace the hard drive:
1
Turn off the system and disconnect the power cord, modem cord (if
installed), and all external peripheral devices.
2
Open the case (see “Opening the case” on page 17), observing the “Static
electricity precautions” on page 15.
3
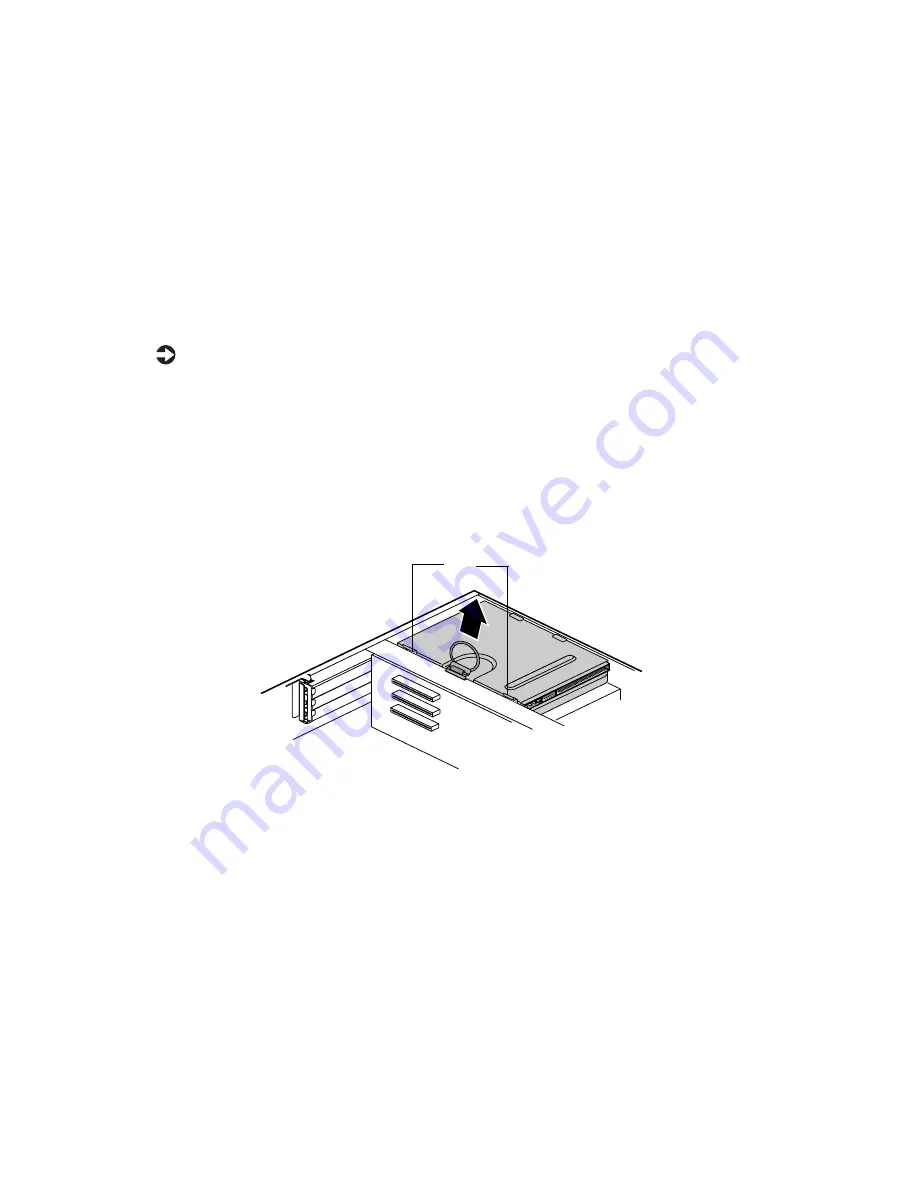
Locate the 3.5-inch hard drive and mounting plate ring.
4
Lift the ring slightly, then pull it towards the center of the drive until
the spring latch releases. Lift the drive out of the chassis.
5
Remove the mounting plate from the old drive by lifting and sliding one
tab at a time until they unlock. Lift the mounting plate off the drive.
6
Position the new drive upside down in the mounting plate and snap it
into place.
7
Place the drive back into the drive bay.
8
Connect the power and data cables to the back of the drive. (See drive
documentation for proper drive jumper settings and cable orientation.)
Tabs
Summary of Contents for E-4400
Page 1: ...MAN US E4400 SYS GDE MVCASR1 1 00 8505593 8505593 8505593 8505593 E 4400 Desktop System Manual...
Page 5: ...iv...
Page 21: ...14 System Setup...
Page 27: ...20 Case Access...
Page 39: ...32 System Components 4 Lift the panel up and out 5 Clear the panel from the chassis Tabs...
Page 61: ...54 Using the BIOS Setup Utility...
Page 97: ...90 Troubleshooting...
Page 117: ...112 Index...
Page 118: ...MAN US E4400 SYS GDE MVCASR1 1 00 8505593 8505593 8505593 8505593 E 4400 Desktop System Manual...


