28 Maintaining and Troubleshooting Your E-3200 System
•
Before you install a drive, see the drive’s documentation for
information on configuring the drive, setting any jumpers on the
drive, and attaching cables to the drive.
•
If you are installing a drive that uses an add-in controller, install the
add-in card before you install the drive.
•
IDE hard drives can be configured as single, master, or slave. IDE
CD-ROM drives can be configured as master or slave. Use the
drive-select jumpers on the drives to configure IDE drives as
follows: If only one drive is attached to the controller cable,
configure the drive as single if it is a hard drive or master if it is a
CD-ROM drive. If two drives of any type are attached to the cable,
configure one as master and one as slave.
•
You may need to configure the drives you install through the Setup
utility program. Press F1 at start up to access the Setup utility
program.
Drive Cabling Information
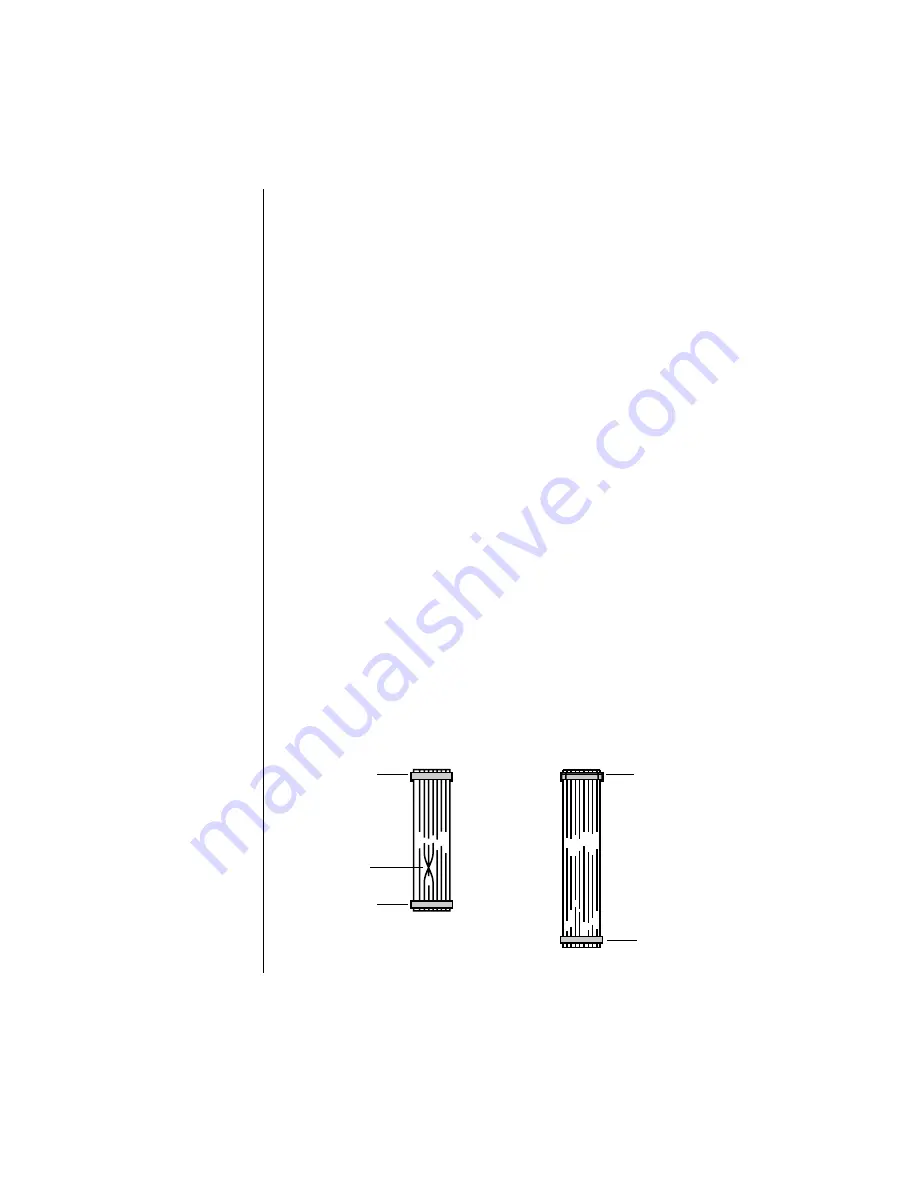
Three drive cables are included with your system. The floppy drive
connector cable is used to connect floppy drives and other non-IDE devices
(such as a tape backup drive). The two IDE connector cables are used to
connect IDE devices such as CD-ROM drives and additional hard drives. If
you want to add additional drives, you can replace the drive connector
cables with ones that contain three connectors, which would allow you to
add a total of four IDE devices or two floppy devices.
Floppy drive
connector cable
IDE connector cable
(two cables)
To floppy
connector on
system board
To primary or
secondary
connector on
system board
To floppy
drive that
came with
your system
To connector
on IDE device
Cross section side
of cable connects
to floppy drive
Summary of Contents for E-3200
Page 1: ...Maintaining and Troubleshooting Your E 3200 System MAN US E3200 TECH REF R0 7 98 8502684...
Page 6: ...Preface Contents Conventions Used in This Guide iv Safety Instructions v...
Page 10: ...Case Access Contents Static Electricity Precautions 2 Opening the Case 3 Closing the Case 5...
Page 15: ...6 Maintaining and Troubleshooting Your E 3200 System...
Page 18: ...System Components 9 G DIMM slots H Digital Versatile Disc DVD connector I AGP connector...
Page 52: ...BIOS Setup Utility Contents Using the Setup Utility 44 Updating the BIOS 46...
Page 57: ...48 Maintaining and Troubleshooting Your E 3200 System...
Page 79: ...70 Maintaining and Troubleshooting Your E 3200 System...
Page 90: ...Maintaining and Troubleshooting Your E 3200 System MAN US E3200 TECH REF R0 7 98 8502684...


