


SV12
User Manual & Install Guide
14 of 26
After the password is entered, using the shift key, to select the open-door icon and press enter. This will
give the user access to the settings.
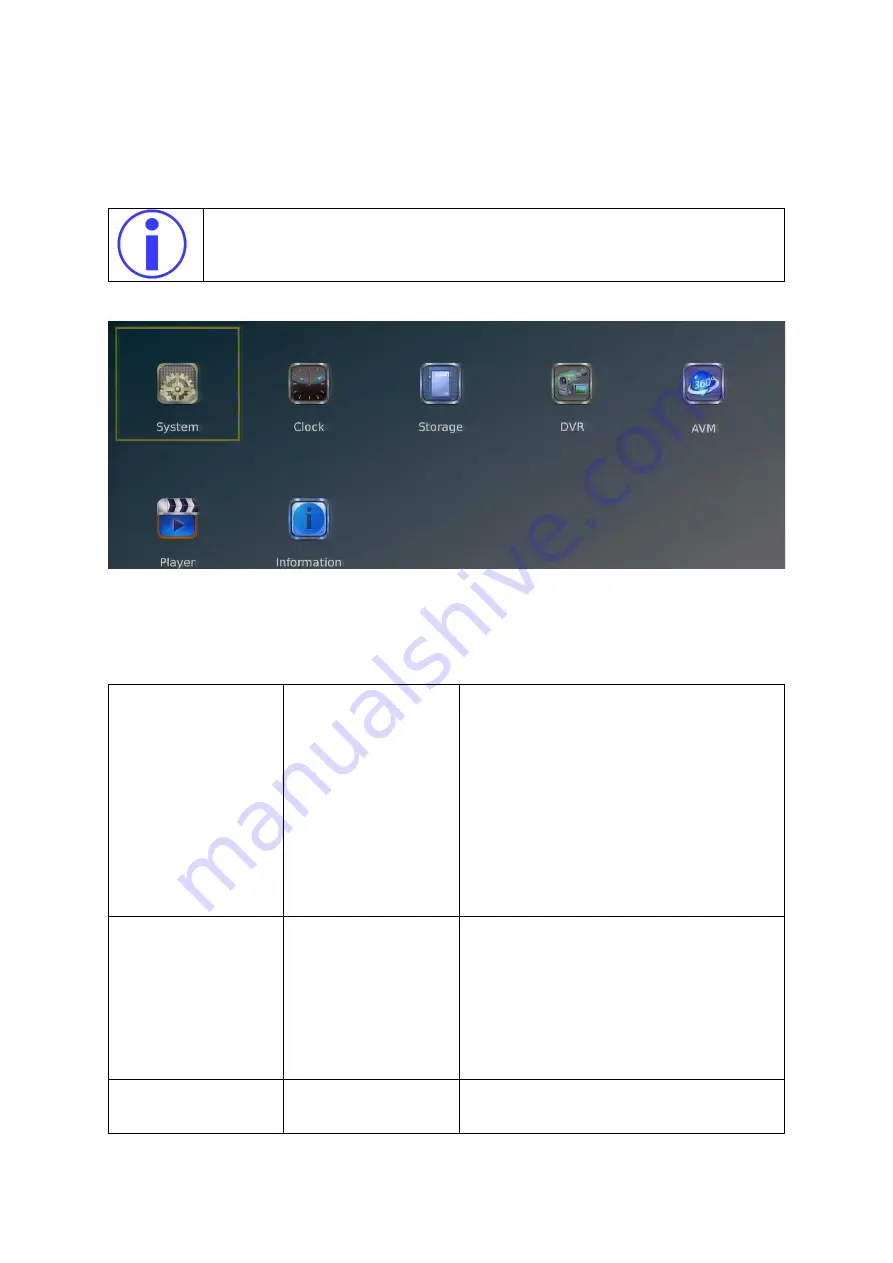
On the video processor,
Navigate To
–
Setting
To navigate through Setting menu, use the shift key from the IR remote control.
3.3.2.1
System
On the video processor,
Navigate To
–
Setting
→
System
System
AV
Audio video setting.
Default Setting:
▪
NTSC
Note
–
To navigate through submenu use shift
key. E.g. to go to Time and Display Icon from
AV, use shift key.
To navigate through sub-sub-menu, use arrow
keys. E.g. to change the settings of AV from
NTSC to PAL, use the left arrow key.
Time and Icon Display
Keep this time display off. Otherwise, the
recorded video will has two time and date
stamps, one from DVR and one from video
processor itself.
Default Setting:
▪
OFF
Vehicle Translucence
Default Setting:
▪
OFF


