background image

Viewing Turns and Directions

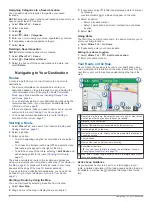
While navigating a route, you can view upcoming turns, lane 

changes, or other directions for your route.

1

From the map, select an option:
• To view upcoming turns and directions as you navigate, 

select   > 

Turns

.

The map tool displays the next four turns or directions 

beside the map. The list updates automatically as you 

navigate the route.

• To view the complete list of turns and directions for the 

entire route, select the text bar at the top of the map.

2

Select a turn or direction (optional).
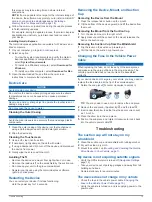
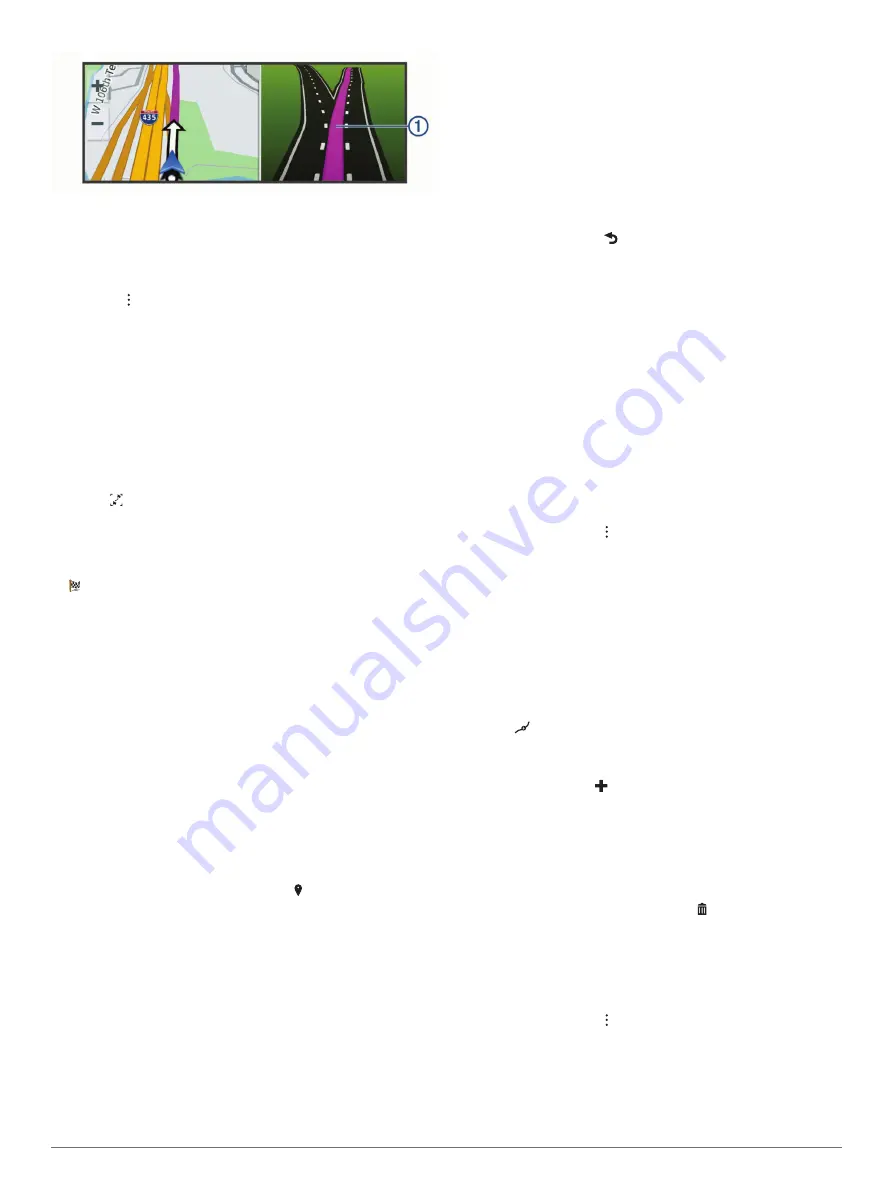
Detailed information appears. An image of the junction may 

appear for junctions on major roadways, if available.

Viewing the Entire Route on the Map

1

While navigating a route, select anywhere on the map.

2

Select  .

Arriving at Your Destination

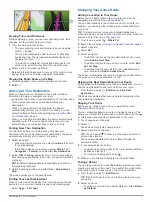
When you approach your destination, the device provides 

information to help you complete your route.

 indicates the location of your destination on the map, and a 

voice prompt announces you are approaching your 

destination.

• When you approach some destinations, the device 

automatically prompts you to search for parking. You can 

select Continue to find nearby parking areas (

Parking Near 

Your Destination

, page 7

).

• When you stop at your destination, the device automatically 

ends the route. If the device does not detect your arrival 

automatically, you can select Stop to end your route.

Parking Near Your Destination

Your device can help you find a parking spot near your 

destination. When you approach some destinations, the device 

automatically prompts you to search for parking.

1

Select an option:
• When the device prompts you, select 

Continue

 to search 

for nearby parking.

• If the device does not prompt you, select 

Where To?

 > 

Categories

 > 

Parking

, and select   > 

My Destination

.

2

Select 

Filter Parking

, and select one or more categories to 

filter parking by availability, type, price, or payment methods 

(optional).

NOTE: 

Detailed parking data is not available in all areas or 

for all parking locations.

3

Select a parking location, and select 

Go!

 > 

Add As Next 

Stop

.

The device guides you to the parking area.

Finding Your Last Parking Spot

When you disconnect the device from vehicle power while the 

device is on, your current location is saved as a parking spot.

Select 

Apps

 > 

Last Spot

.

Changing Your Active Route

Adding a Location to Your Route

Before you can add a location to your route, you must be 

navigating a route (

Starting a Route

, page 6

).

You can add locations to the middle or end of your route. For 

example, you can add a fuel station as the next destination in 

your route.

TIP: 

To create complex routes with multiple destinations or 

scheduled stops, you can use the trip planner to plan, schedule, 

and save a trip (

Planning a Trip

, page 12

).

1

From the map, select   > 

Where To?

.

2

Search for a location (

Finding and Saving Locations

, page 2

).

3

Select a location.

4

Select 

Go!

.

5

Select an option:
• To add the location as the next destination in your route, 

select 

Add As Next Stop

.

• To add the location to the end of your route, select 

Add 

As Last Stop

.

• To add the location and edit the order of destinations in 

your route, select 

Add to Active Route

.

The device re-calculates the route to include the added location 

and guides you to the destinations in order.

Skipping the Next Destination in Your Route

If your active route includes more than one destination, you can 

skip the next destination and remove it from your route.

From the map, select   > 

Edit Route

 > 

Skip Next 

Destination

.

The device recalculates the route and starts navigating to the 

next remaining destination.

Shaping Your Route

Before you can shape your route, you must start a route 

(

Starting a Route

, page 6

).

You can manually shape your route to change its course. This 

allows you to direct the route to use a certain road or go through 

a certain area without adding a destination to the route.

1

Touch anywhere on the map.

2

Select  .
The device enters route shaping mode.

3

Select a location on the map.

TIP: 

You can select   to zoom in on the map and select a 

more precise location.
The device recalculates the route to travel through the 

selected location.

4

If necessary, select an option:
• To add more shaping points to the route, select additional 

locations on the map.

• To remove a shaping point, select  .

5

When you are finished shaping the route, select 

Go!

.

Taking a Detour

You can take a detour for a specified distance along your route 

or detour around specific roads. This is useful if you encounter 

construction zones, closed roads, or poor road conditions.

1

From the map, select   > 

Edit Route

.

TIP: 

If the Edit Route tool is not in the map tools menu, you 

can add it.

2

Select an option:
• To detour your route for a specific distance, select 

Detour 

by Distance

.

Navigating to Your Destination

7

Summary of Contents for DRIVE 52

Page 1: ...GARMINDRIVE 52 GARMINDRIVE5PRO Owner sManual...

Page 2: ...s and myTrends are trademarks of Garmin Ltd or its subsidiaries These trademarks may not be used without the express permission of Garmin Android is a trademark of Google Inc Apple and Mac are tradema...

Page 3: ...Location to Your Route 7 Skipping the Next Destination in Your Route 7 Shaping Your Route 7 Taking a Detour 7 Changing the Route Calculation Mode 8 Stopping the Route 8 Using Suggested Routes 8 Avoid...

Page 4: ...ing the Mount from the Suction Cup 15 Removing the Suction Cup from the Windshield 15 Changing the Fuse in the Vehicle Power Cable 15 Troubleshooting 15 The suction cup will not stay on my windshield...

Page 5: ...f and the device uses very little power but it can wake instantly for use TIP You can charge your device faster by putting it in power saving mode while charging the battery To turn off the device com...

Page 6: ...ble the audible tone for some types of driver alerts The visual alert appears even when the tone is disabled 1 Select Settings Driver Assistance Driver Alerts 2 Select or clear the check box next to e...

Page 7: ...alternate routes to the locations Go Select to start navigating to the location using the recommended route Select to view the search results on the map Location Search Results on the Map You can vie...

Page 8: ...location s history Foursquare Foursquare is a location based social network Your device includes pre loaded Foursquare points of interest which are indicated by the Foursquare logo in your location s...

Page 9: ...iew information about your current location This feature is helpful if you need to tell emergency personnel your location From the map select the vehicle Finding Emergency Services and Fuel You can us...

Page 10: ...map Your Route on the Map page 6 A preview of the major roads in your route appears at the edge of the map for several seconds If you need to stop at additional destinations you can add the locations...

Page 11: ...Active Route Adding a Location to Your Route Before you can add a location to your route you must be navigating a route Starting a Route page 6 You can add locations to the middle or end of your rout...

Page 12: ...ways avoid tolls select Avoid To always allow tolls select Allow 4 Select Save Avoiding Toll Stickers If the map data on your device contains detailed toll sticker information you can avoid or allow r...

Page 13: ...es information about upcoming locations along your route or the road on which you are traveling You can view upcoming points of interest by category such as restaurants fuel stations or rest areas You...

Page 14: ...tings Map Vehicle Map Layers 2 Select the check box next to each layer you want to show on the map Changing the Map Data Field 1 From the map select a data field NOTE You cannot customize Speed 2 Sele...

Page 15: ...respond to the on screen prompts to complete the pairing process If you are pairing with a smartphone with Android complete steps 5 8 5 On your smartphone with Android select View Bluetooth Settings T...

Page 16: ...start your trip 1 Select Apps Trip Planner Saved Trips 2 Select a saved trip 3 Select Trip Settings 4 Select an option To add shaping points to your trip select Shape Route and follow the on screen in...

Page 17: ...about pairing cameras and camera settings Go to garmin com backupcamera to purchase a Garmin backup camera Select Settings Backup Camera and select a paired camera Unpair Removes the paired camera You...

Page 18: ...You can purchase an approved Garmin AC DC adapter suitable for home or office use from a Garmin dealer or www garmin com The device may charge slowly when connected to a third party adapter Device Ma...

Page 19: ...mpartment Register your device using the Garmin Express software garmin com express Restarting the Device You can restart your device if it stops functioning Hold the power key for 12 seconds Removing...

Page 20: ...stom POIs Connecting the Device to Your Computer You can connect the device to your computer using a USB cable 1 Plug the small end of the USB cable into the port on the device 2 Plug the larger end o...

Page 21: ...9 updating 14 viewing routes 6 7 memory card 1 16 installing 16 microSD card 1 16 mount removing 15 mounting the device automobile 1 removing from mount 15 suction cup 1 15 myTrends routes 8 N nation...

Page 22: ...updating maps 14 software 14 USB disconnecting 16 V vehicle power cable 1 venues 4 volume adjusting 2 W Where Am I 5 wireless camera 13 18 Index...

Page 23: ......

Page 24: ...support garmin com GUID 67DA720E 963D 48A3 B7FA DFEC1248BF79 v3 May 2020...

Reviews: