background image

Page 5

Page 5

V

Veerr  1

1..

6

M1G2ACE/M1G2DCE

M1G1ACE/M1G1DCE
M1G2ACE/M1G2DCE

M1G1ACE/M1G1DCE

Garland Technology M1G1ACE (code Version: 1.0.21)

Upgrade Menu

1. Upgrade using download file version 1.0.21

0. Exit

Select:

The ability to download upgrades to the M1GXXCE Chassis through the network is a great feature.  There is 
no need to have to send the chassis back to the factory to be upgraded.  You simply request the upgrade file 
from Tech Support place it on you desktop and set up the chassis Uploader to do the rest of the job.  Press 


to Exit back to the Main Menu.  Once back to the Main Menu, press 


again to log out of the 

Management System.  We do not want to do that yet, what we will do next is set up the Filters.

Pressing 


will bring you back to the 


Main Menu


Next, we will go to the 


Upgrade Menu


by 

pressing 


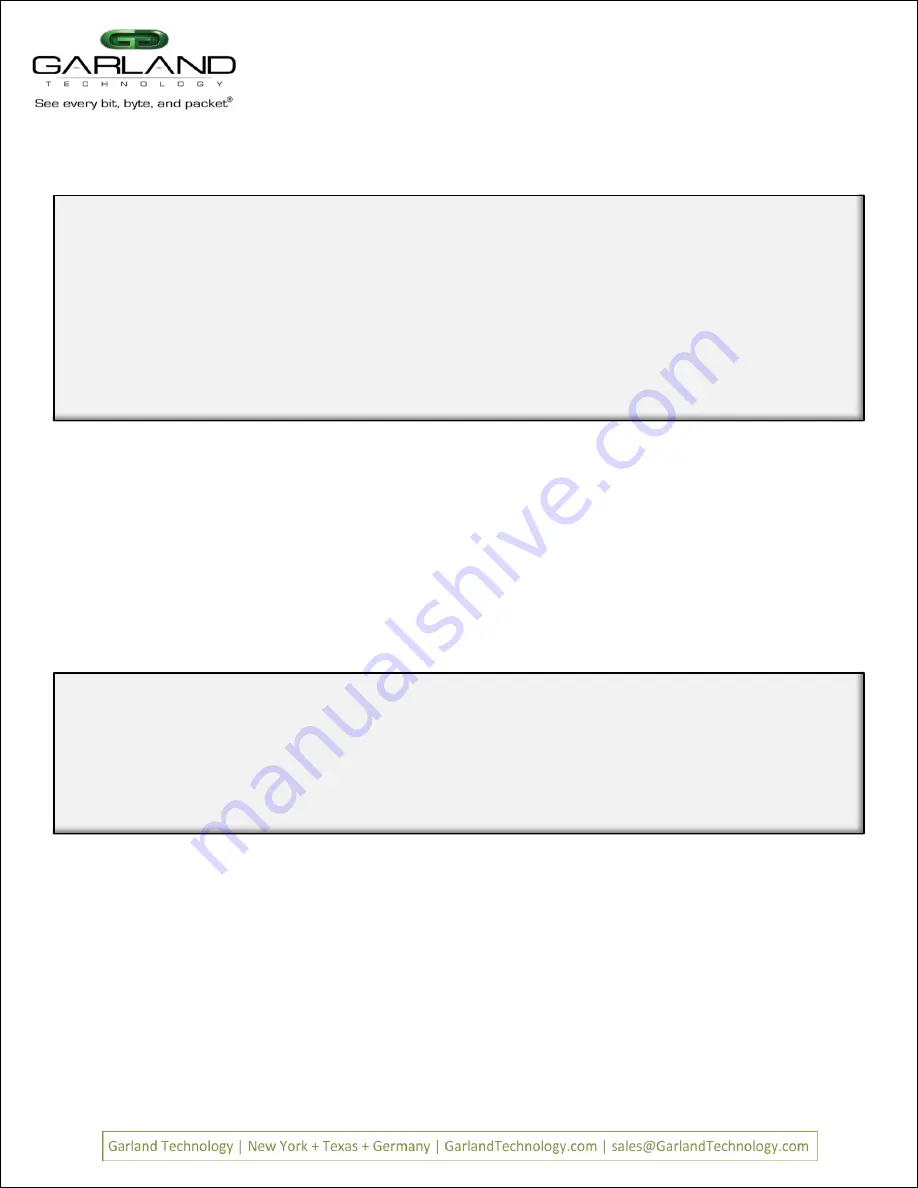
Garland Technology M1G1ACE (Code Version: 1.0.21)

Main Menu

Select:

1. Change/View Module Configuration

2. Filtering

3. Change Username/Password

4. Settings

5. Upgrade

0. Logout

Before being able to upgrade the Chassis with the latest software, the user needs to place the file onto the 
desktop.  The Uploader address for this product is IP address of the Chassis.  So go to your preferred Browser 
and enter the IP address and a simple screen will appear.  Press the Choose File button and find the upgrade 
file that you placed on your desktop then press the Upload Button.  The Uploader will upload the upgrade 
file to the chassis.  After the web interface has transferred the file to the chassis, the user must go to the 
upgrade menu on the CLI (Press 5 on the Main Menu).  There, he will see option 1 appear IF the uploaded 
file uploaded intact and is recognized as an upgrade file for this product.  Verify that the uploaded version is 
the version that you expected.  Once you press option 1 the program will then install the upgrade and reboot 
the system.  Task accomplished.  

Figure 7: Main Menu

Figure 8: Upgrade Menu

Summary of Contents for M1G1ACE

Page 1: ...ke advantage of the aggregating backplane you will need to update the firmware of the modules Otherwise the modules will operate as they normally would in the new chassis There is a RJ 45 Management p...

Page 2: ...air circulation is maintained To deploy the M1GXXCE Modular Chassis with Filtering Backplane into your network the following steps apply Figure 2 M1G1ACE with four TAP modules a Management module Page...

Page 3: ...of each module to the backplane Option 3 provides the capability to manage the Username and Password for the chassis Option 4 provides the capability to manage the Network configuration Option 5 provi...

Page 4: ...the RJ45 Serial Port on the M1GXXCE chassis 2 Connect the other side of the RS232 cable to your PC s RS232 port 3 Use any terminal emulation software PuTTY HyperTerminal Etc to connect to the CLI inte...

Page 5: ...21 Main Menu Select 1 Change View Module Configuration 2 Filtering 3 Change Username Password 4 Settings 5 Upgrade 0 Logout Before being able to upgrade the Chassis with the latest software the user...

Page 6: ...Supply 2 Up Module Type Operating Mode Current State 1 M1GCCBP 2 M1GCCF 3 M1GCCF 4 M1GCCF Bypass Bypass Press 1 Select Slot 1 2 Select Slot 2 3 Select Slot 3 4 Select Slot 4 0 Exit Figure 10 Show Stat...

Page 7: ...aults Press Enter to refresh this status screen 0 Exit The TAP Module in slot 2 is different than the module in slot 1 This screen is to show that the slot number screens may be slightly different dep...

Page 8: ...LFP ON or OFF Pressing when on the Slot 1 Status Screen of a Copper TAP Module will bring up this screen Slot 1 LFP Configuration Current LFP state ON New LFP state ON 1 ON 2 OFF 0 Return and Apply L...

Page 9: ...Speed setting is less that 1Gbps If the Speed is 1Gbps the Duplex mode is forced to Autonegotiate Pressing when on the Slot Status Screen of a Copper Bypass TAP Module will bring up the Reverse Bypass...

Page 10: ...rows to set up filters Pressing on a 1U chassis would take you directly to the Filter Row menu Page 10 Page 10 V Ve er r 1 1 6 We will show the setting up of some Layer 2 3 and 4 filters in the follo...

Page 11: ...Egress Ports Menu Ingress Egress ports for filter Case 432A Edit Filter 1 Name case 432A 2 Ports 3 Counter Used YES 4 Source MAC Address 5 Destination MAC Address 6 VLAN ID 7 Layer 3 0 Exit Enter menu...

Page 12: ...gram will add filter on DESTINATION MAC address N line at the bottom ofthe menu Press y to add theaddress Figure 32 Begin setting up the destination MAC address Pressing adds a line to the menu Figure...

Page 13: ...tion MAC address is added to line 5 Pleasenote that entering the SOURCE MAC address is operationally the same as entering the DESTINATION MAC address If a SOURCEMAC address is entered at this point th...

Page 14: ...ess 6 VLAN ID 768 7 Layer 3 0 Exit Enter menu selection VLAN ID defined Press to return to the Row 1Filters Screen Figure 43 vlan 768 assigned Figure 40 Add a new filter We will create thenew filter s...

Page 15: ...gned We will select IP packets by pressing then i Edit Filter 1 Name src IP fltA 2 Ports Unav i o 3 Counter Used YES 4 Source MAC Address 5 Destination MAC Address 6 VLAN ID 7 Layer 3 0 Exit Enter men...

Page 16: ...Filter 1 Name src IP fltA 2 Ports Unav i o 3 Counter Used YES 4 Source MAC Address 5 Destination MAC Address 6 VLAN ID 7 Layer 3 IP 8 Source IP address 9 Destination IP address a DSCP b Layer 4 0 Exit...

Page 17: ...ion a filter on dscp N Setting up DSCP Filter cont Selecting IP brings up three new options SourceIP Destination IP and DSCP We willselect a to set up filter on DSCP Figure 60 Select Setting up DSCP F...

Page 18: ...ction b filter on layer 4 IP protocol N y t tcp u udp h other any other key no change IP protocol 0 Figure 67 Select Layer 4 Enter and press ENTER to get back to the Edit milter menu Edit Filter 1 Nam...

Page 19: ...med email send which will go from A2 C2 Press to select layer 3 Figure 71 create email send filter Row 1 Filter now has six filters complete Edit Filter 1 Name email send 2 Ports unav i o 3 Counter Us...

Page 20: ...o return to the Row 1Filters screen Figure 78 destination port is complete Edit Filter 1 Name email send 2 Ports unav i o 3 Counter Used YES 4 Source MAC Address 5 Destination MAC Address 6 VLAN ID 7...

Page 21: ...t Temperature Operating Relative Humidity Storage Temperature Voltage AC DC Current Max 2U WxHxD 17 44 x 3 47 x 13 32 inches 9 lbs 0 C to 40 C 32 F to 104 F 90 non condensing 20 C to 70 C 4 F to 158 F...

Page 22: ...es supports up to twelve TAP modules Backplane feature can be used with all of Garland Technology s 1Gbps modular TAPs that end with a letter F Modular TAPs that can use the Aggregating Filtering Back...

Page 23: ...RJ 45 Copper Port SFP Transceiver Port 1Gbps LFP Link Failure Propagation LFP is used mostly for HA designed networks When turned on it can sense a network failure and reflect the failure to the adja...

Reviews: