background image

12 

IV.  How to use


6) PLAY/PAUSE Button 

 
This key is to play record or pause the 
screen. Unless there is a recorded 
specific date and time, it will play from 
the first where started recording. 
To play record, choose where you 

want to play first (use 

 button to 

move cursor and use 

 button  to 

search the date and time), return to 
menu  screen  second,  then  press 
PLAY/PAUSE Button. The date and 
time  you  want  to  play  should  be 
between recording started and ended.   

In some cases, for example, for an exact screen catching, you should want to 
pause the screen, in order that, press PLAY/PAUSE button again, then the 
screen will be paused for more delicate observation of event.  
PLAY/PAUSE button mainly functions to perform as same as Enter key 
except play/pause function in playing mode.   


7) STOP Button 

 
To stop playing record and return to present situation screen, use STOP button 
or  MENU button. 


8) USB Button 

  
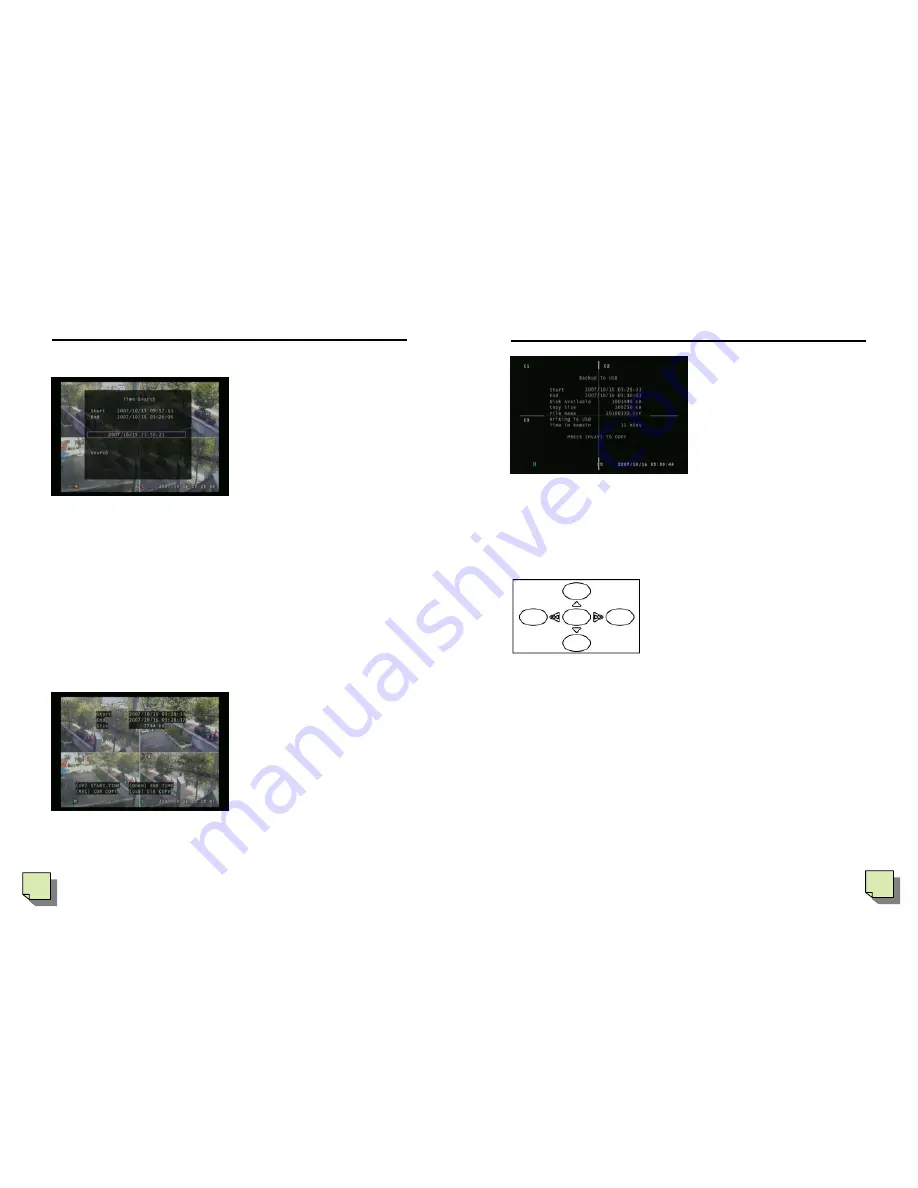
4 channel DVR provide back up sys-
tem  by  moving  images  into  USB 
memory  stick.  Before  backing  up, 
user should prepare to transmit data 
from DVR system. First of all, to save 
by using this back up system, start to 

play images. While playing, use 

▲ 

button  to  set  up  a  start  time  of 

recording, use  

button to set up an 

end  time  of  recording.  Then  after 
setting up record start & end time, 
press USB button, then.. continue 

13 

There will be appeared like from left, 
you can see from left, started time and 
ending time of recording, USB spared 
space, copy size which you want to 
save, file name, expected saving time. 
To copy for backing up, press Play 
button below in picture, then there will 
be a message “Writing to USB Disk”, 
and the time to copy will be reduced . 
After  completion  of  copying,  use 
Menu or Stop button to return. Then 
disconnect  the  memory  stick  then 
connect it to Computer so that you 

can check (confirm) by watching record.   
Reference: to repeat using Memory stick, you should delete the information in 
DVR USB connection part, then you can use it again.  


9) Arrow Button  


- direction key, moving cursor or 

chaning value. 

 ▶

,  


these  button  perform  

▶▶

,  

◀◀  

(Fast 

Forward, REWinding) function.


While  playing,  

▶▶

,  

◀◀


-  Fast  Forward, 

REWinding


(a) FF

▶▶

  : 

To play 2 times faster, press 

▶▶


one 

time more.


(b) FF 

▶▶

 : 

To play 4 times faster, press FF

▶▶ 


twice. 

(c) FF 

▶▶

To


play


8 times faster, press FF

▶▶ 

3 times. 

 
◀◀

one more time-rewinding 2 times faster. 

      2 times– rewinding 4 times faster 
      3 times-rewinding 8 times faster


10) MENU button 

 
 At the centre position of direction key button, MENU button perform to execute 
menu on Screen Display. And to get out from every option. 

IV.  How to use


Summary of Contents for GN-708VN

Page 1: ...English USER S MANUAL...

Page 2: ...ALL NOT BE HELD RESPONSIBLE FOR THE USE OF THIS SYSTEM IN VIOLA TION OF CURRENT LAWS AND STATUES 3 INDEX I INTRODUCTION 5 1 Before Usages 5 2 Important Safeguard and Warning 5 3 Package 6 II FUNCTIONS...

Page 3: ...k or fire 6 Ground applies to video products equipped with a 3 wire grounding type plug having a third grounding pin This plug only fits into a grounding type power outlet If grounding is not done it...

Page 4: ...option pro vided This 8 Channel DVR provides user s easy operation for users to maxi mize effectiveness All functions are Triplex Record Playback Live Real Time Full Quad and Auto sequence Display mo...

Page 5: ...nput Terminal Block 4 Alarm Output Relay out Terminal Block 1 PTZ control Pelco D Protocol Option Data Backup Firmware Update USB Memory Stick Others Remote Control IR Remote Control Mouse Power DC 12...

Page 6: ...r to check what has been recored and what is recording To play event in list use button to move cursor and button to turn page Total recordable scale can be listed 127 in 13 pages Each list is marked...

Page 7: ...up a start time of recording use button to set up an end time of recording Then after setting up record start end time press USB button then continue 13 There will be appeared like from left you can s...

Page 8: ...ly install mouse for using it 7 RS485 PTZ Alarm Terminal Block Option For Connection with Alarm input equipment to this part and with this part to output part Input can be available for 8 channel Outp...

Page 9: ...n 5 Installation 1 Hard Disk Drive Installation A First confirm that hard disk s jumper is on Master B Connect hard disk s IDE cable and power on cable C Close Back side of hard disk drive 17 2 Monito...

Page 10: ...se 6 Setup For environment setting up press MENU button on front panel or MENU button on remote controller the there will be appeared option lists and environmental set up like from left move cursor P...

Page 11: ...u want to record Set up the time Motion sensor detection recording when alarm or motion sensor catch something it start to record for the period how long you want to record IV How to use 21 3 Sensor A...

Page 12: ...DVR carefully and pc viewer software How to use viewer is explained later IV How to use 23 IV How to use 1 Hard Disk Setup Disk set is for setting hard disk setting After using all space in hard disk...

Page 13: ...putted together Also the password should be same on Viewer software in PC and DVR The resolution is selectable Very High High Standard Low Very Low The present DVR services 3 diverse network joining m...

Page 14: ...e per frame Capture During displaying mode pressing this button save pictures automatically on BMP mode file Basic save directory C VxCapture Audio Audio volume up an down Full Screen to full screen m...

Page 15: ...nd WF file and then drag it to Viewer It will display C Select reflection image file saved in USB D It will display selected reflection image file chosen on PC monitor V Viewer software operation Play...

Page 16: ...nnect connecting DVR on network by DHCP or fixed IP DVR Control remote control by network Audio volume control Local Recording saving WF file mode by clicking Start local Recording if you want to stop...

Page 17: ...User should change TCP IP setting by ordering Window OS NETWORK SETTINGS ENABLE YES LOCAL IP PORT 8841 MAC ADDRESS 12 34 56 78 9A BC PASSWORD 111111 NAME SERVER VIDEO QUALITY NORMAL V Viewer software...

Page 18: ...w input DVR IP address Password is DVR password reference if you connect by Dynamic IP service input DVR ID The window will Appear be able to remote control DVR and like the picture below network conn...

Reviews: