20
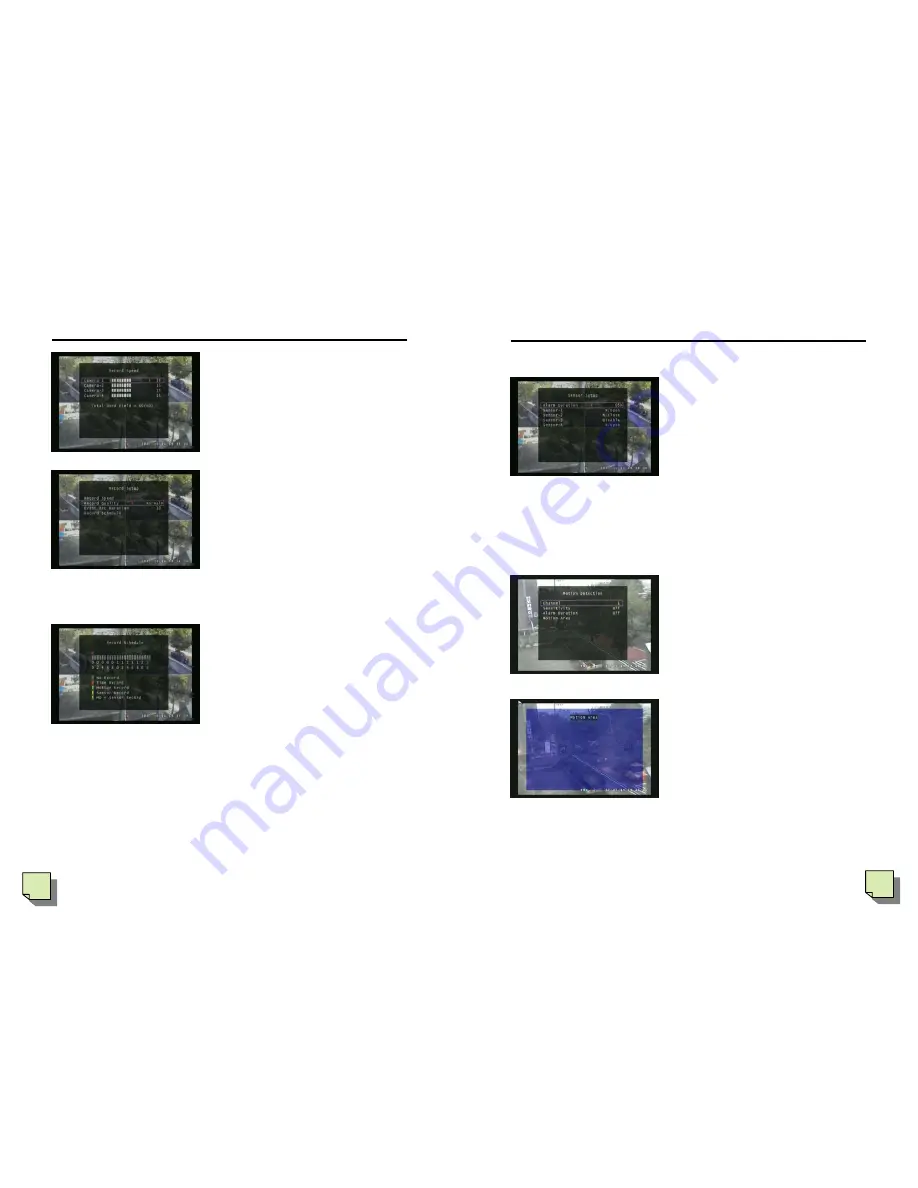
Recording speed
▲
,
▼
-channel selection
◄
,
►
- selecting the number of saving
pictures per second. The entire number
of pictures is limited within 60 so one
channel’s number gets high, the other’
number gets low automatically. You
can maximize effectiveness.
Record Quality
◄
,
►
- High, Normal, Low
Depending on resolution, file size can
be
diverse. For example, lower resolu-
tion,
more saving time. This option apply
only
entire channel but not individually.
Event Rec Duration
it is how long it will be recorded from the moment when motion catch
something or alarm operates. From 5 sec to 30 sec available.
Schedule
It is to set up Automatic recording func-
tion which is for sensor or alarm to re-
cord when those catch something, this
function is very useful. This function
apply only for entire camera. Set up
recording time you want.
◄
,
►
- time selection
▲
,
▼
- option selection.
Time recording– choose the time zone
you want to record. It will record with-
out alarm or motion detection. Set up the time
Motion detection recording– when motion sensor catch something, it
start to record for the period how long you want to record. Set up the
time
Sensor detection recording– when alarm sensor catch something, it
start to record for the period how long you want to record. Set up the
time
sensor detection recording– when alarm or motion sensor
catch something, it start to record for the period how long you want to
record.
IV. How to use
21
3) Sensor
As you see from left, Alarm output time
is the time of the outputting of image
when event happen.‘.
◄
,
►
-
choose the time
You can choose close which you don’t
want to alarm out at all.
You can choose from 5 sec to 30 sec in
5 sec basis.
You can choose ‘CONT’ to alarm out
until you want to stop.. You can stop it
Stop button on front panel.
From sensor-1 to
sensor-8, set up the time how long you want to
record. This function applies for entire camera. You can choose three
selection, which are N/open, N/close and Disable.
4) Motion Detection
This function is when the sensor detect
something’s motion, it output by
alarming or by recording or by alarming
and recording. You can choose
detection area at each channel where
you want to watch. And time also. The
stronger Sensibility gets, the higher
detection. (level 1,2,3,4) Alarm output
time– close, 5sec,10,15,20,25,30, cont.
Cont is for outputting until user stop it.
Motion detection area is the part of
area you will choose. As you see, you
can see blue rectangle part in the
picture. It is part of detection area. Use
◄
,
►
button to choose the area. You can
choose the area. If you use mouse, it is more
convenient to move cursor. You can choose
entire place detection area also.
IV. How to use
Summary of Contents for GN-708VN
Page 1: ...English USER S MANUAL...


