Installation
29
7)
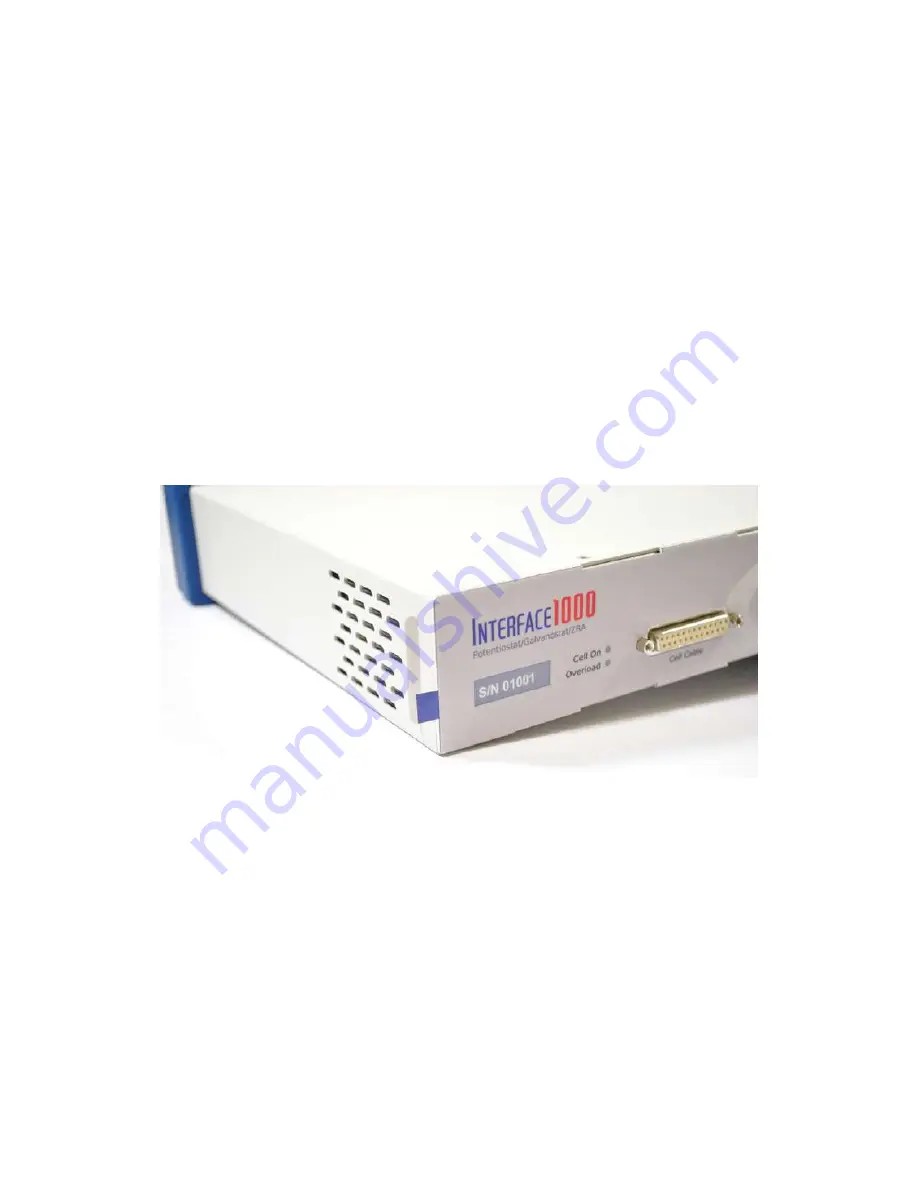
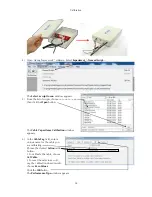
Your Interface 5000 family instrument should now look like Figure 3-6 (the front bezel is removed).
Notice the blue tab on the left side on the instrument. This is part of the old label; it is blue on the
instrument in the photo.
8)
Pull gently on the paper tab on the left side of the front panel to remove the existing label. You need to
pull out about 5 cm of label.
9)
Insert the new label in the same spot as the old label. The text should face the front of the instrument.
A small tab of paper will extend beyond the instrument
’
s front panel.
10)
Examine the new label
’
s position in the Interface 5000 Front Panel. Adjust the label if needed.
11)
Replace the rubber bezel. Make sure that the foot side of the bezel is toward the bottom of the
instrument.
12)
Rename the Interface 5000 in the Gamry Framework software to match the new label. Use the
Framework
Options, Instrument
... dialog box. In the resulting dialog box, select the device you want
to rename and then select the
Device Settings...
button.
Figure 3-6
Instrument with Bezel Removed: Label Tab is Visible
Summary of Contents for Interface 5000
Page 2: ...2 ...
Page 18: ...Introduction 18 ...
Page 30: ...Installation 30 ...
Page 36: ...Calibration 36 ...
Page 64: ...Appendix A Interface 5000 Specifications 64 ...
Page 72: ...Appendix D Power LED Blink Codes and Error Messages 72 ...
Page 74: ...Appendix E CE Certificate Declaration of Conformity 74 Low Voltage Certificate of Conformance ...
Page 75: ...Appendix E CE Certificate Declaration of Conformity 75 RFI Certificate of Conformance ...
Page 76: ...Appendix E CE Certificate Declaration of Conformity 76 ...
Page 80: ...Appendix F Heat in Interface 5000 Multichannel Systems Interface Power Hub Systems 80 ...
Page 85: ......


